Heaven Above

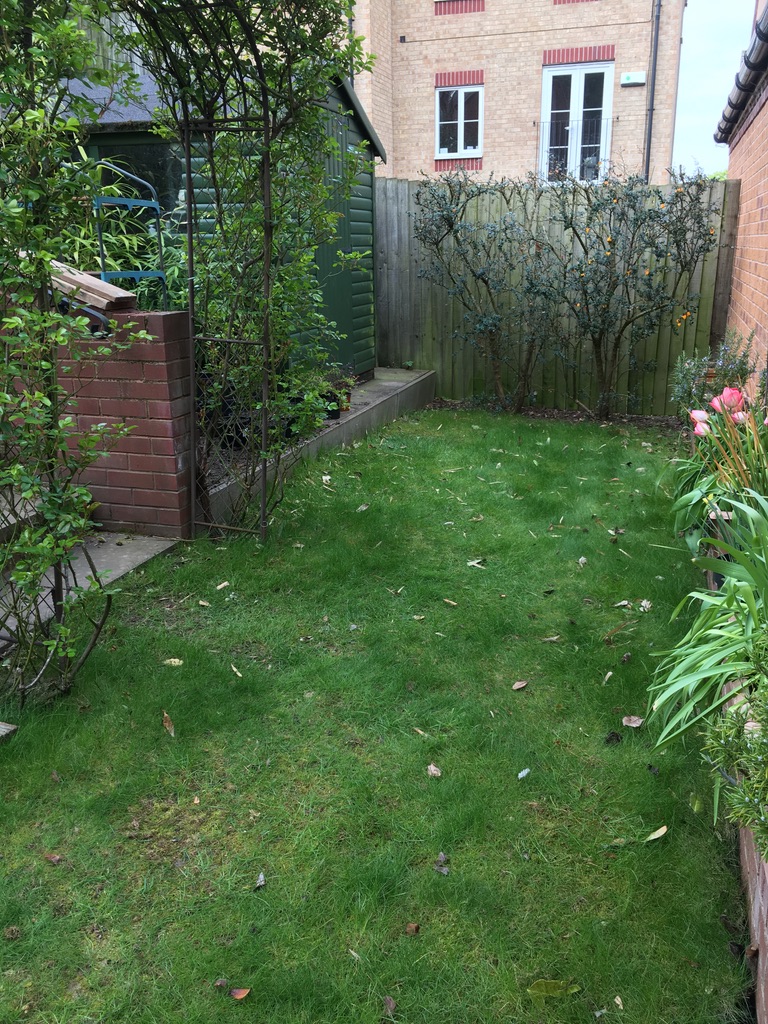
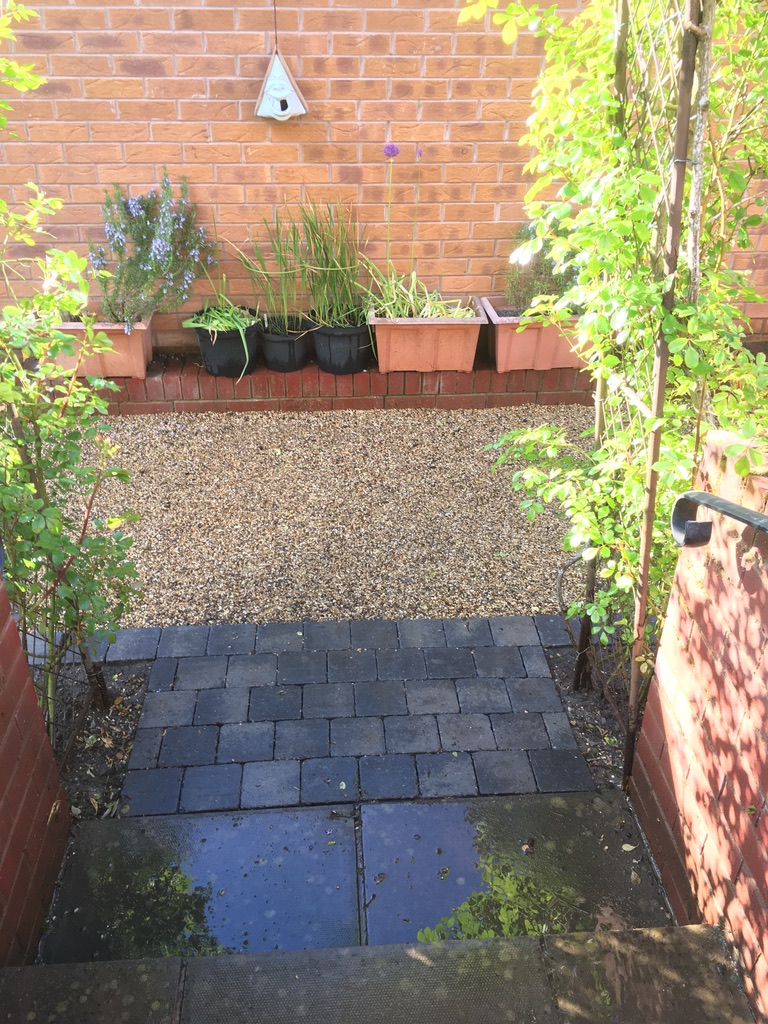
So how do you replace a concrete jungle with… more concrete, well this is how. Creating a low-maintenance area with elegance and fresh easy-to-control plants.

The new porous block paves will give way to ugly outdated slabs. Giving a better flow of water away from the house and using it to feed the new planting.

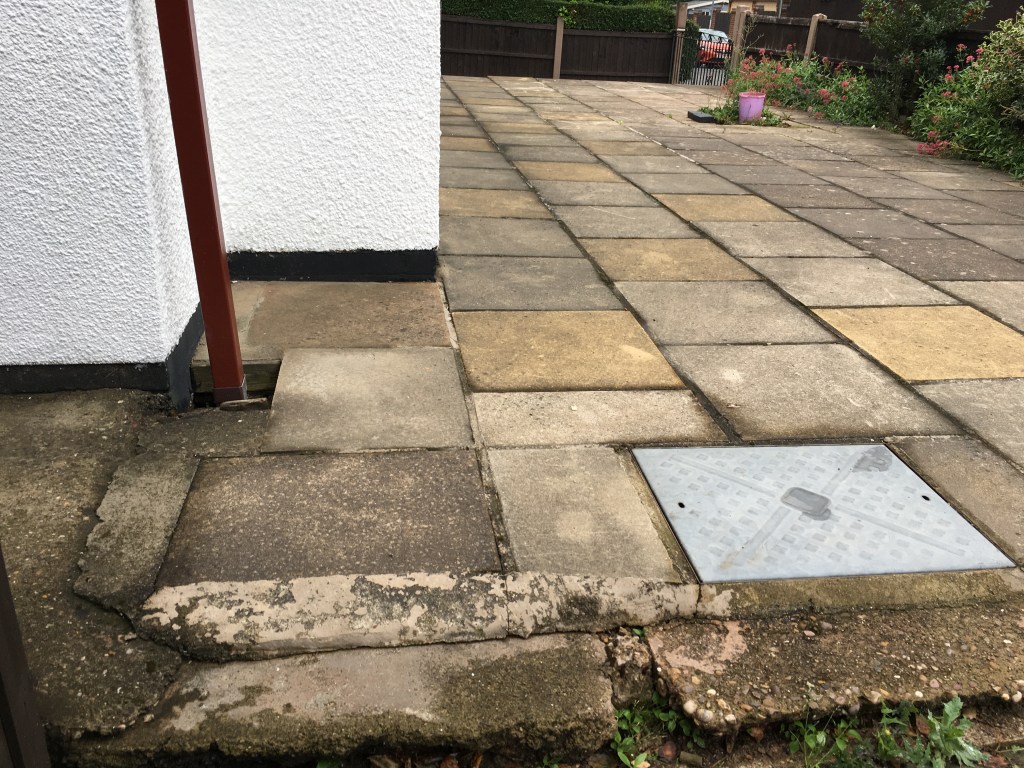
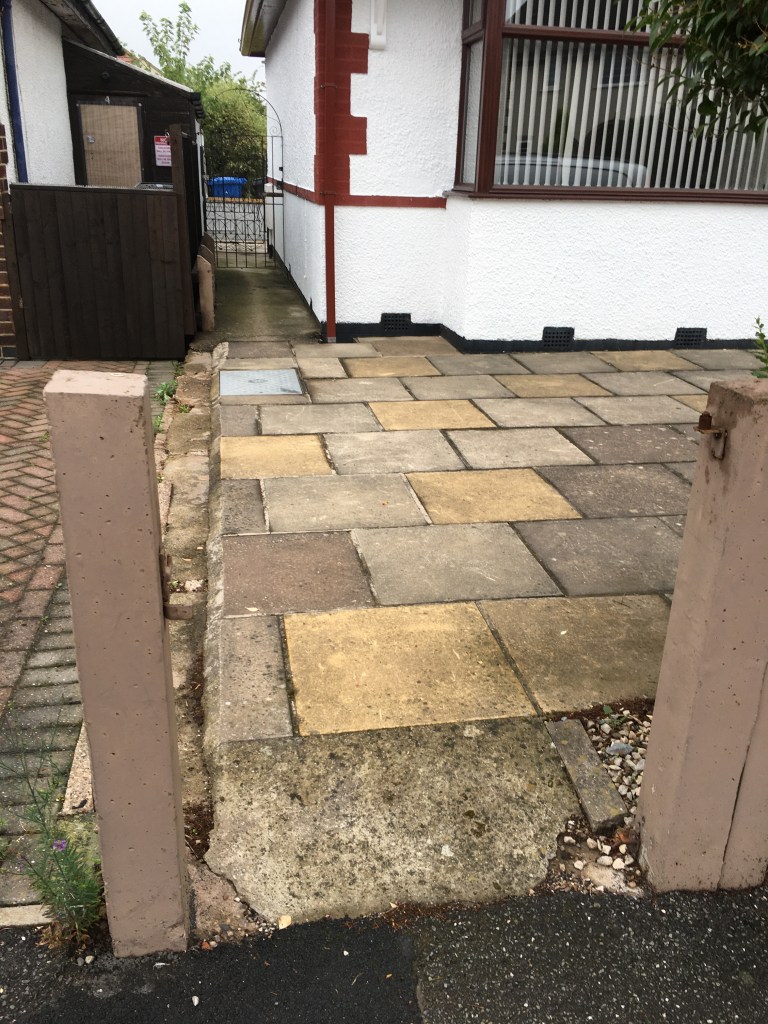
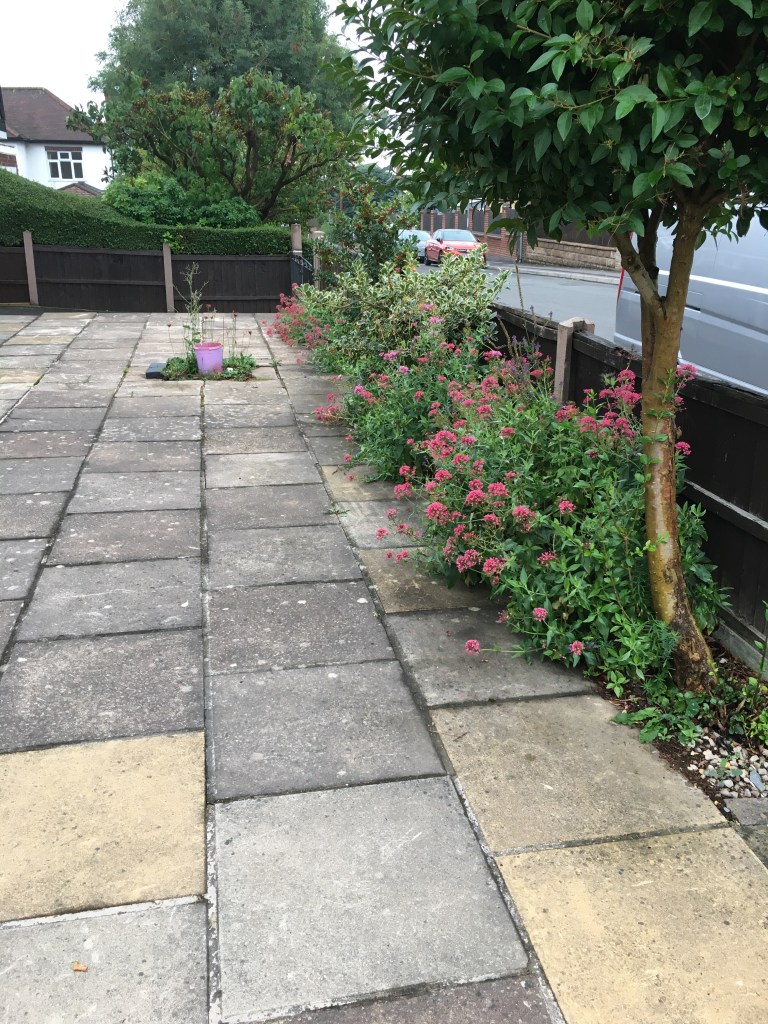
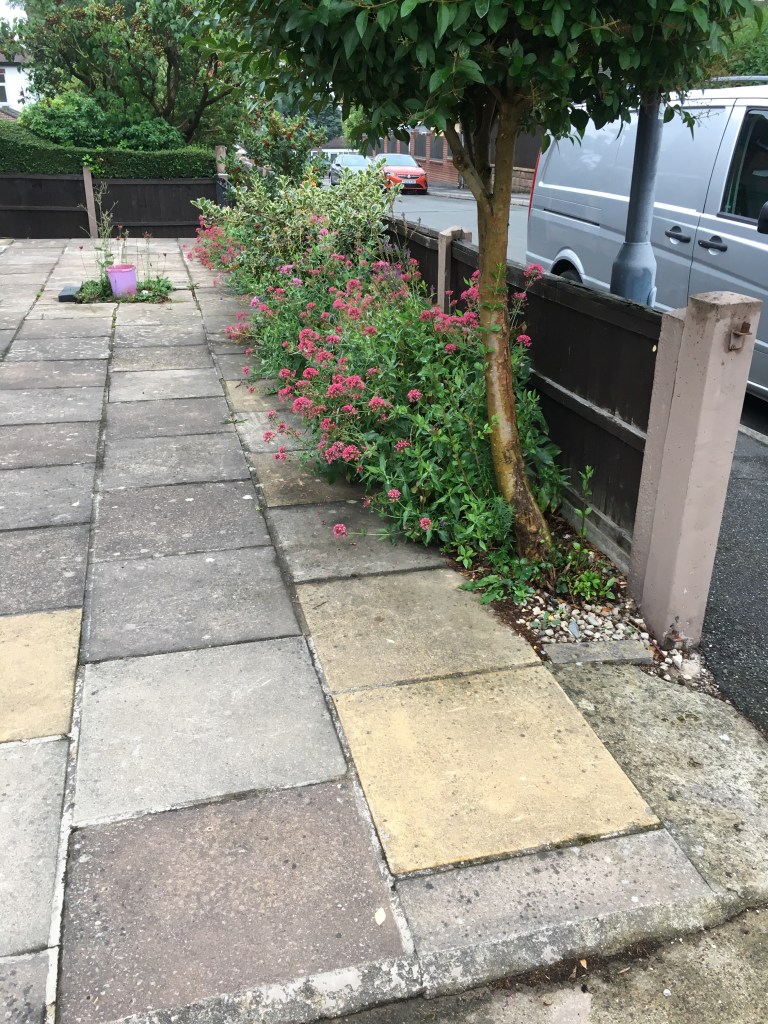
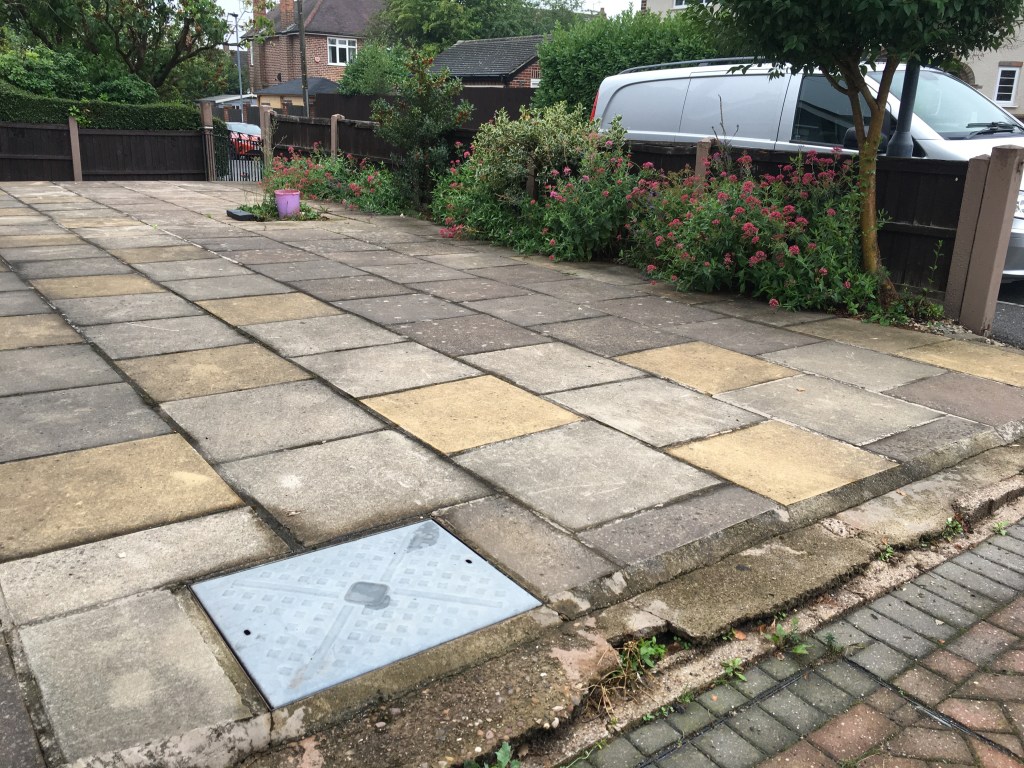
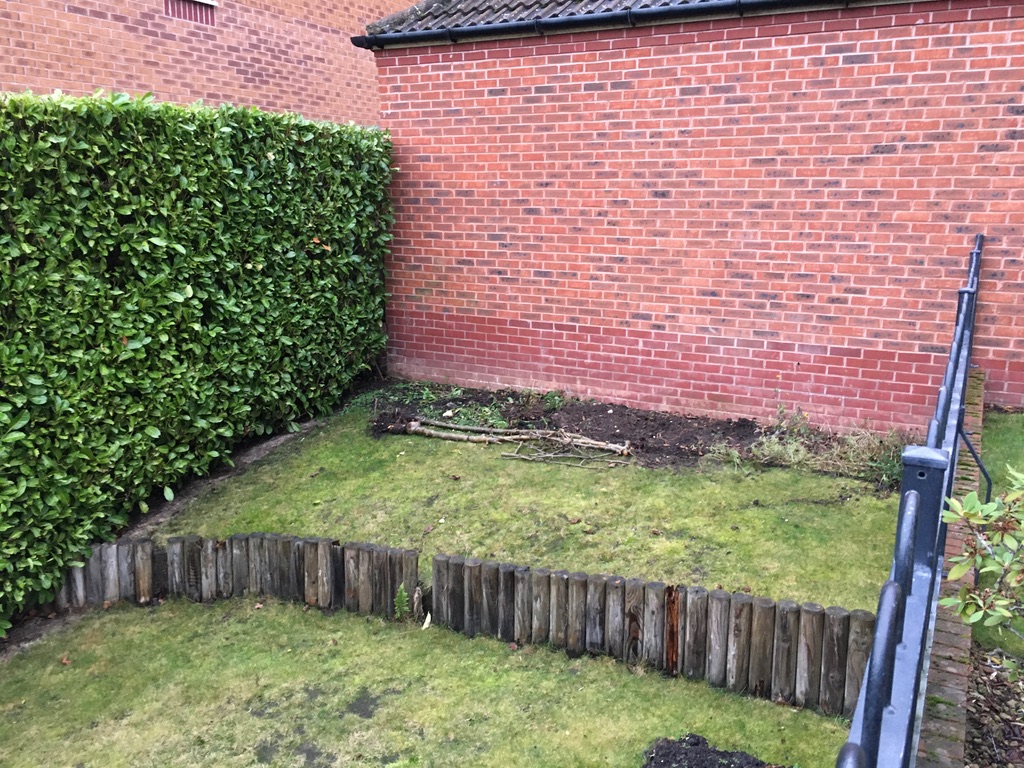
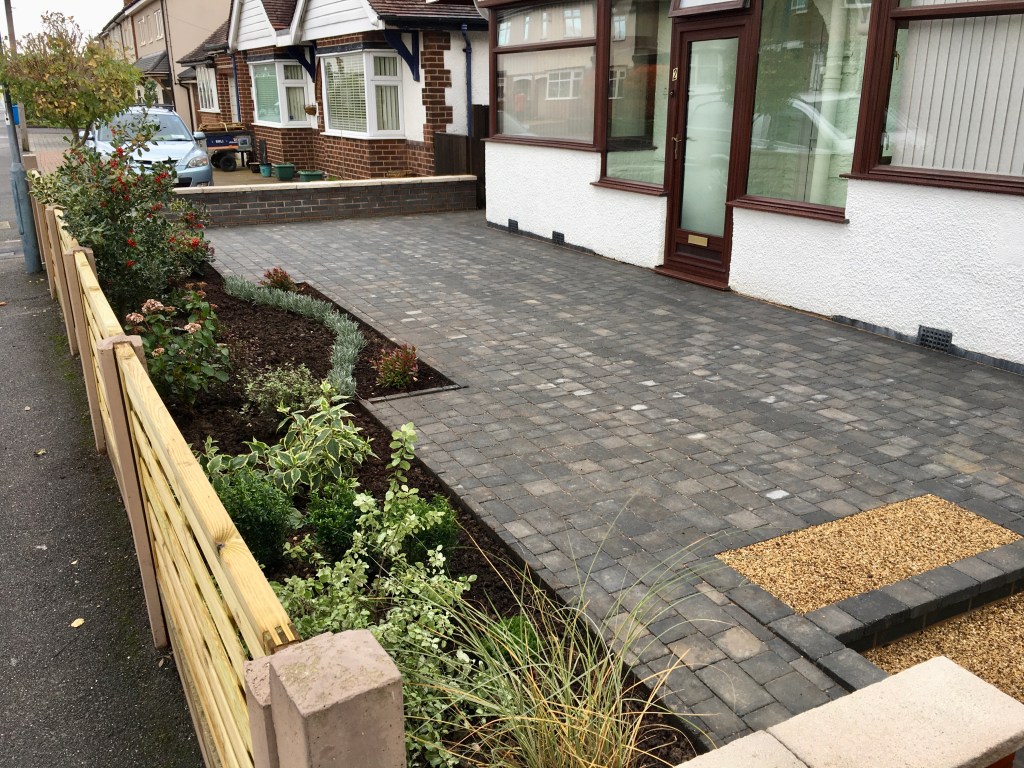
The main aim was to create a modern look with an emphasis on low maintenance. A more usable and controlled planting area and a level almost smooth finish for ease of use, but not plain.

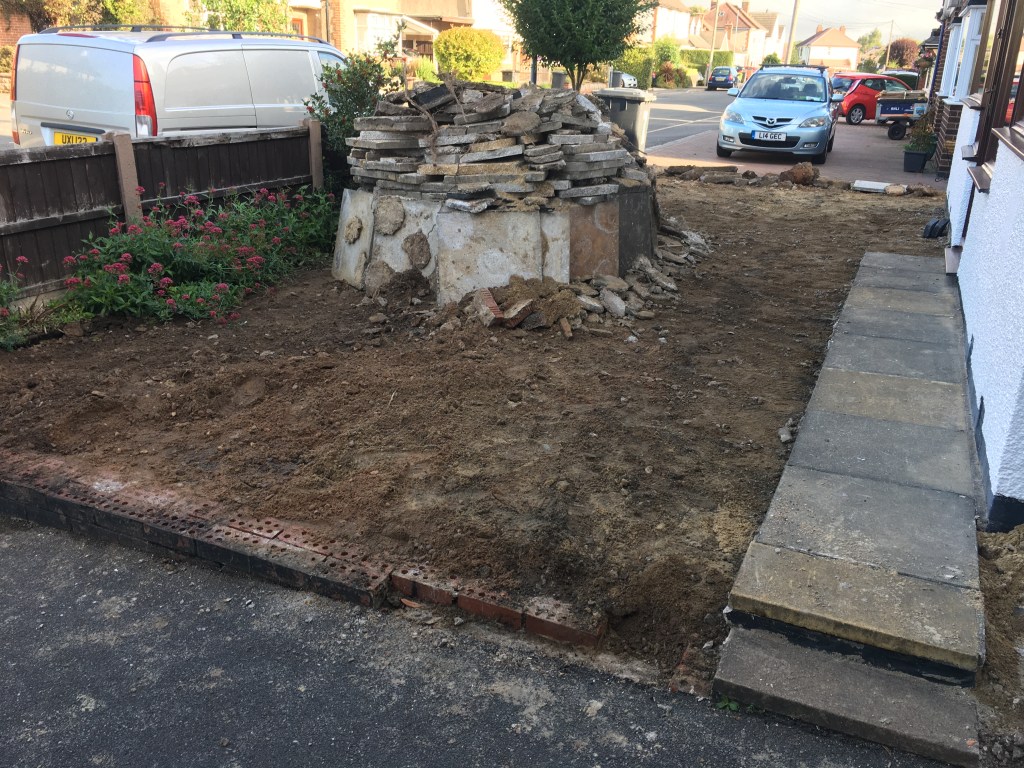
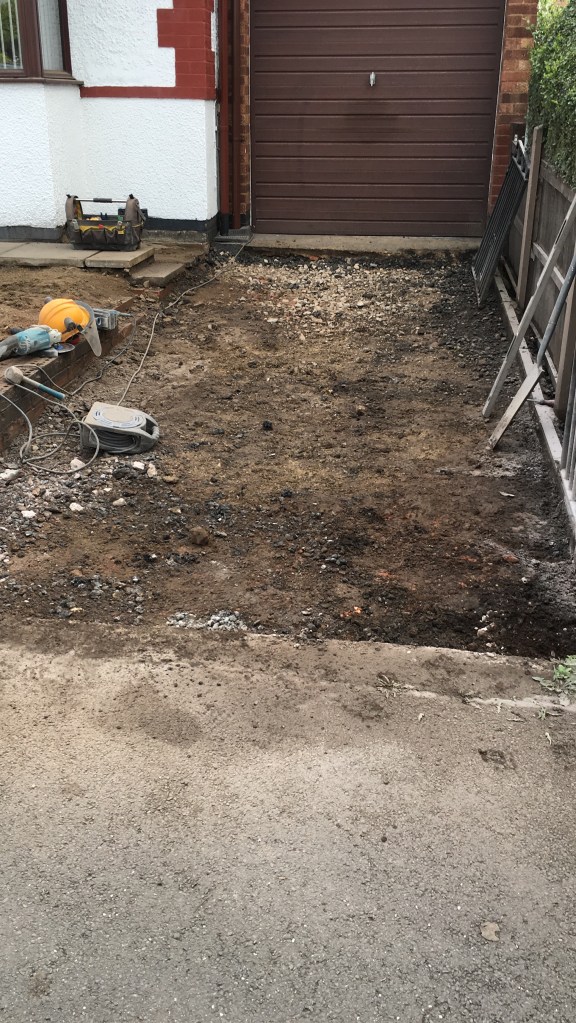
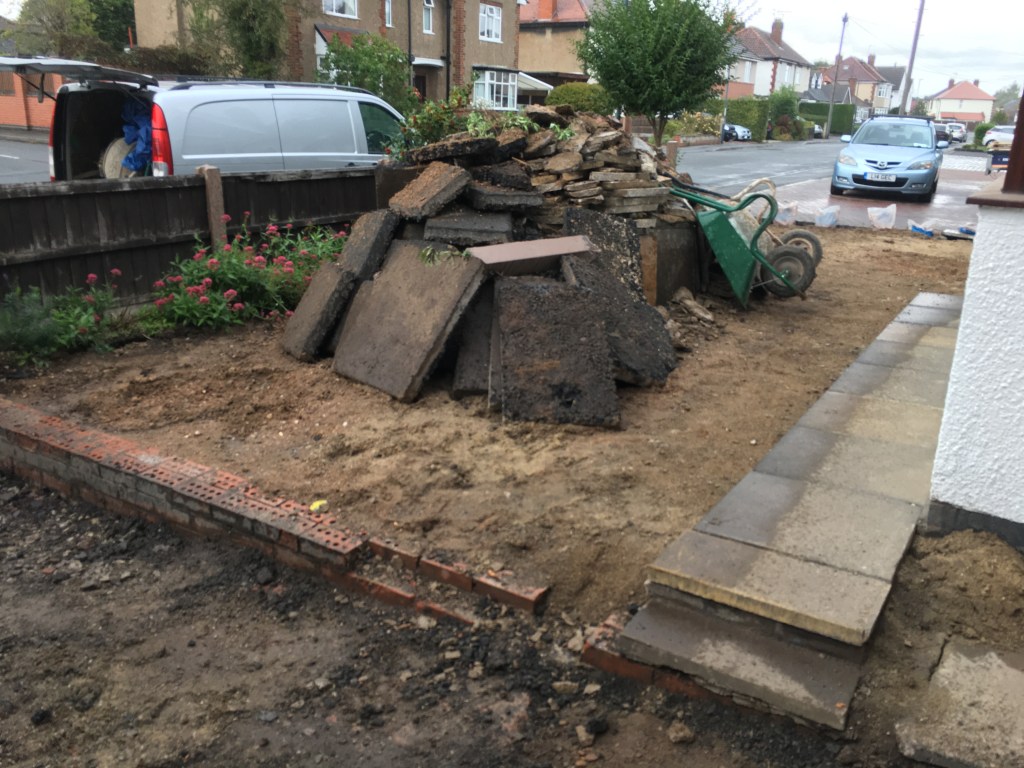
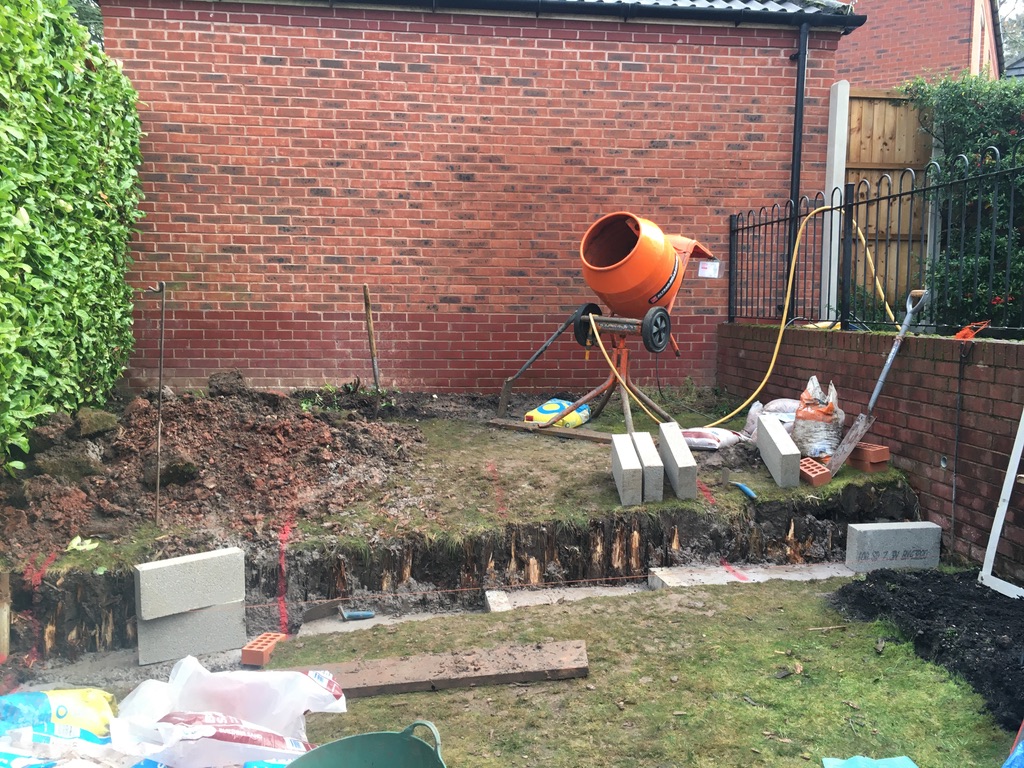
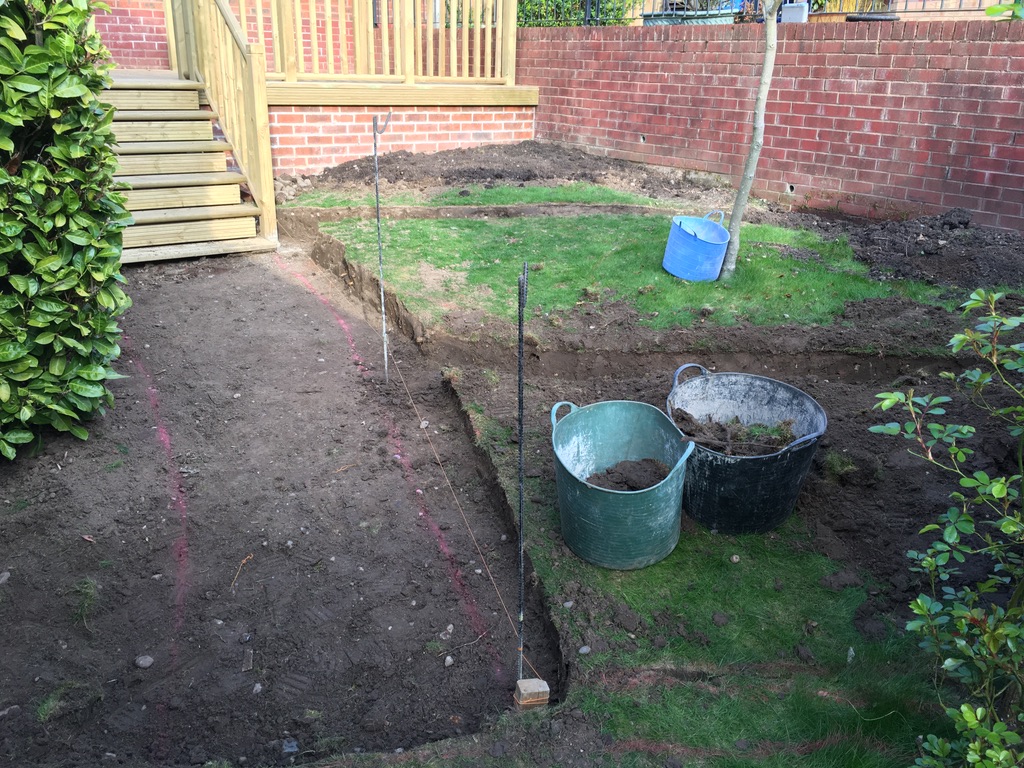
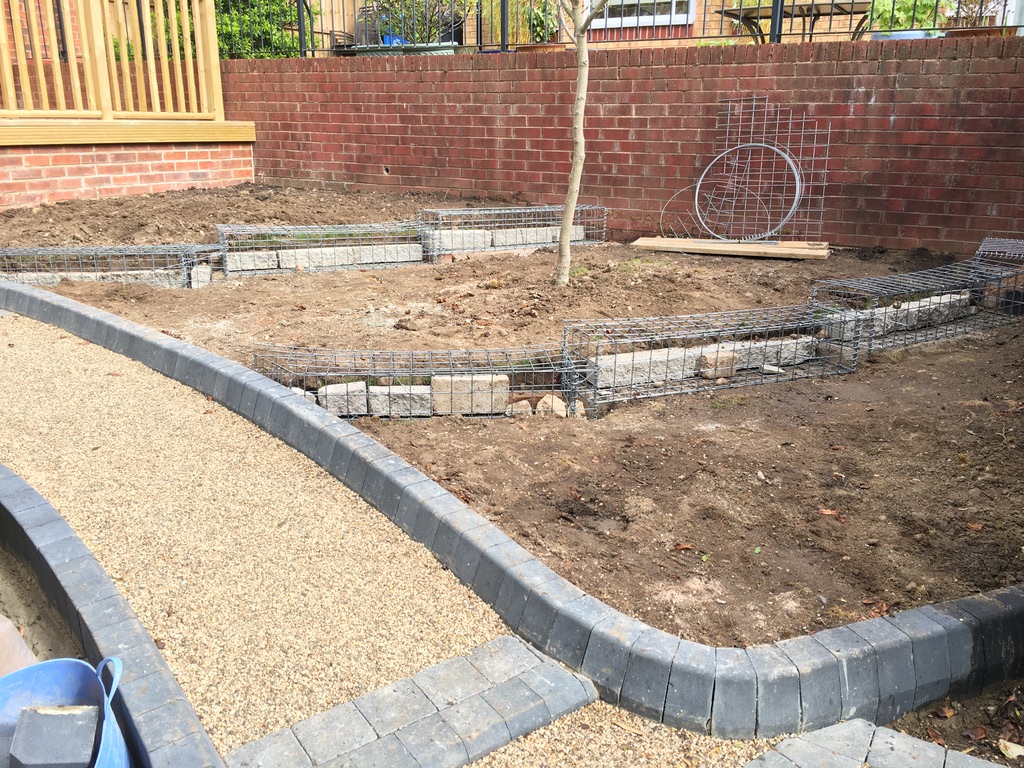
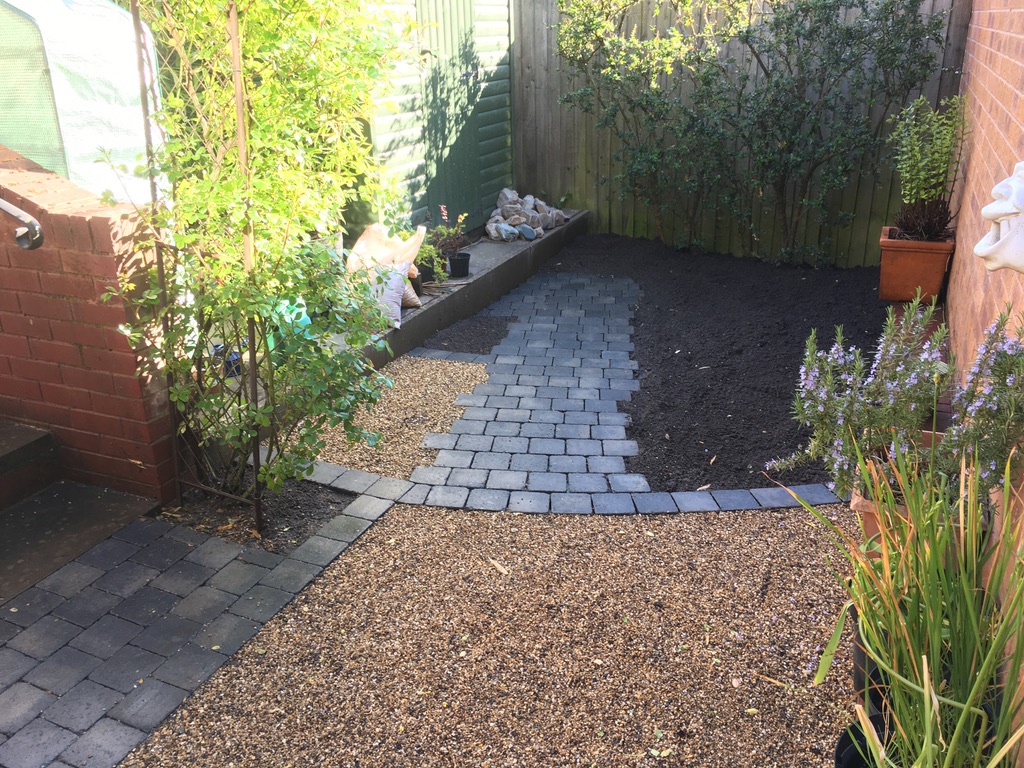
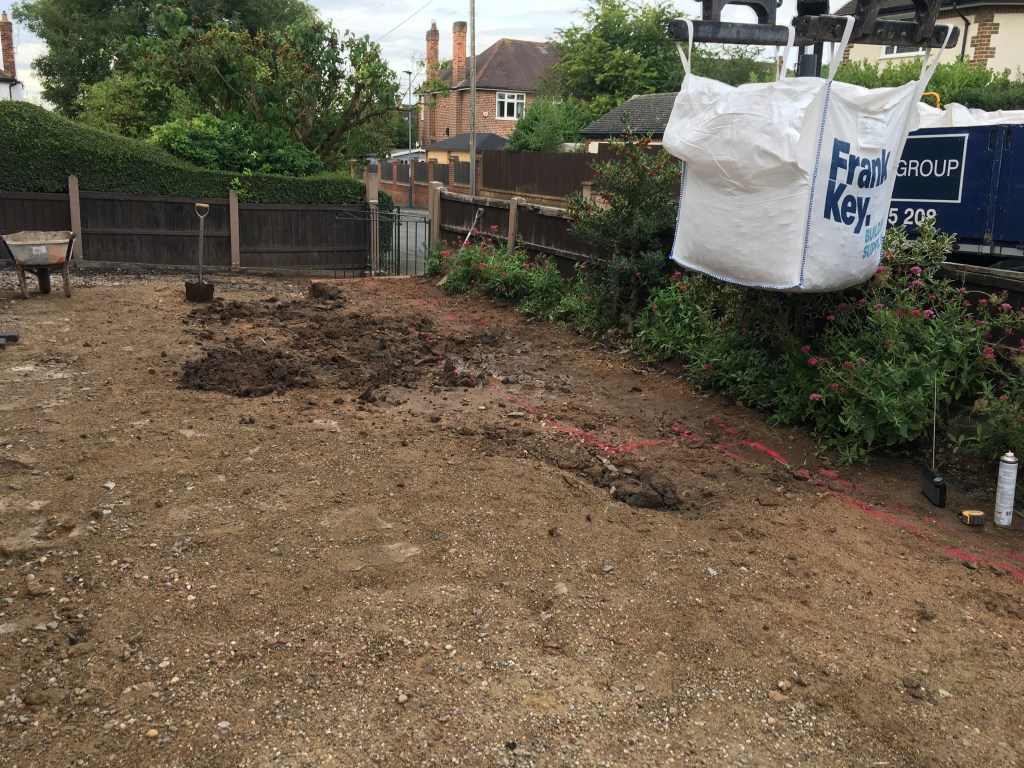
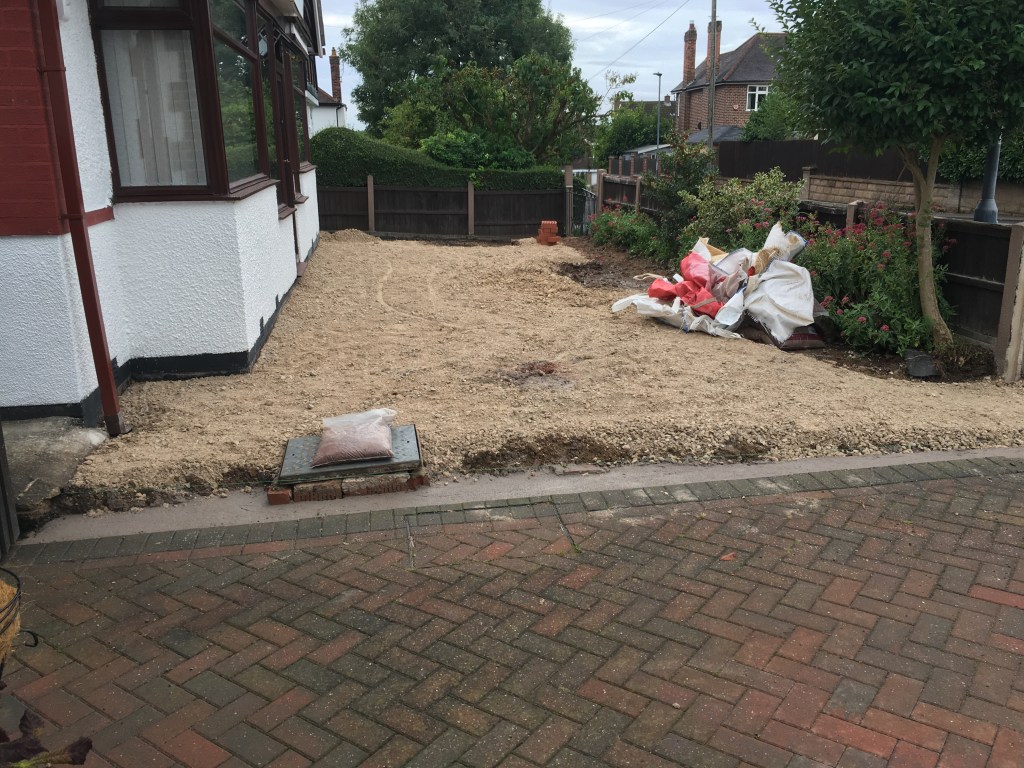
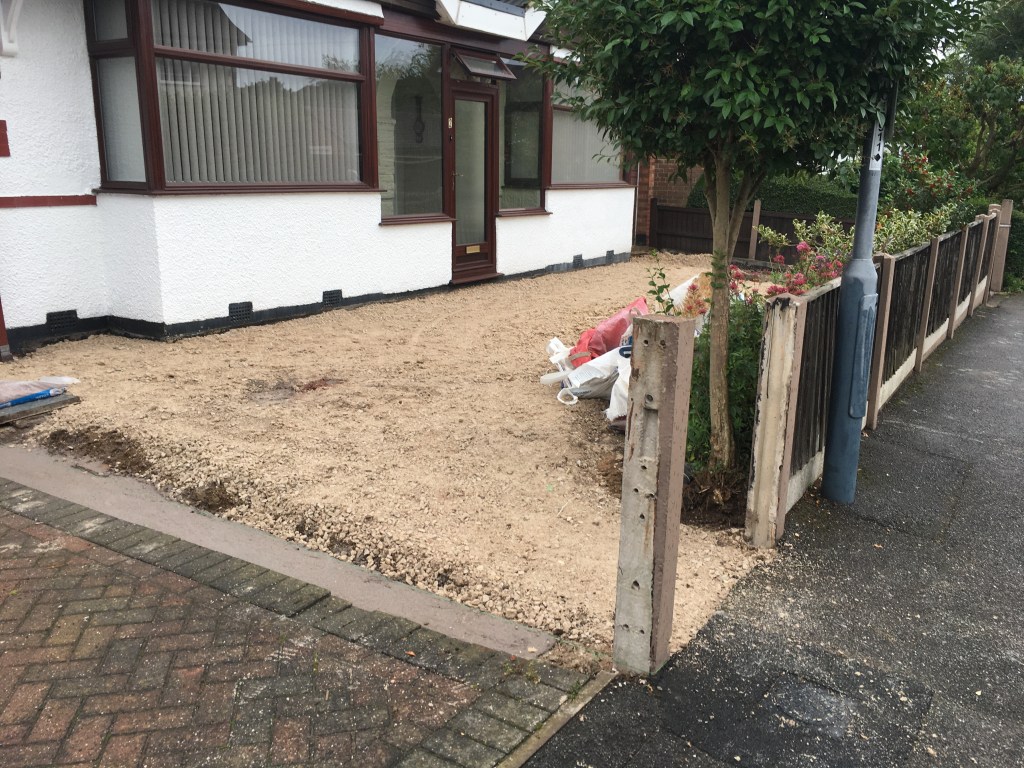
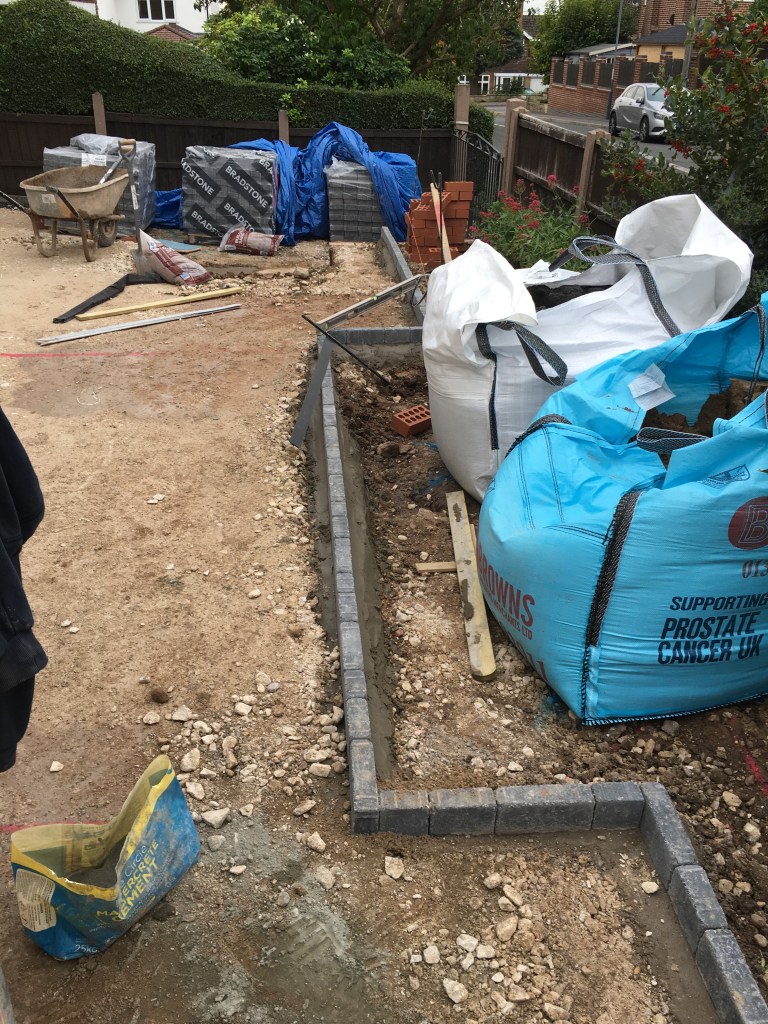
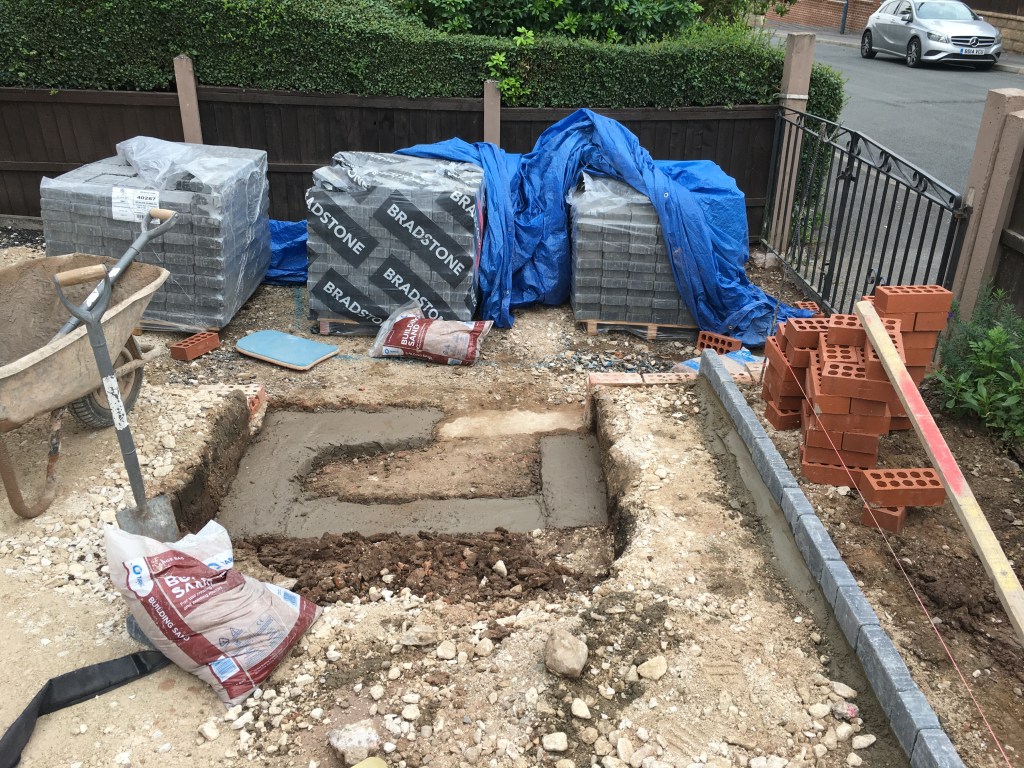
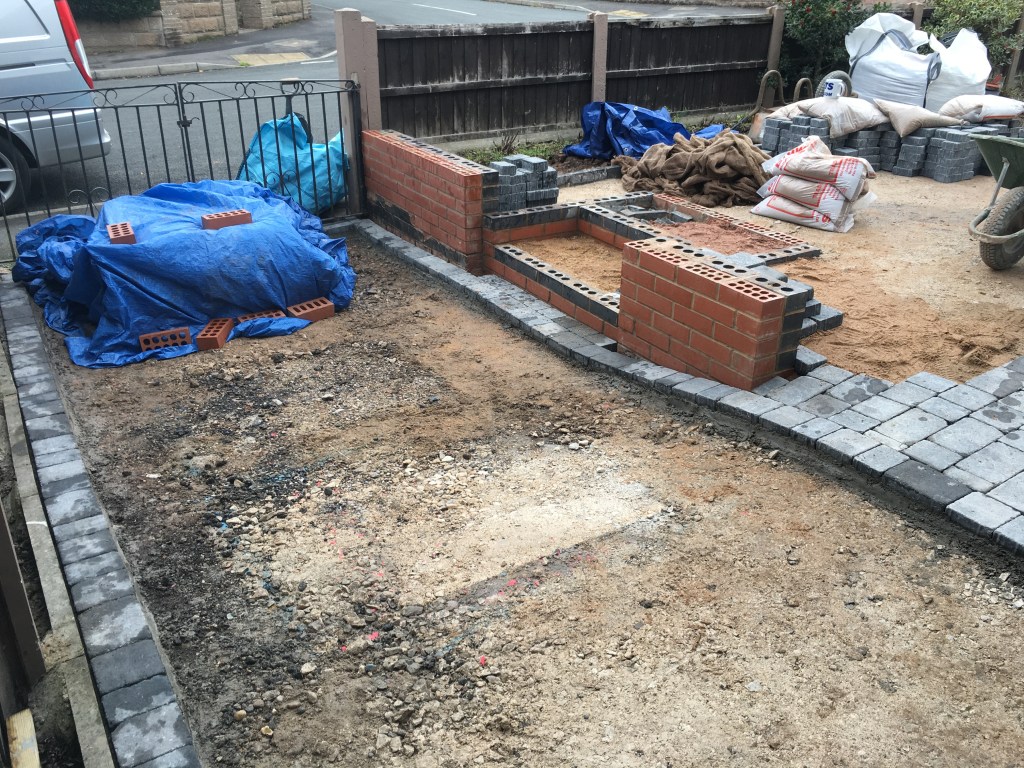
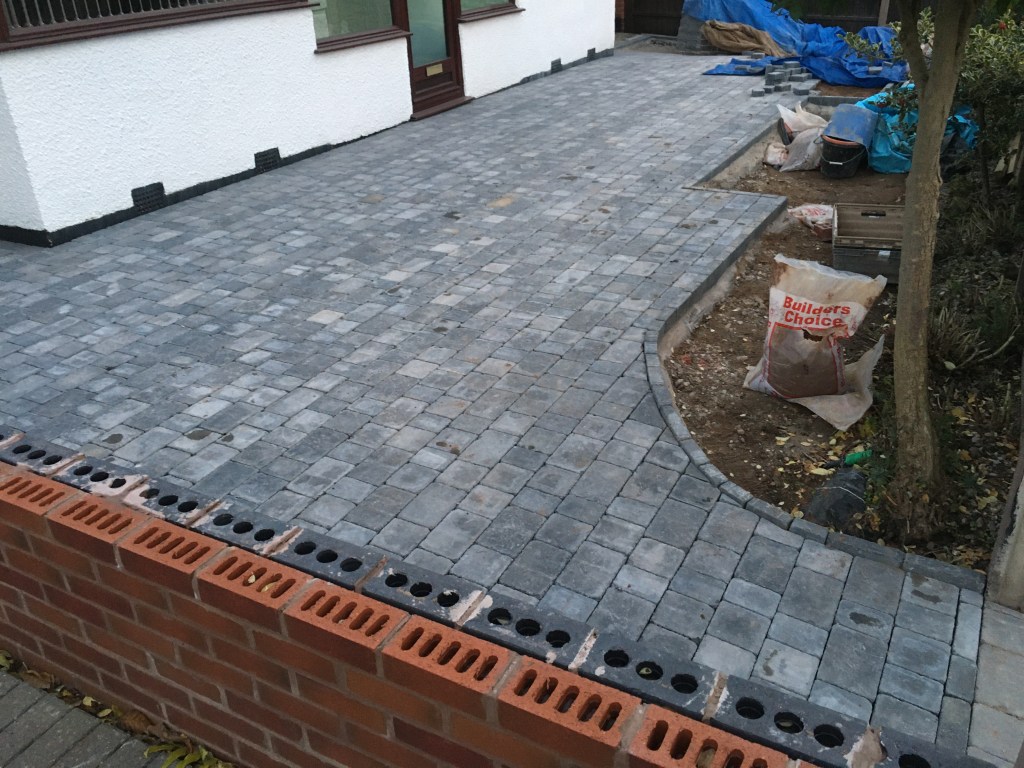
So let’s get stuck in. All the old is removed and a ground check is undertaken. Checking for pipes, wires, or concrete. In this case, it was concrete. Quite a lot of old concrete in odd areas. So it’s then all leveled as required and 5 tons of MOT type1 Stone is applied as a ground base.

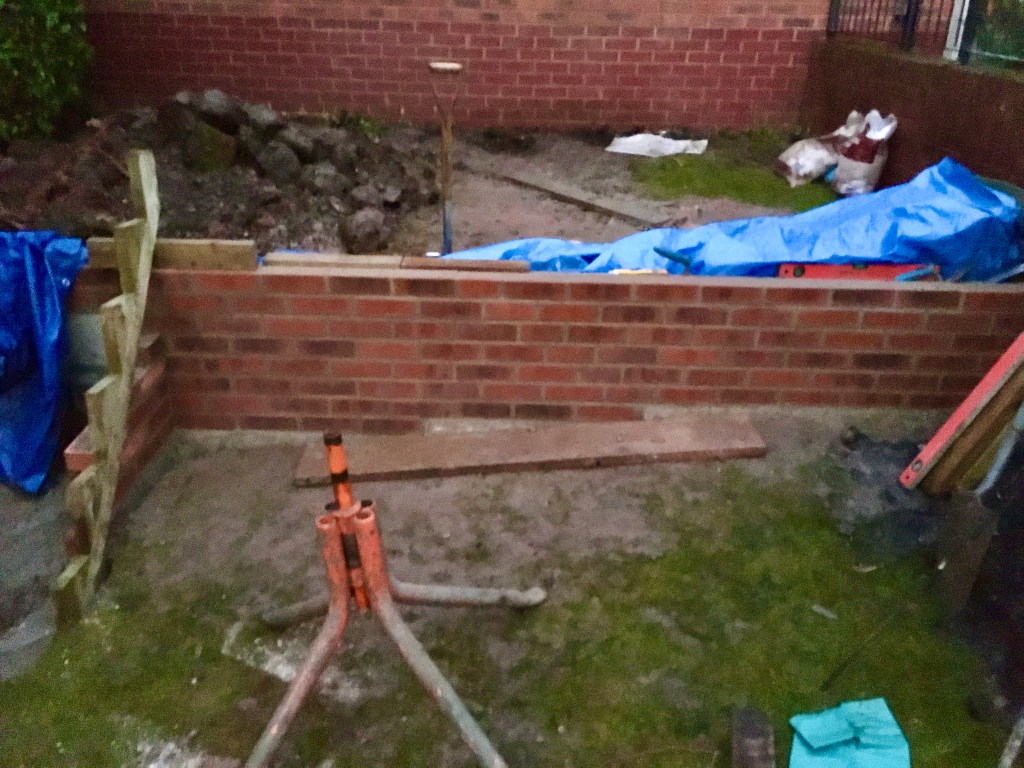
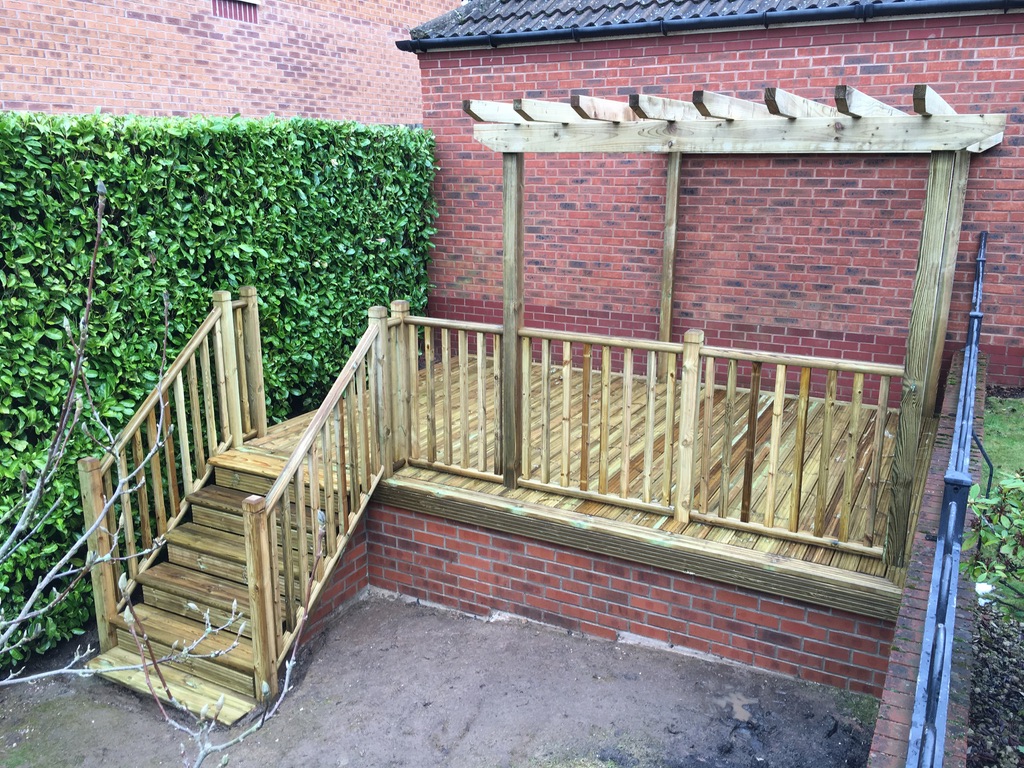
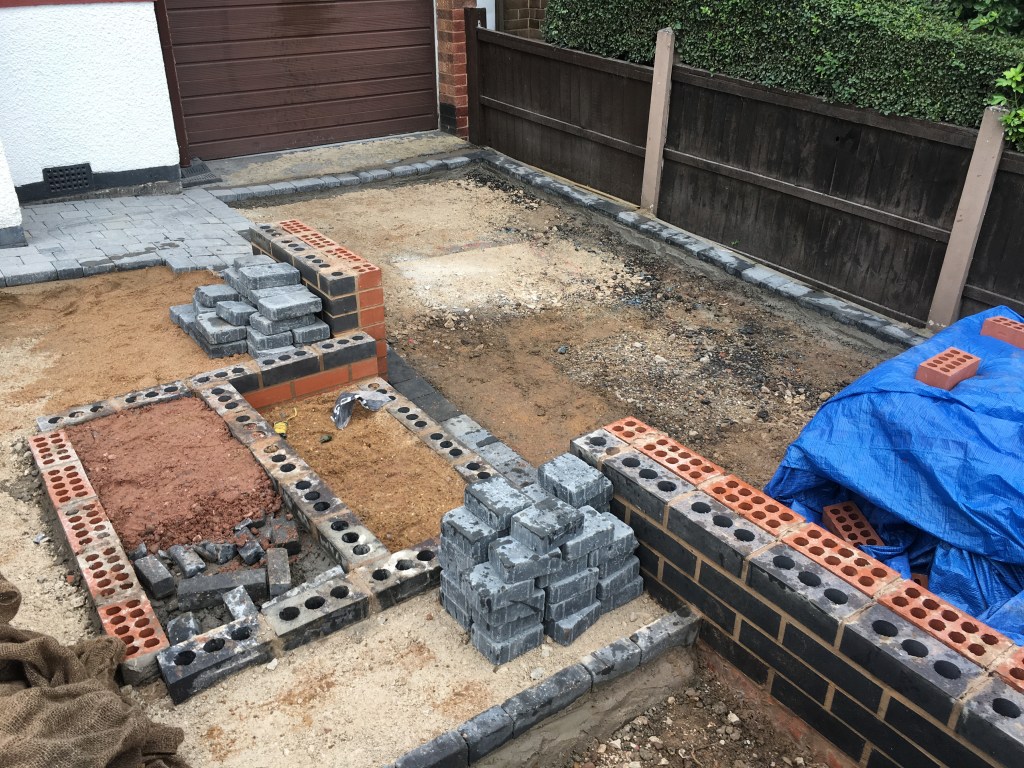
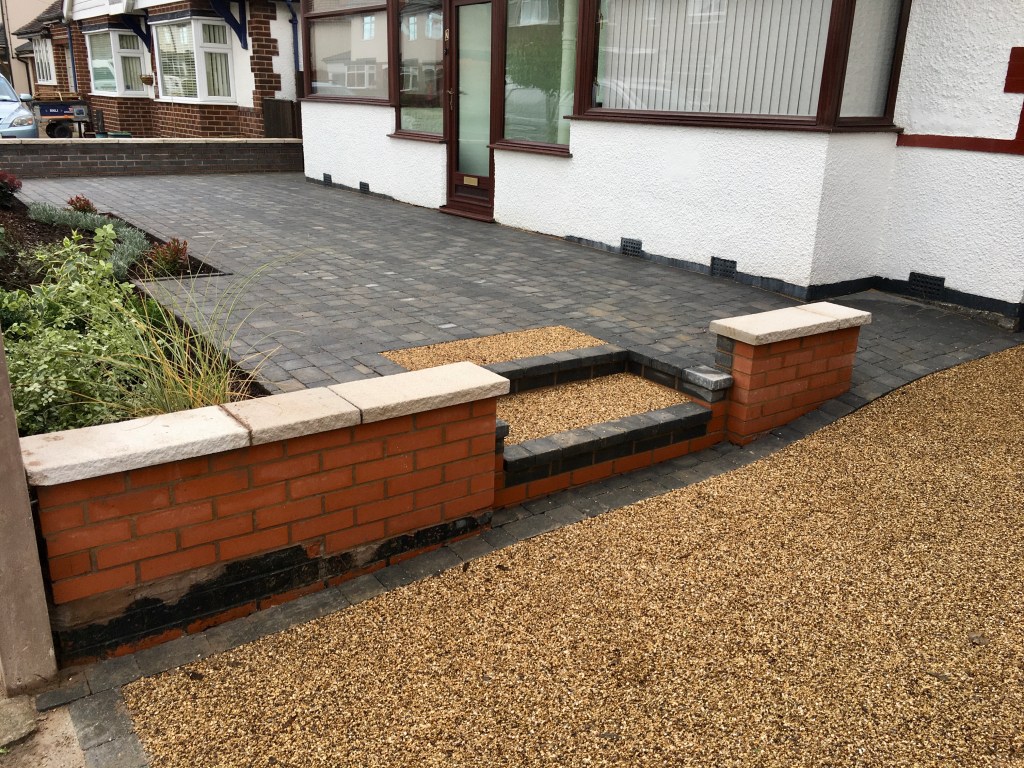
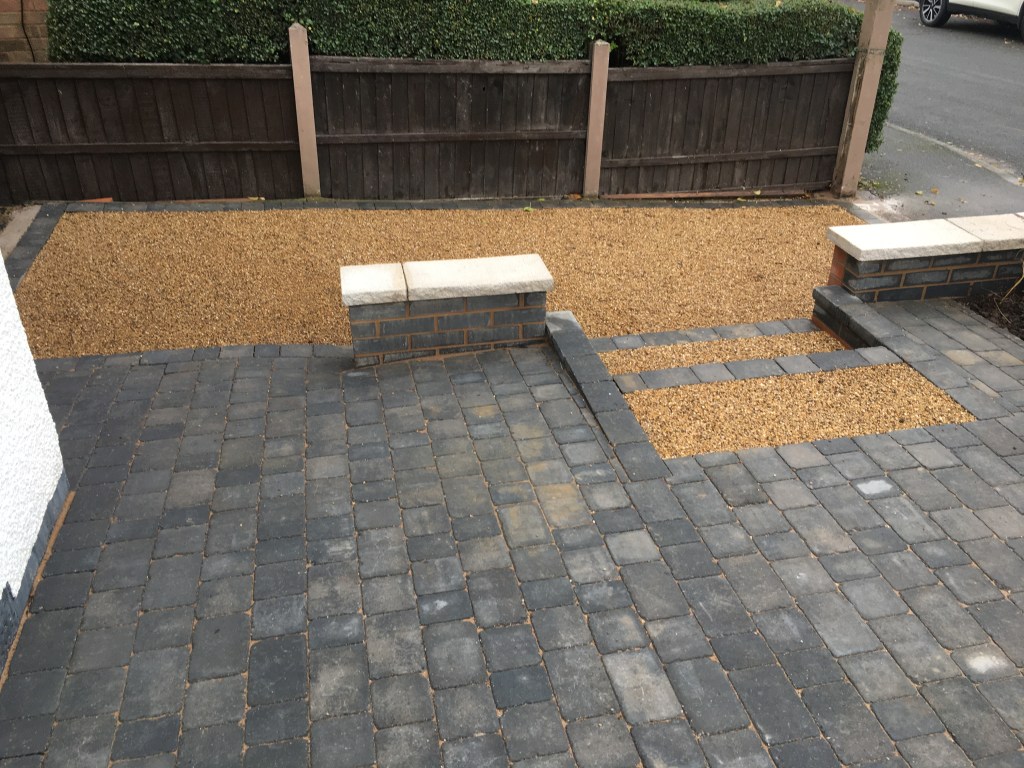
A new wall was planned between the two houses. We took the discussion to split the bricks to suit each house. One side had red bricks whilst the client’s house had grey-black to blend in with the finish.

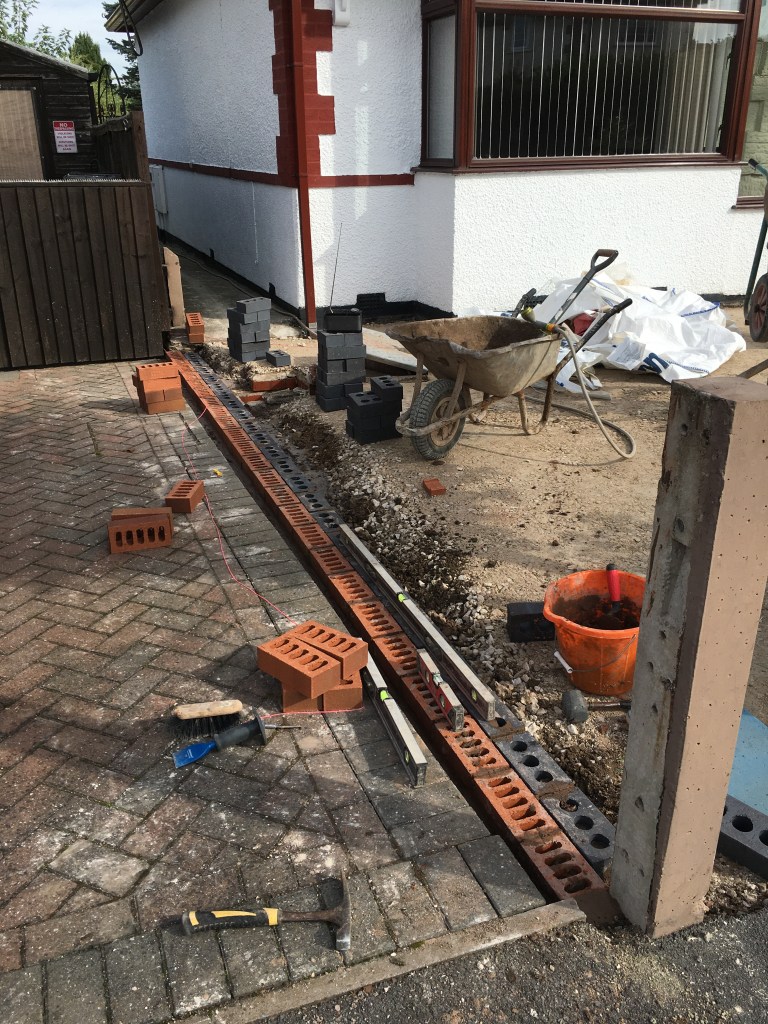
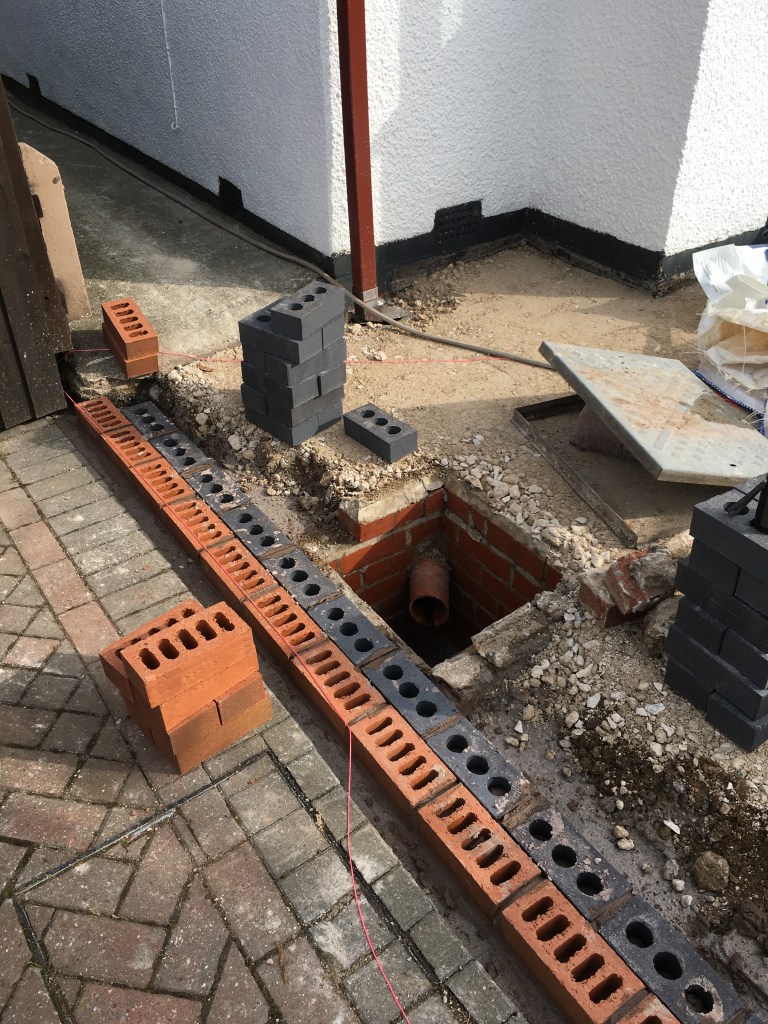
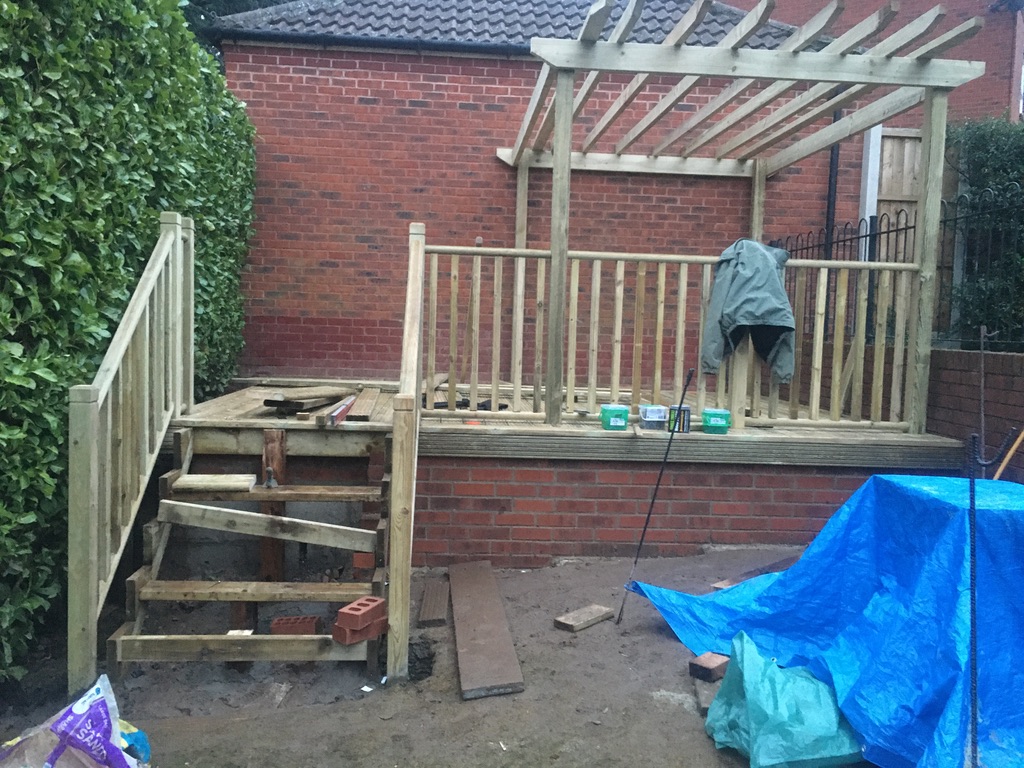
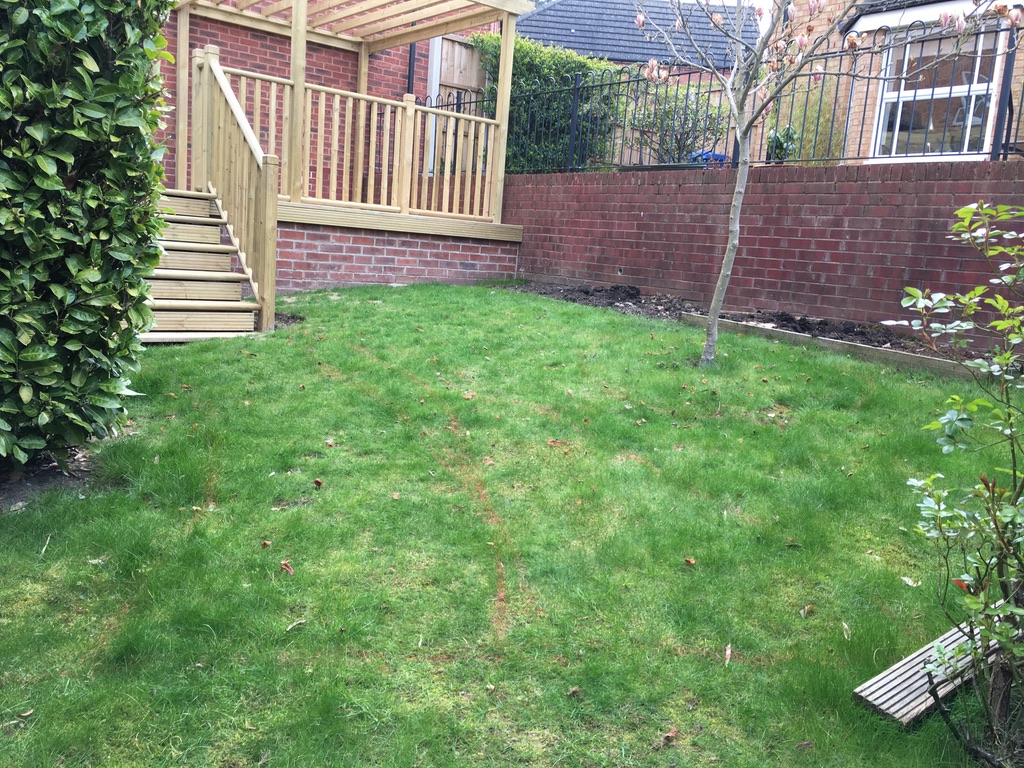
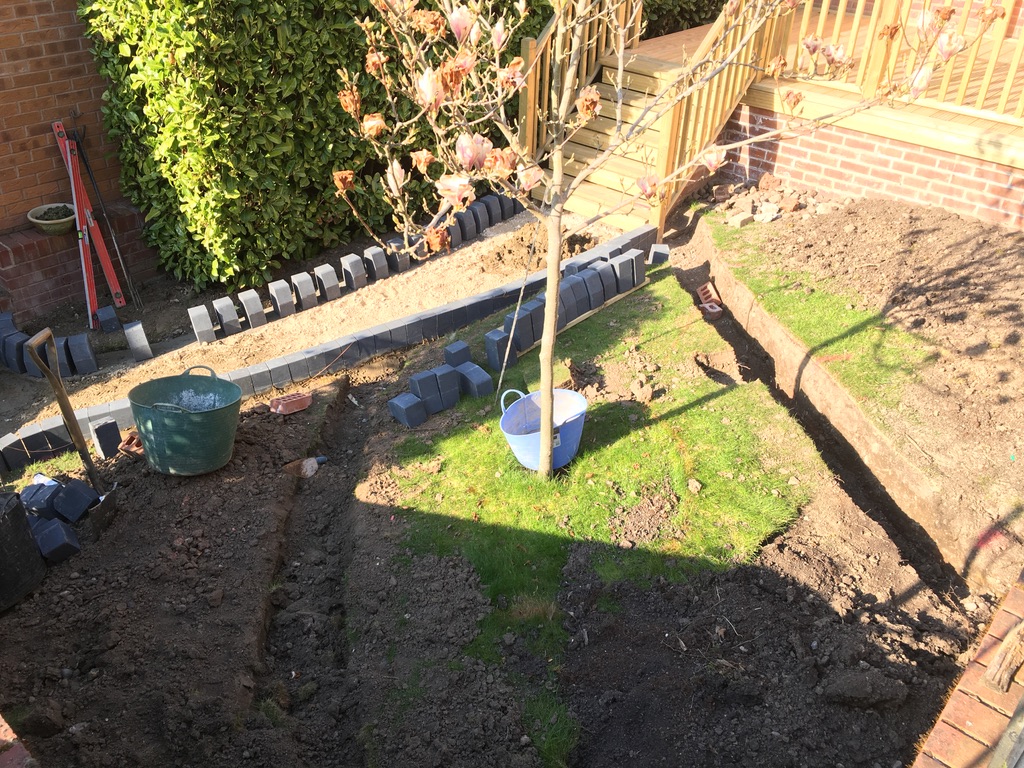
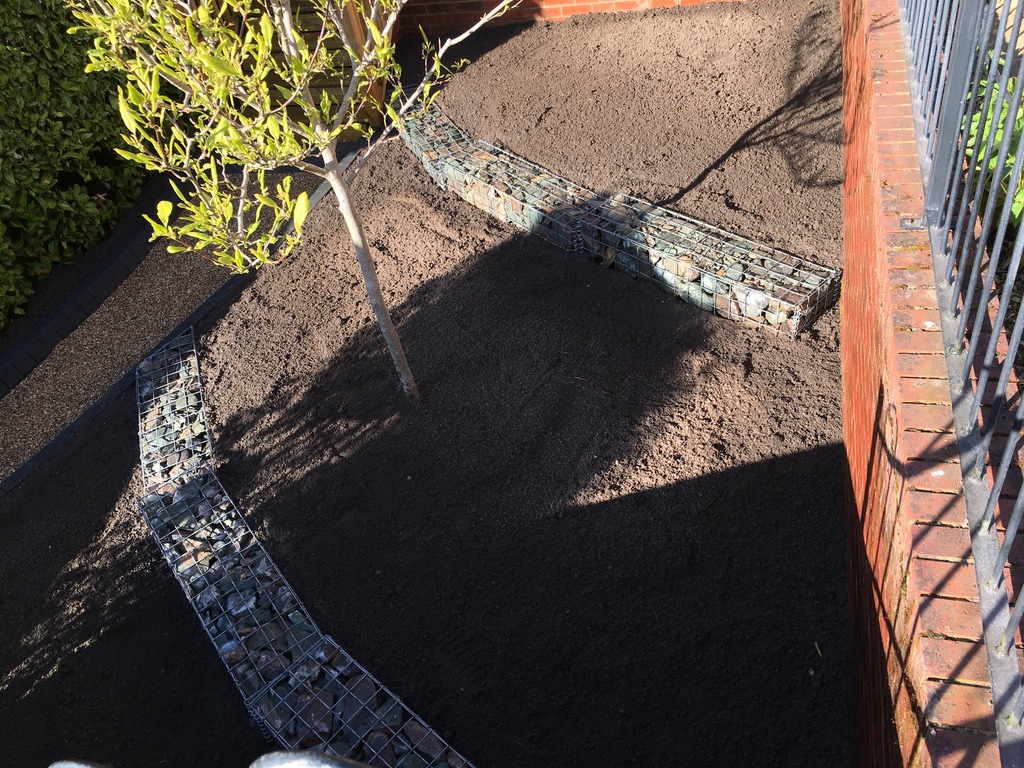
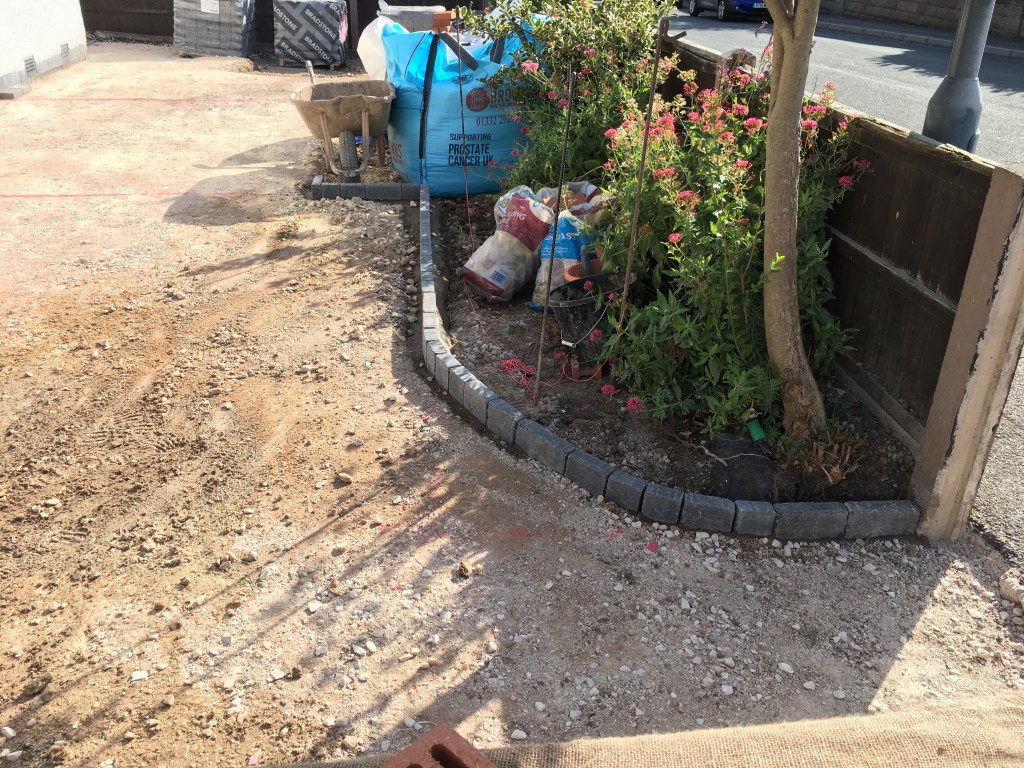
A Stone edging was added for the ‘new’ planting area. Footings were added for the steps to the drive area. New drain covers and a new waste drain.

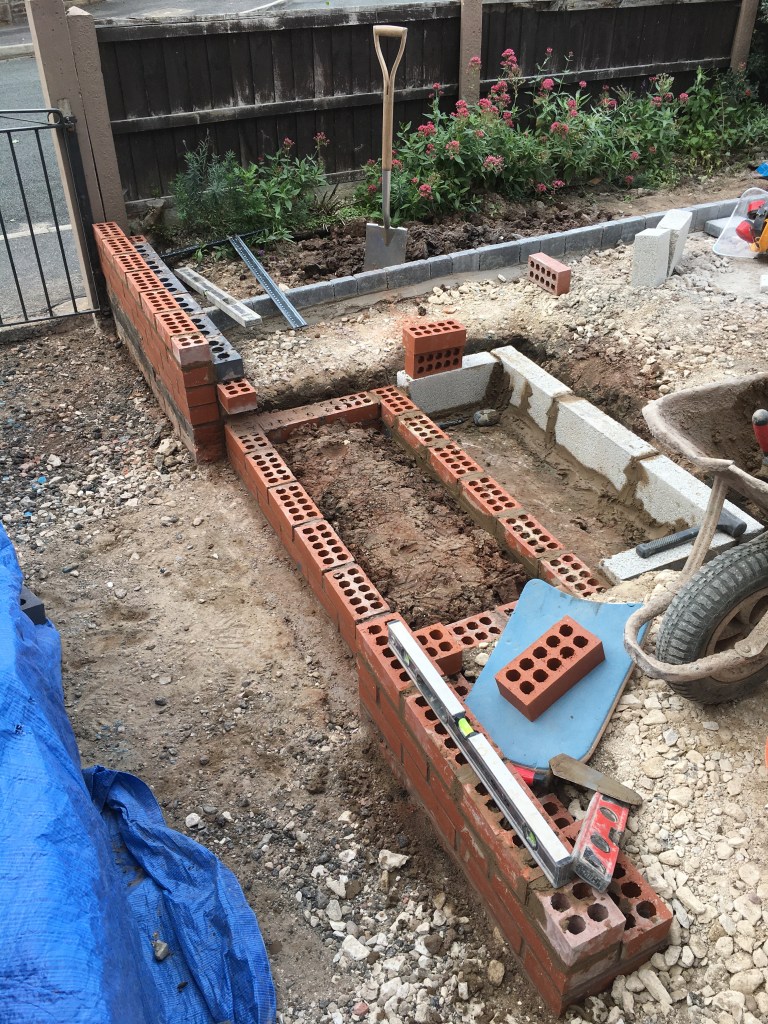
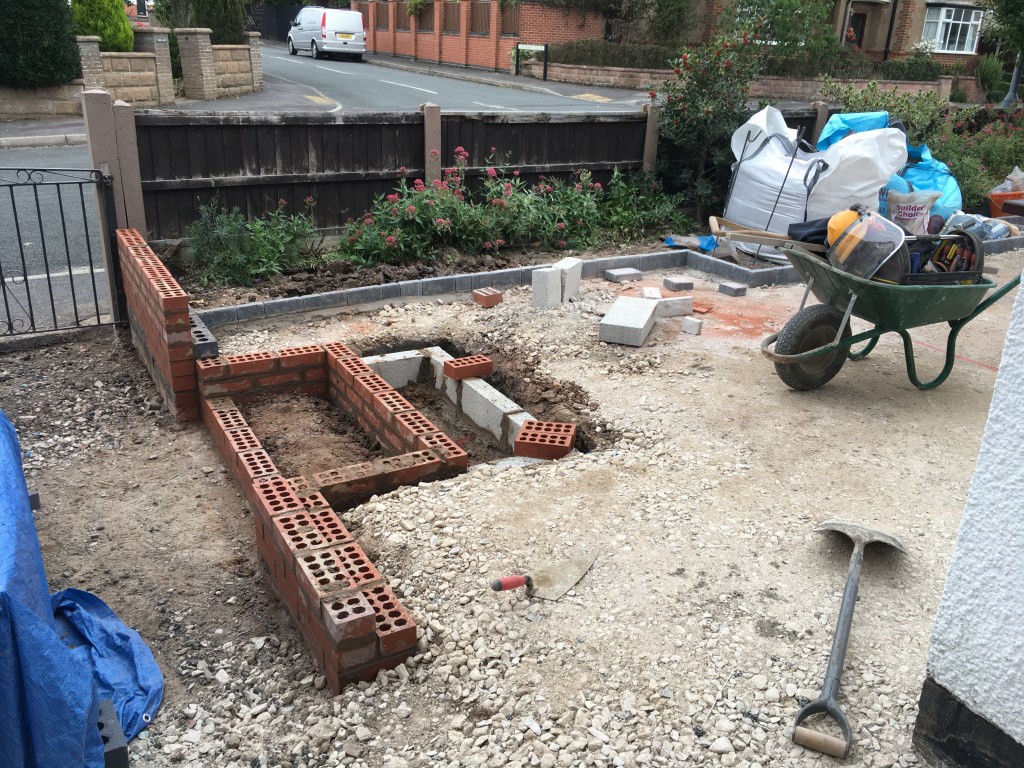
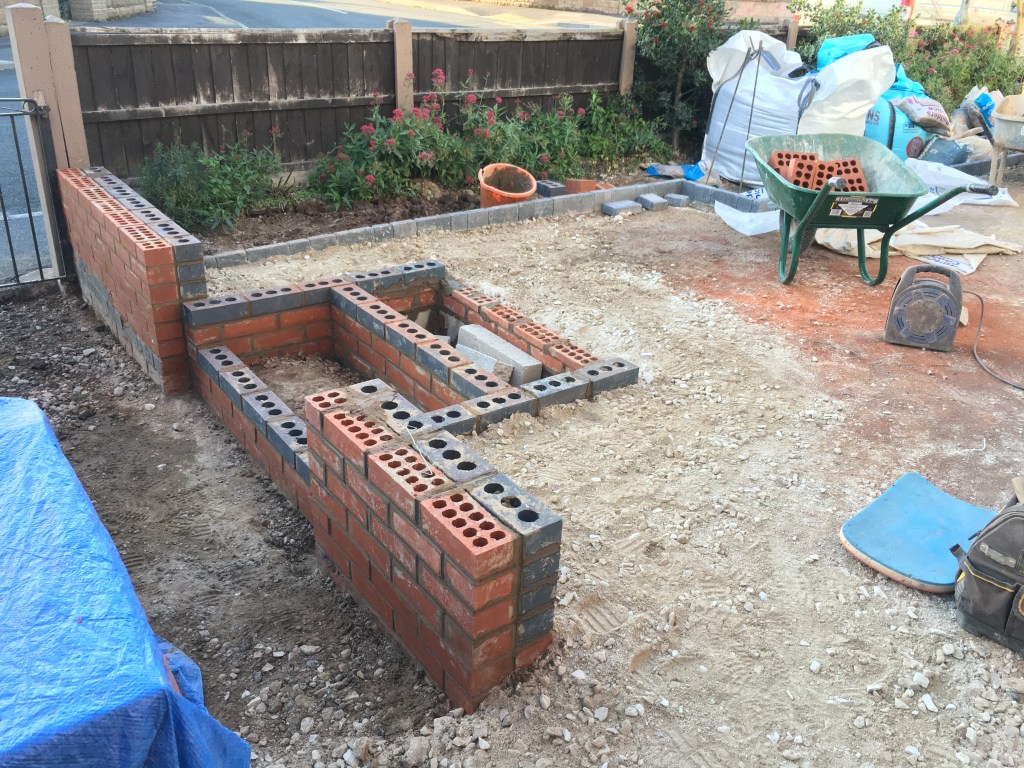
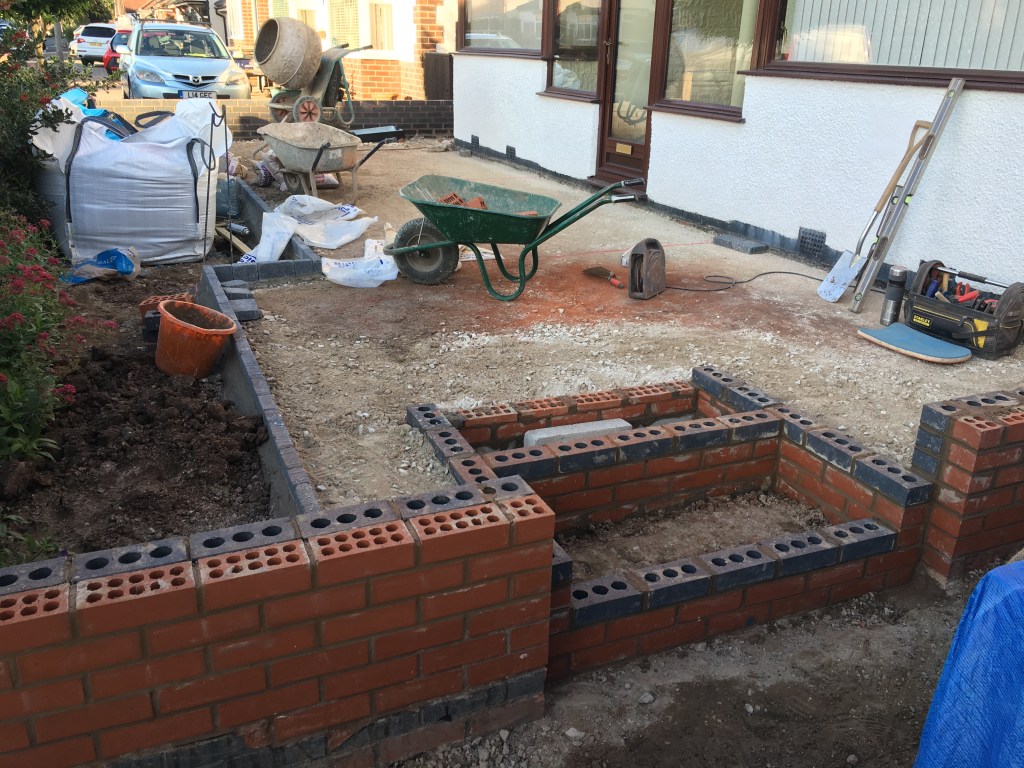
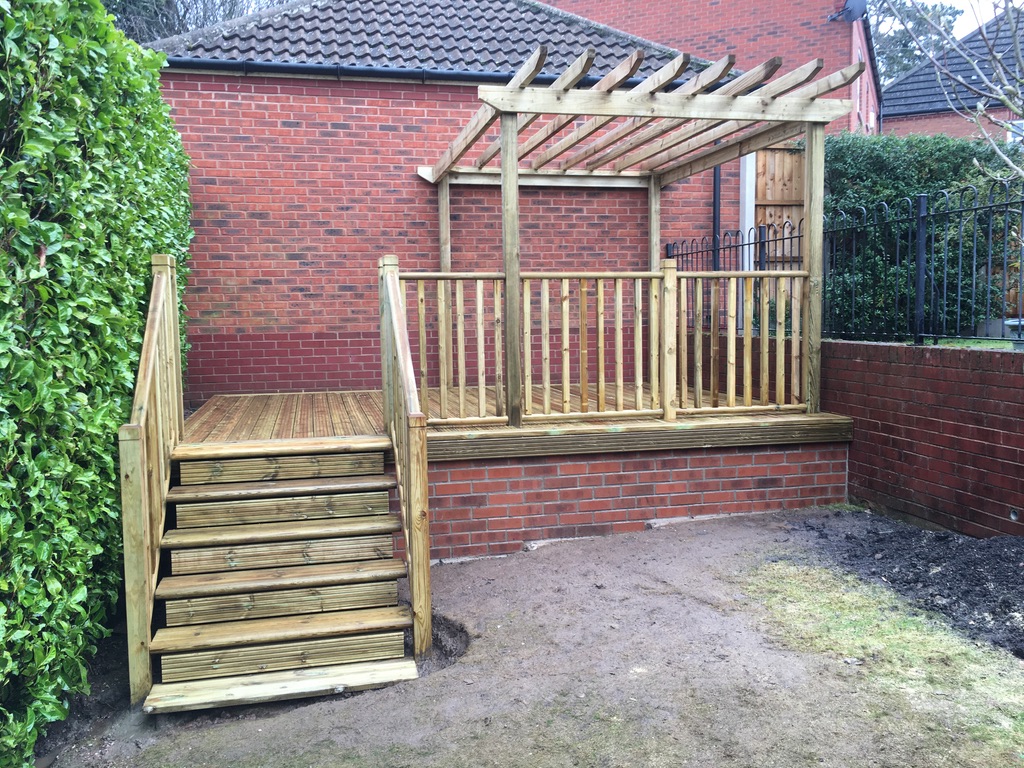
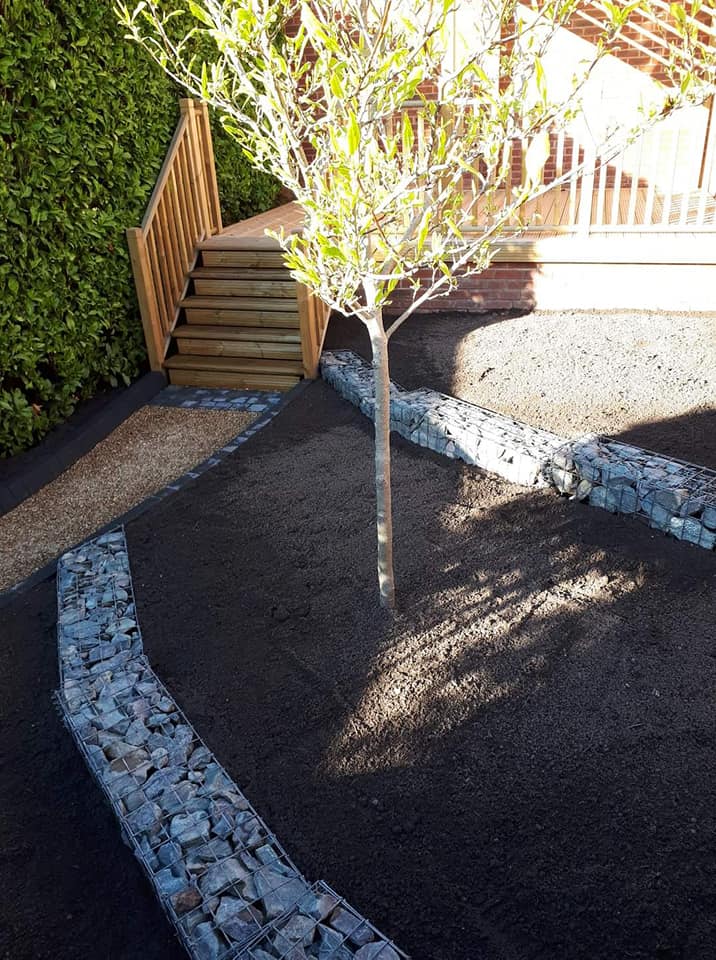
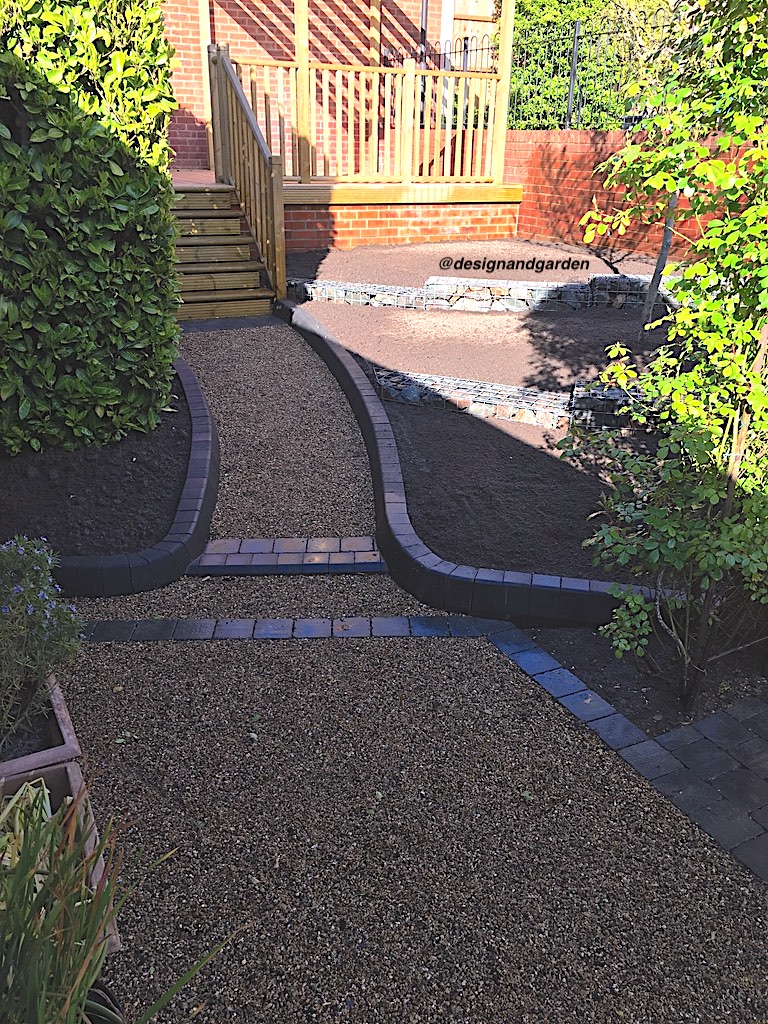
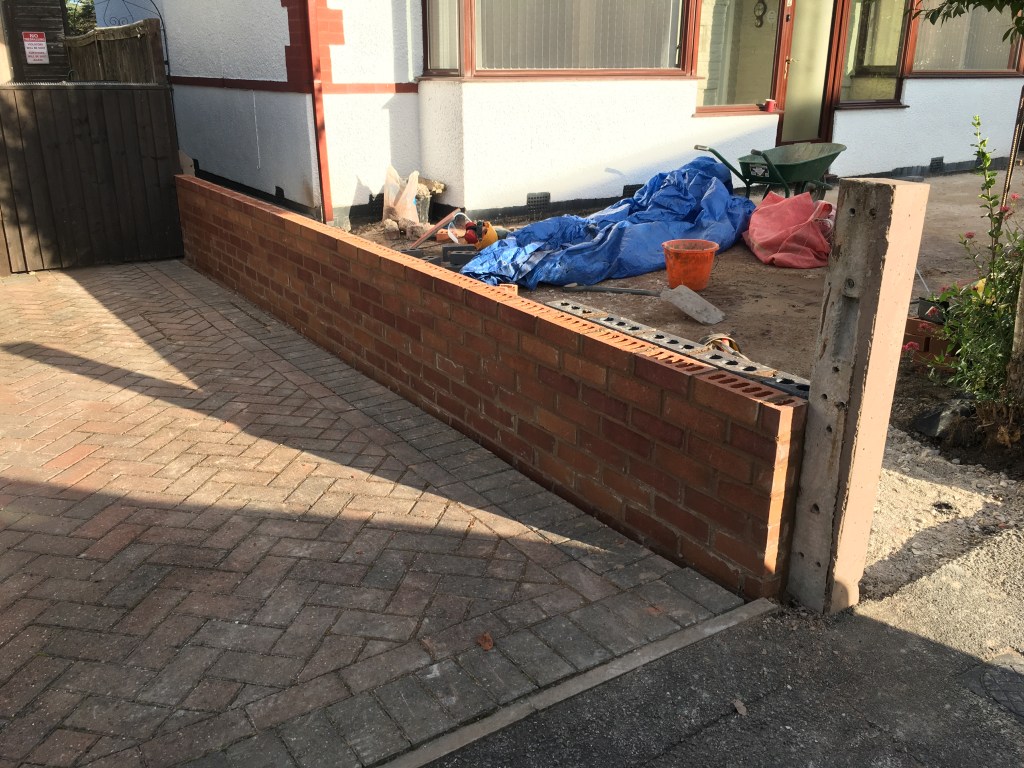
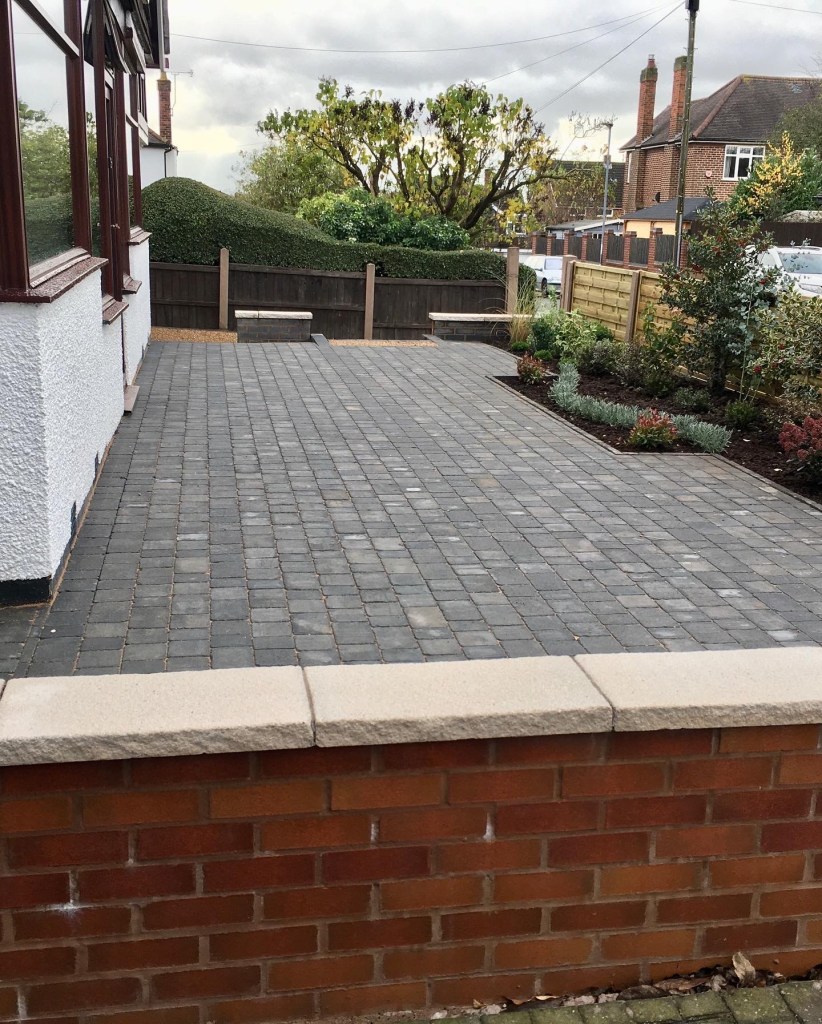
It was decided that the original wall was left due to ground issues and the fence posts. So a new wall and step area were built to blend in with it but in a two-tone red/grey black finish.

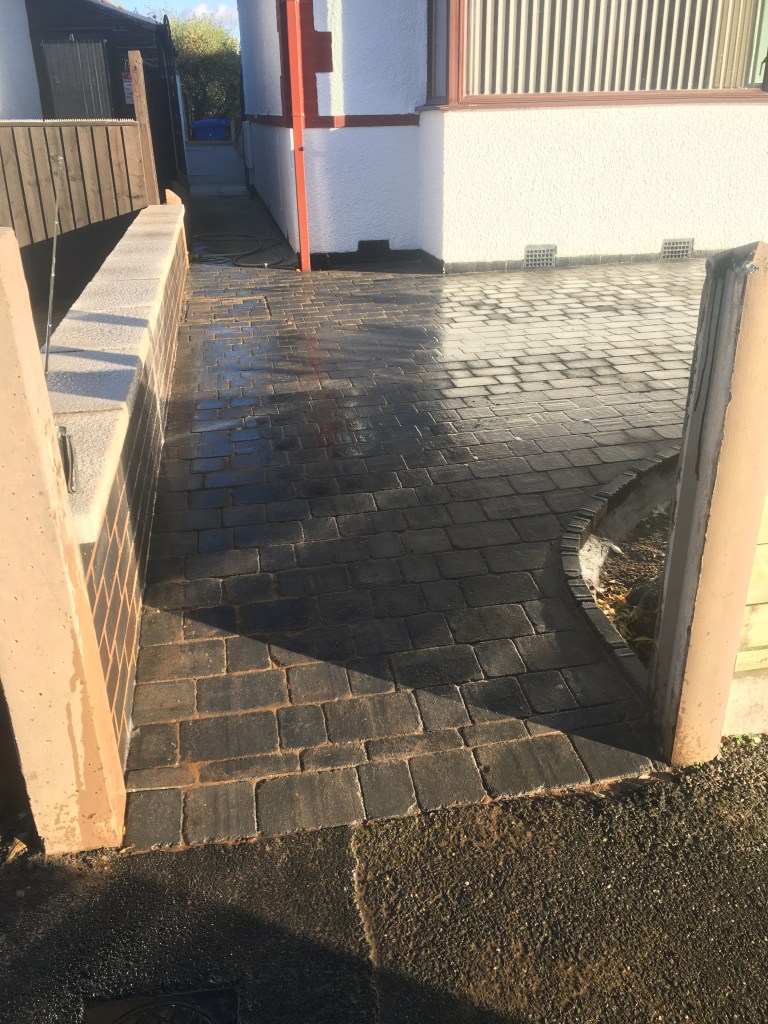
Careful consideration was chosen for the water flow over the blocks. The water was to be spread evenly over the block area so it never creates a slippy section. So the water was moved to the new improved drain a the top left, with the largest amount of water going into the planted area and the rest towards the wall to run along that edge and out to the kerbside. The same was achieved with the lower steps onto the drive.

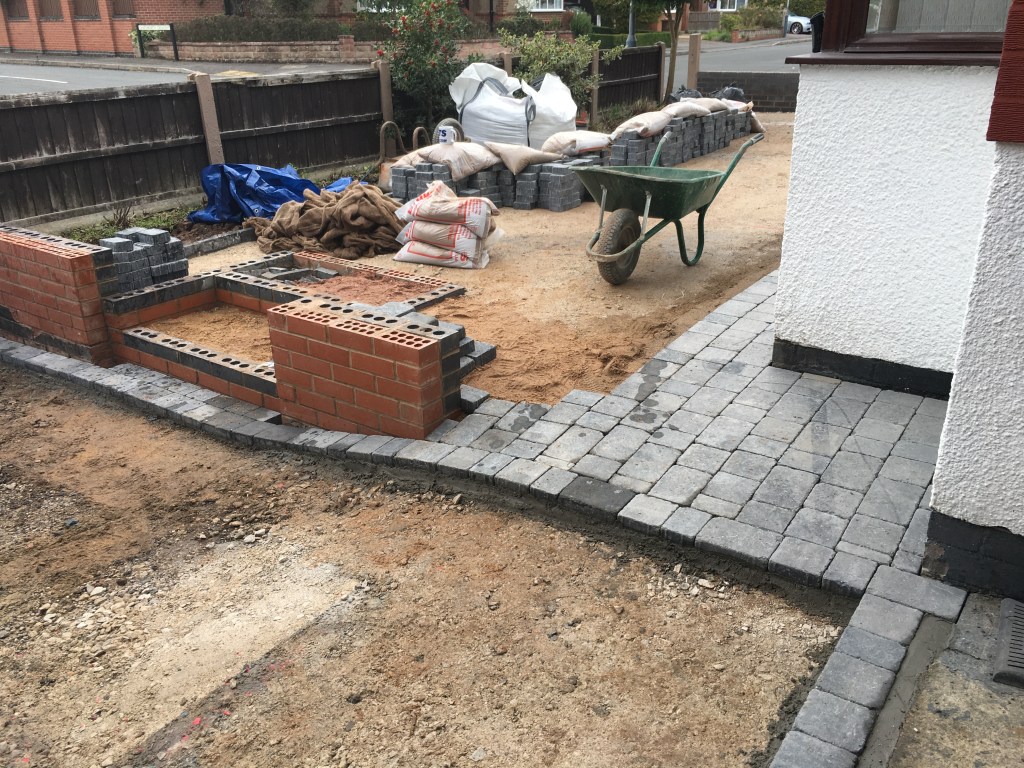
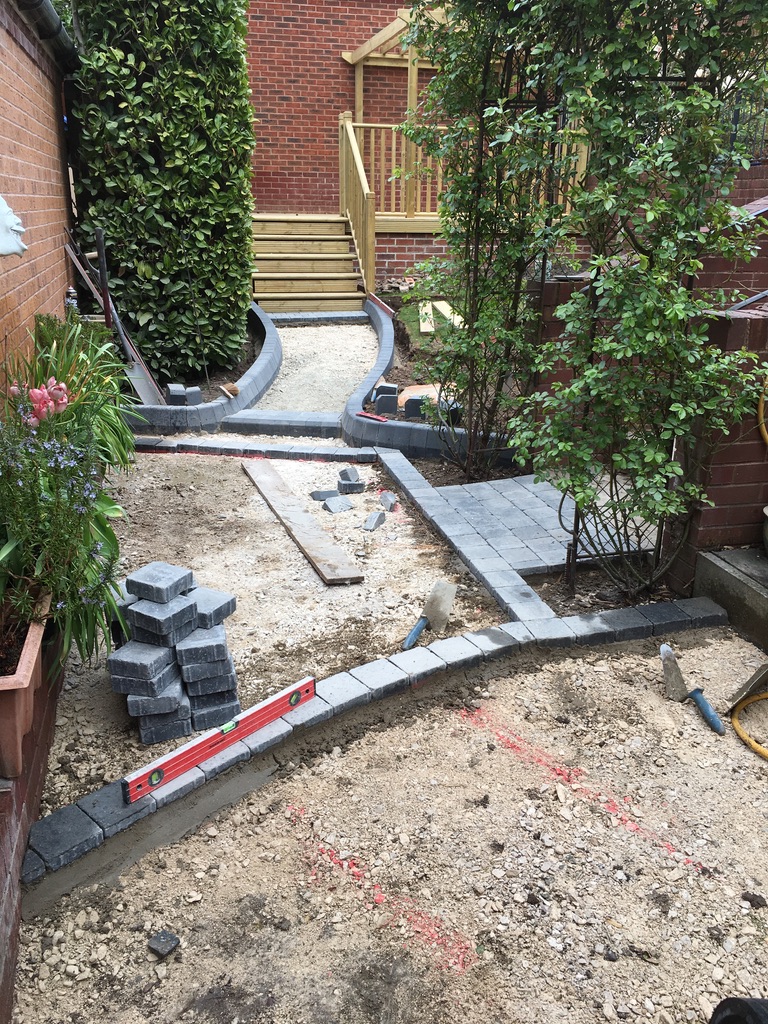
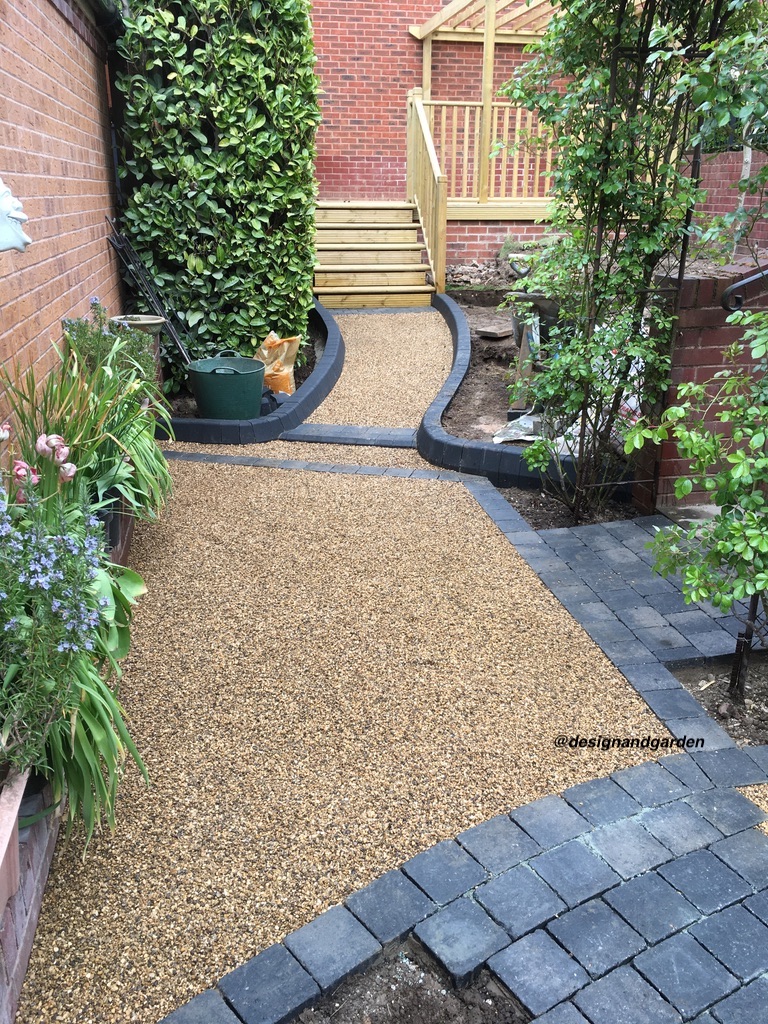
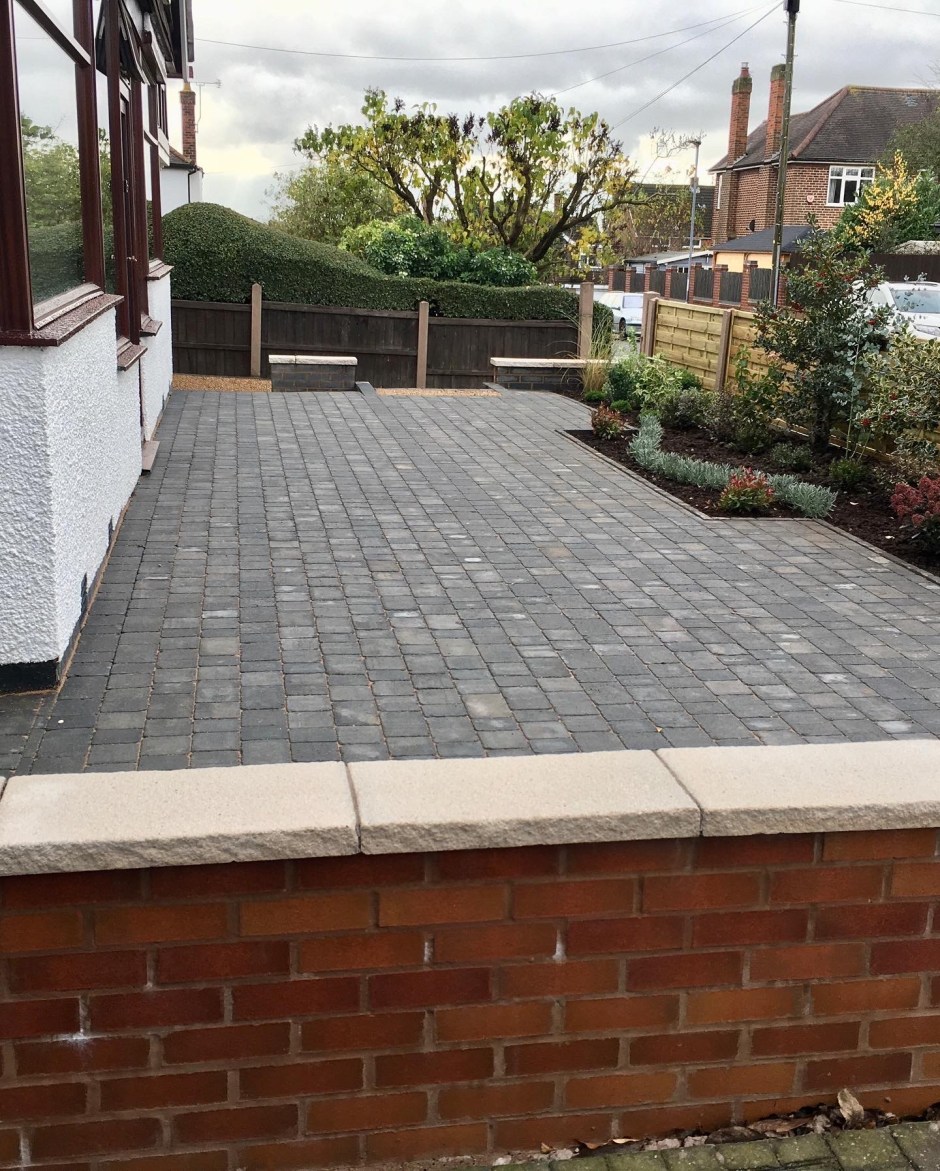
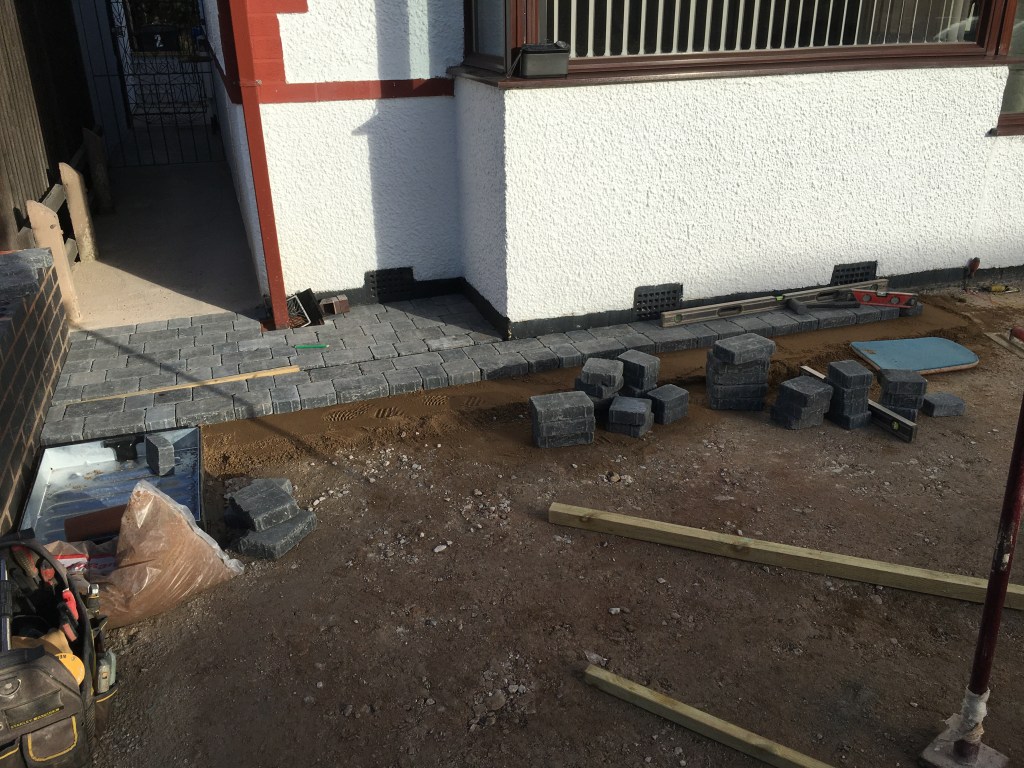
A new edge was formed for the driveway area and the blocks were started to be laid. The drive, although a little small for today’s cars was left as a useful parking area if required. You maybe wouldn’t get a 4×4 into the garage and would be a struggle on the drive. But a concrete grit path was done to complete the look. All the wall tops are now finished with textured coping.

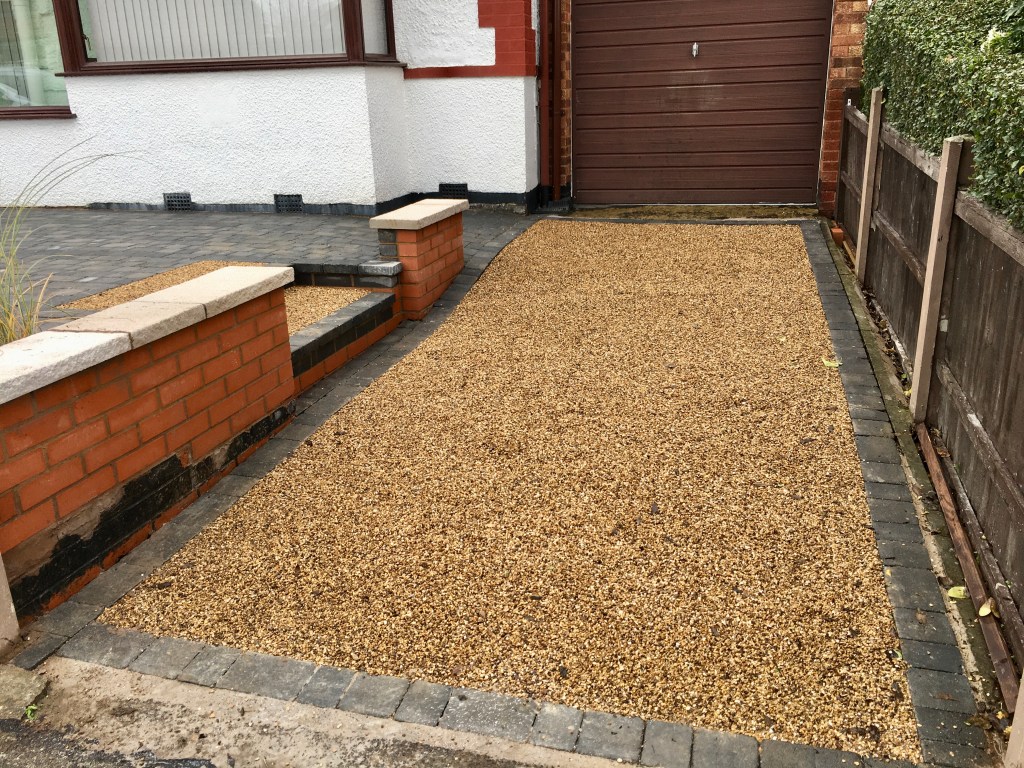
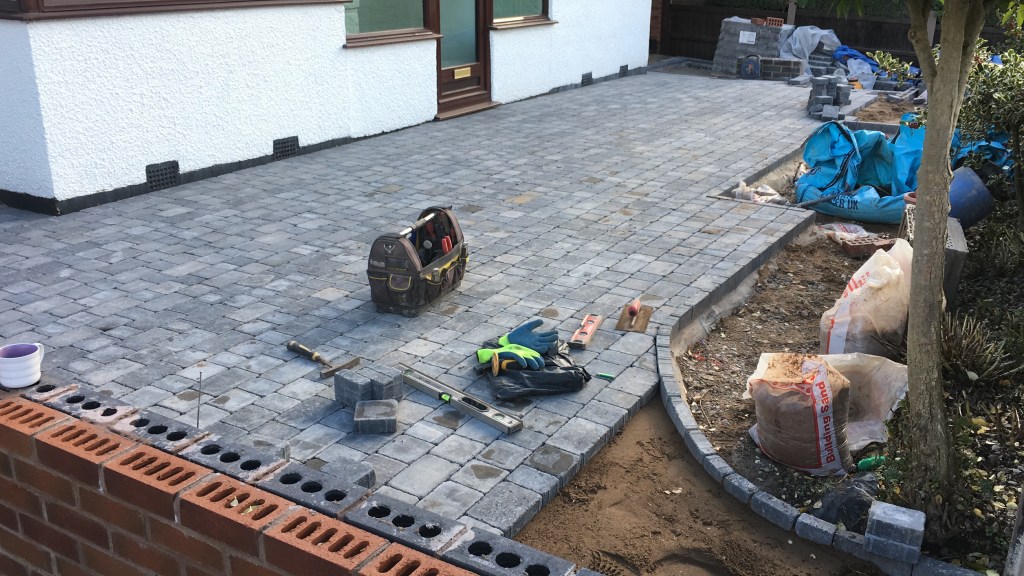
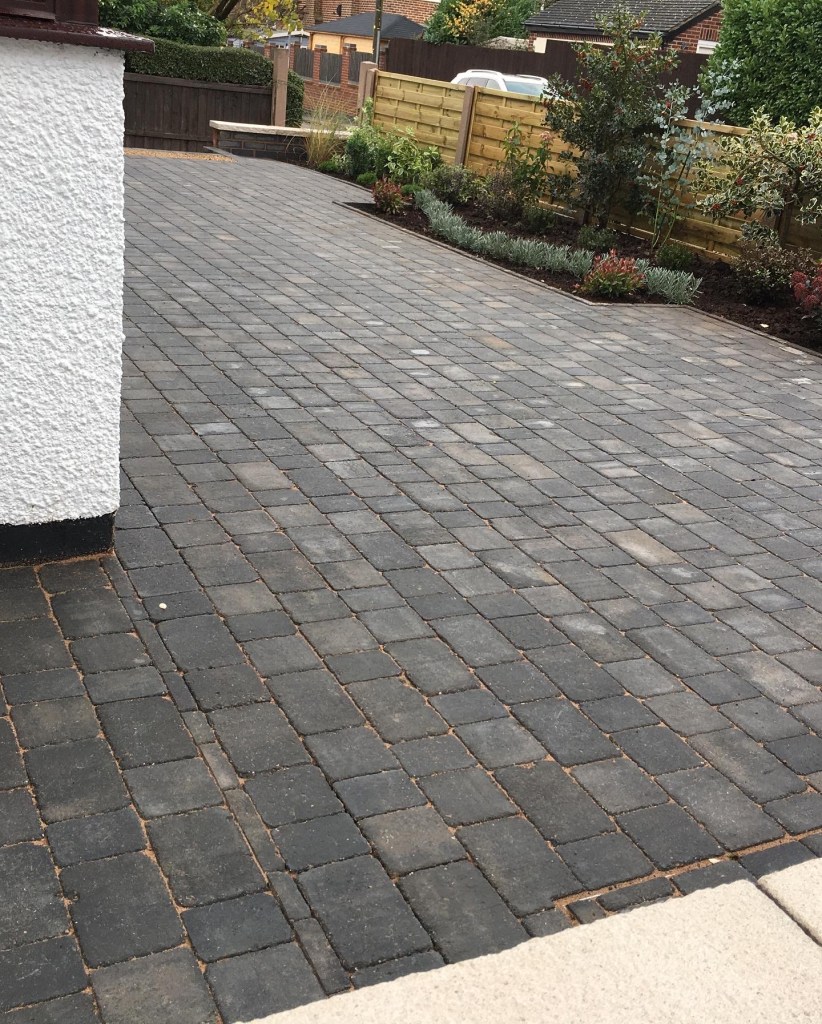
The grit concrete drive is completed and the block paving is almost finished, now for the final touches. This is when it all starts coming together.

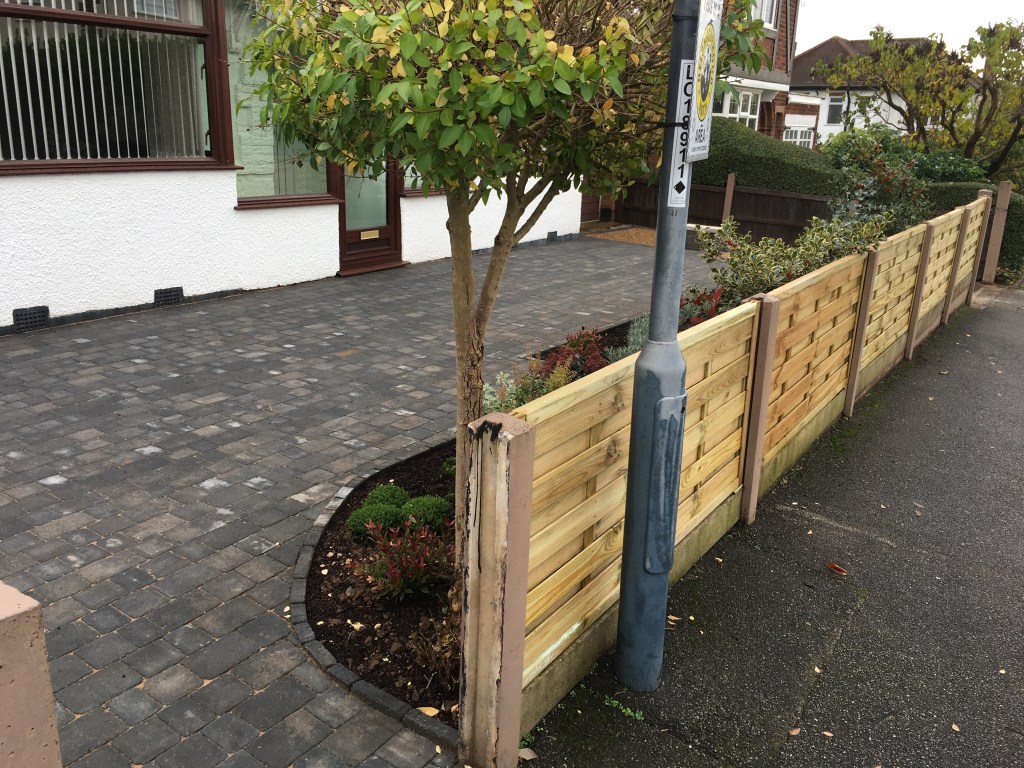
So, let’s finish off. Even completing the job with a new made-to-measure fence on the front and anti-weed infill kiln sand. I did really enjoy this job. When it all came together it felt so right and when it looks this good that’s even better!

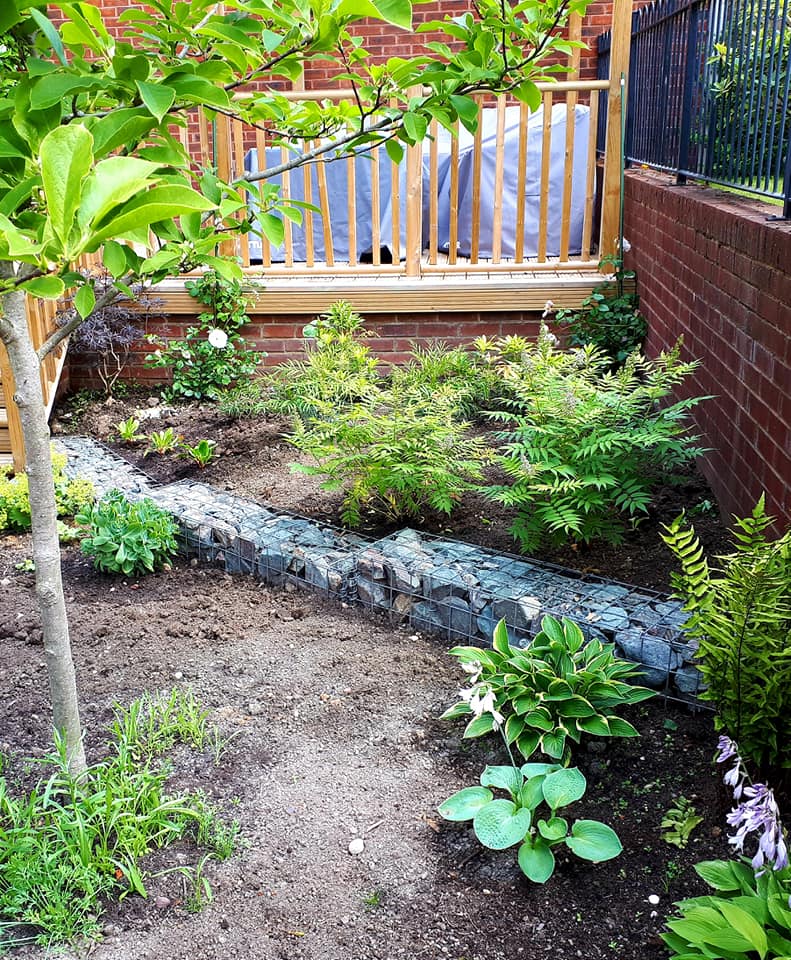
After a final scheme of low-maintenance planting is added to new top-grade screened composted soil, it’s all finished. All but a few small touches will be done to some little details when the weather improves, mainly painting.

Please get in touch if you require any type of landscaping. Over 20 years of experience.


All pictures are the rightful owner of Design and Garden 2023 ©designandgarden

An Artists Home is…

New build homes always have questionable gardens. Whether that is in size and levels or the incredibly poor grounds they’re left with. So a change was required but how to sort out such an awkward size and space…

What do you do with it?

Poor lawn, Poor soil, Poor view. The first job let’s remove the landscape poles, shouldn’t be so tricky… can you believe these were buried a metre deep and then concreted in! Why? The clay behind wasn’t moving and basically, all these posts do are rot at the touching point of the soil anyway. So that was the first day sorted together with extending the wall further forward to cater for it.

So, the footings are finally in and the progress on building a wall starts.

The general design is a small retaining wall to create a level area to build decking with a pergola for privacy from overlooking neighbours.

Despite the weather being cruel, work carried on and then the decking frame and pergola begins…

Using the wall to support the frame at the front, pergola frame-up. The next move is the steps and boarding.

The handrail and posts are in. Steps are aligned and ready to complete, leaving this till the last job due to the mud below. Then measuring and fastening the top rails on the pergola.

Finished. A temporary step is used for the bottom step until phase 2 is completed later on.

Ok, so now let’s sort the lower section, phase2. This was difficult due to the crazy level it held, the chronic soil condition, and being damp most of the time.

––––––––––––––––––––––––––––––––––––––––––––––––––––––

Above is the view from the new decking area

So a pathway is required to get to the new deck area from the steps (pictured right) which is the only access to the lower garden. Also as the garden goes lower that needs a path to the shed.

The lower section of the garden gets very wet with fairly poor soil.

A design was created that made the area usable & functional but looked modern and in keeping with the client’s wishes.

Also, the area had to have a large percentage of soil removed which meant taking it slowly up the steps to a skip at the front of the house, time-consuming but worth the effort. The other main feature is with the garden being on a slope the rainwater that’s been used to flowing naturally will be altered and that needs taking into consideration so the new works don’t get flooded or the neighbours’ gardens aren’t damaged from the change.

Two trench lines are dug ready for concrete footings and drainage is added. These are to create the levels that will become the planting areas.

Edges are formed to retain the soil and define the path. Water is filtered into the hedge by a hidden drain under the path from the upper area together with sections that lead the water to the Rose by the steps and then to newly created planting areas. The remaining water filters over the path to lower sections.

–––––––––––––––––––––––––––––––––––––––––––

The old lawn area has now been rotovated and the next addition is being added. The use of Stone Cages, Gabions as they’re known, were used for a couple of reasons, one for the water issue and the second a preference by the client from a few choices offered.

Using the Gabions helps the ‘Levels Problem’, where the land level altered from side to side and front to back. All the soil has been turned, lawned removed and the worst of the soil removed.

As the job is coming to a close the final touches are added. The pathway is a special concrete stone finish and the blocks are Bradstone. The Gabions are cut to size and fastened down to the concrete footings.

Stones are added, a high grade granite slate format. 4 tons of fresh top soil is added.

The bottom of the main steps
The lower section of the garden, pathway to the shed and addtional planting area.
Getting there… the lower section coming to a finish.
THE FINISHED LOOK!

And here’s the finished look. No water issues, no weeding on the pathways, and now simply ready to plant and enjoy!

A picture was sent by the owner showing how plants are now being added…

–––––––––––––––––––––––––––––––––

Please get in touch if you want any Landscape works from a trusted landscaper of almost 20 years. With vision and attention to detail as a given!

©designandgarden2021