This was an interesting job. The first viewing must of been five years before any ground was even touched. The priority was given to restoring the house initially.
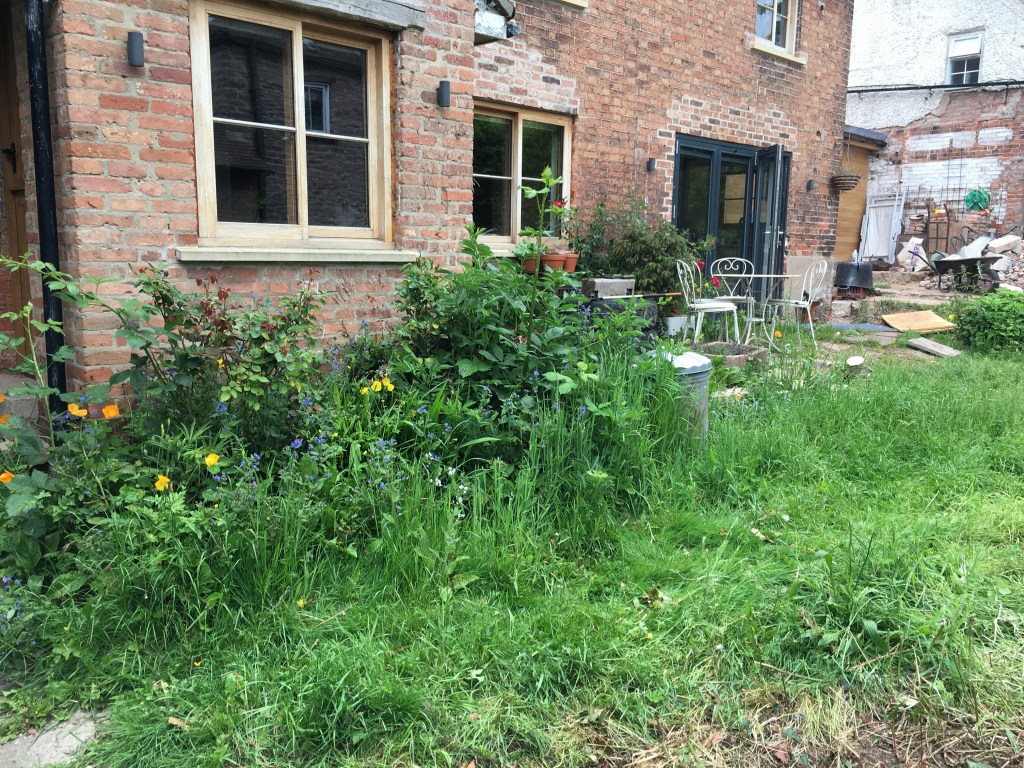
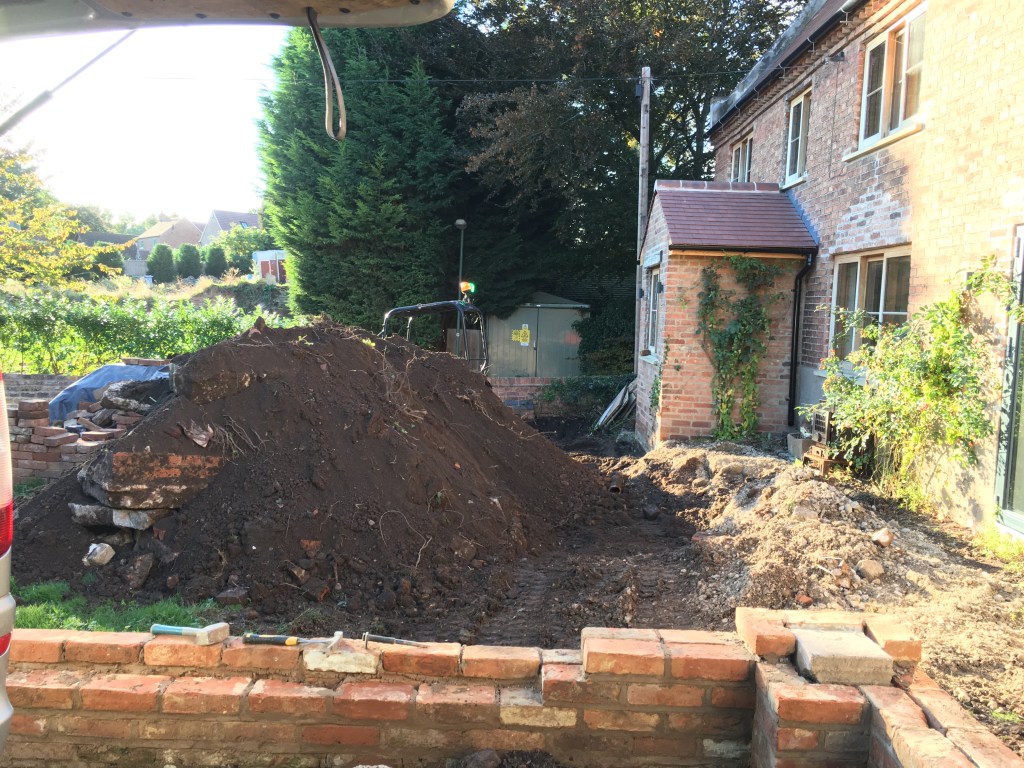
When the first talks started, it was of course about the design and how to go about creating a garden which was only at the front of the house. This didn’t have a rear garden, so everything was on the front and on show. We discussed that the owner, who was a good diy’er himself, started to clear the worst of the garden out, removing old trees and large scrubs ready for a digger to do a proper clearout job.
After a design and plan were in place, It was arranged that I’d do the majority of the groundwork and then get others in to do other jobs, due to time constraints and the daily distance.
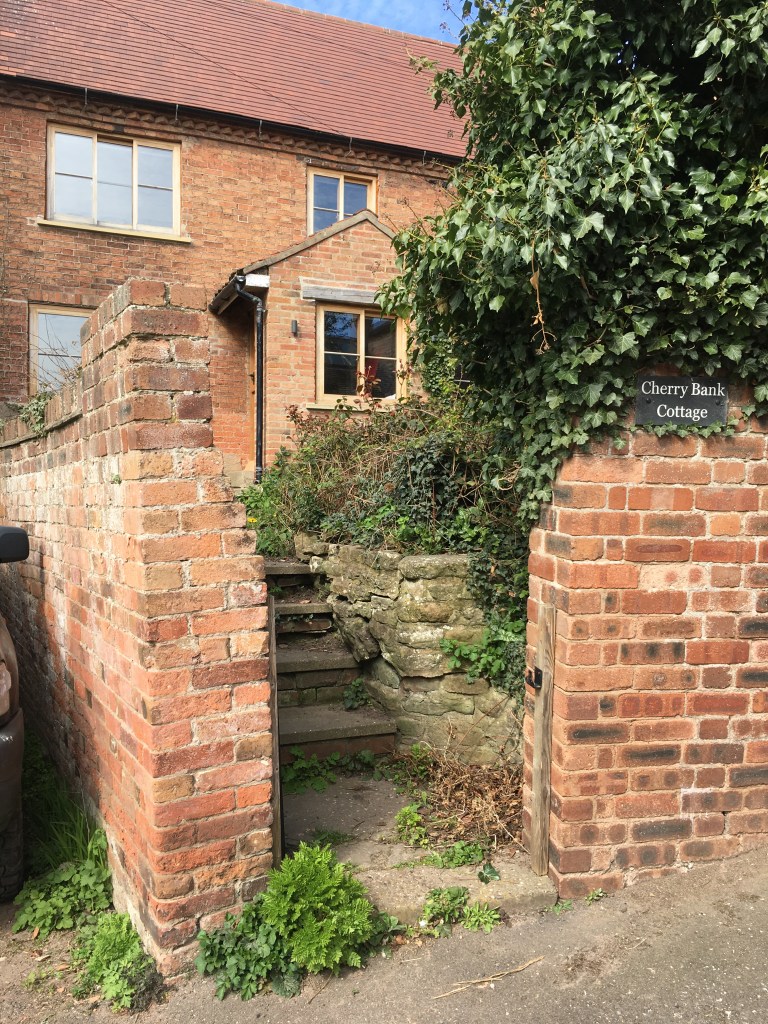
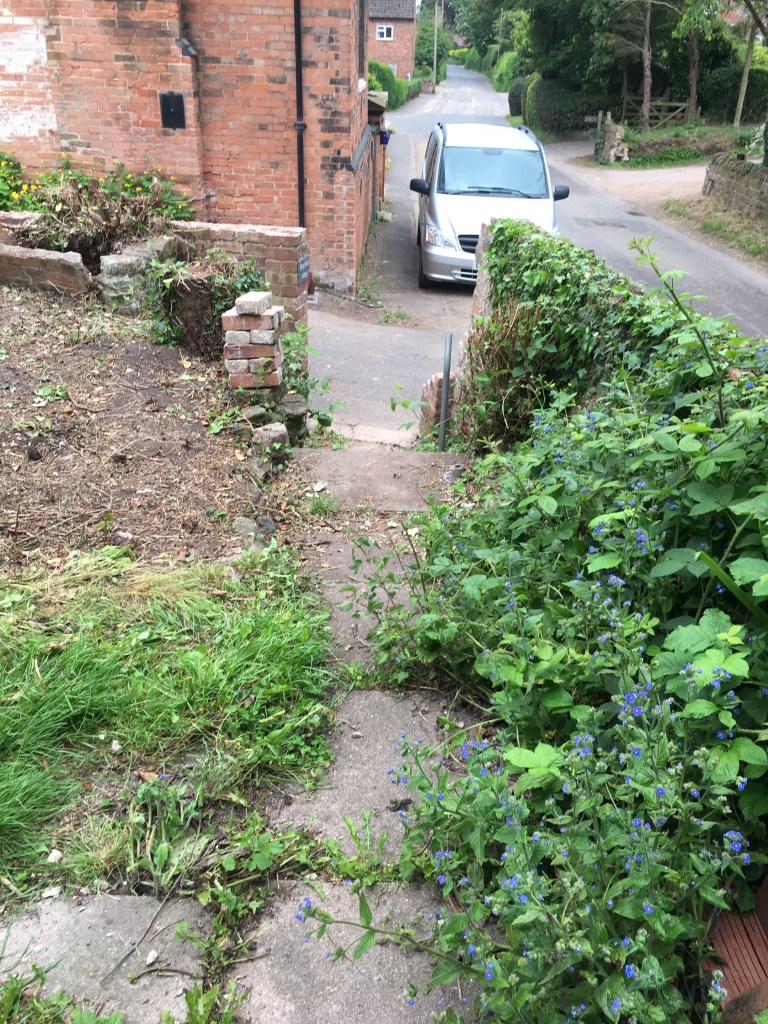
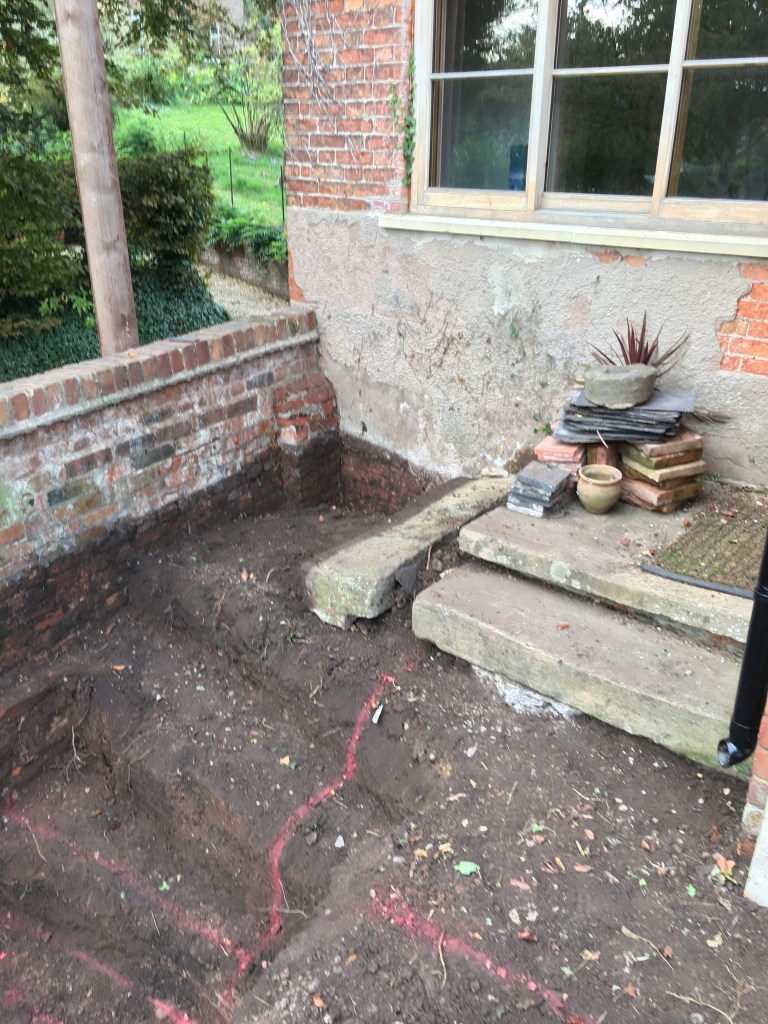
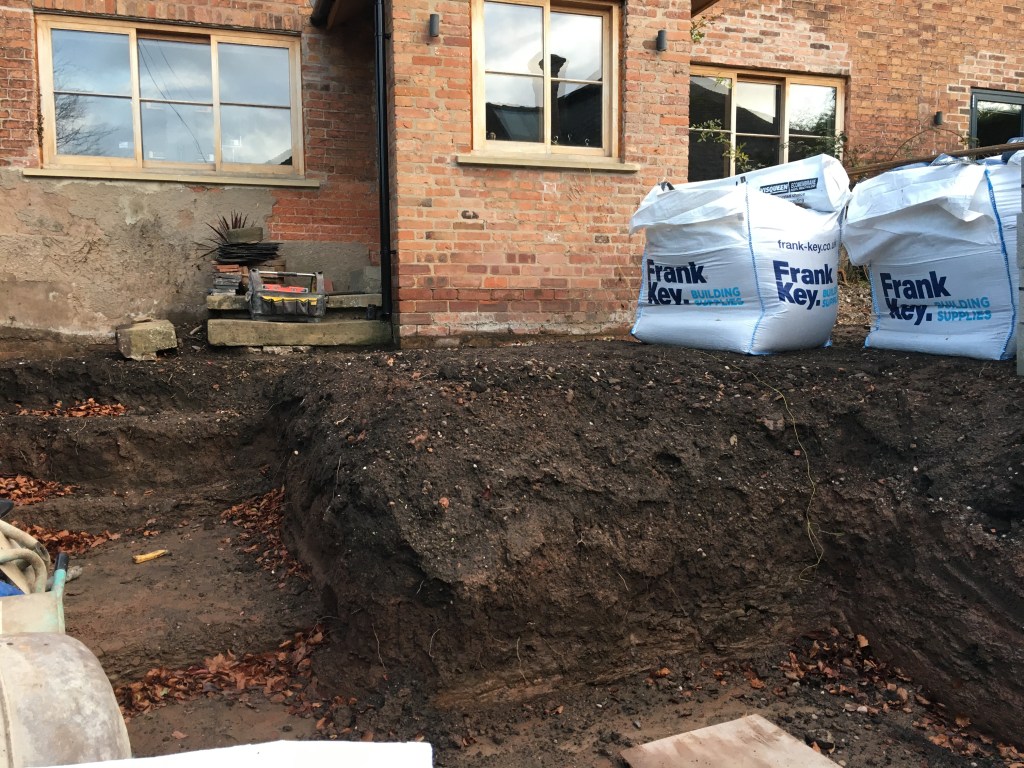
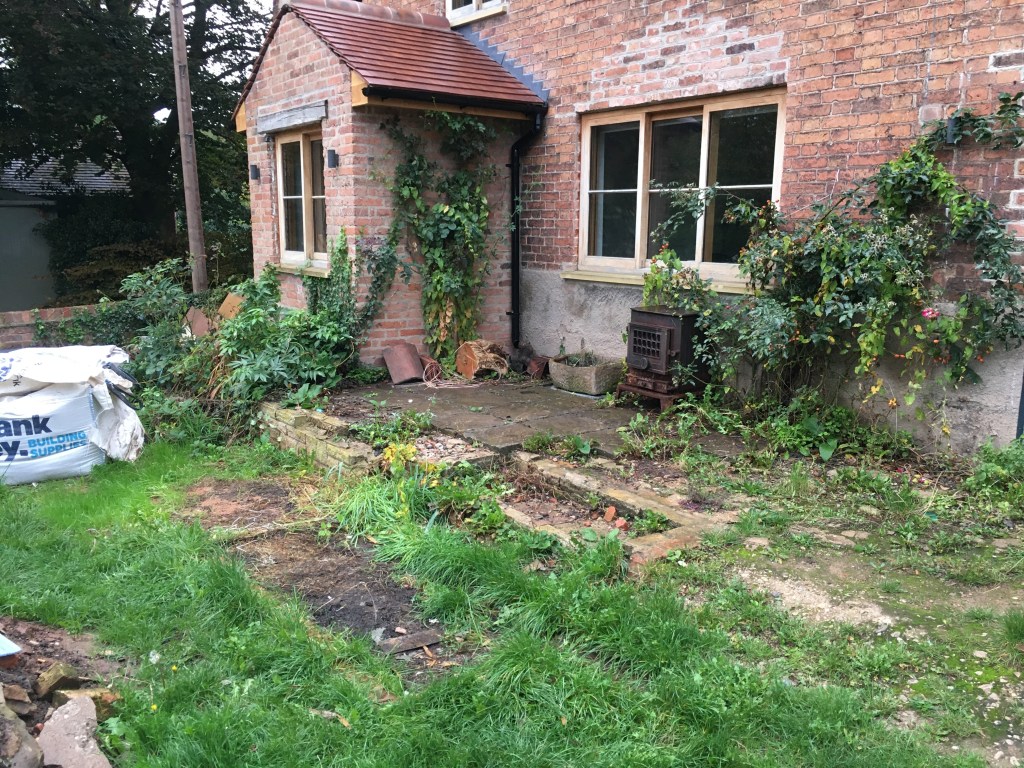
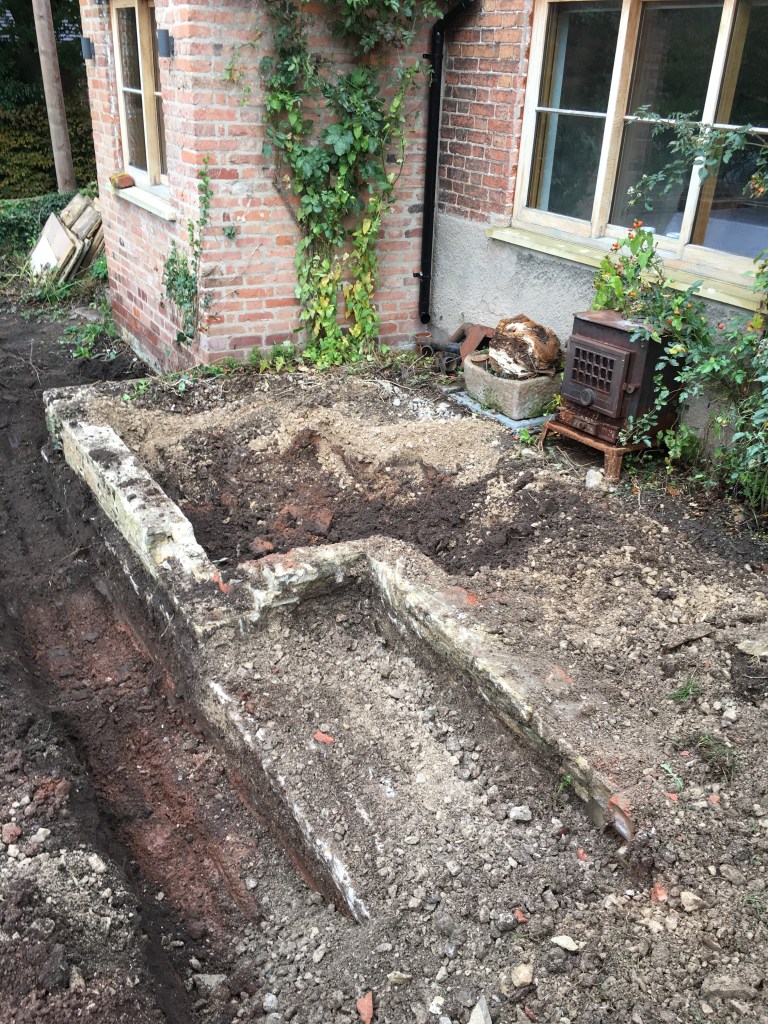
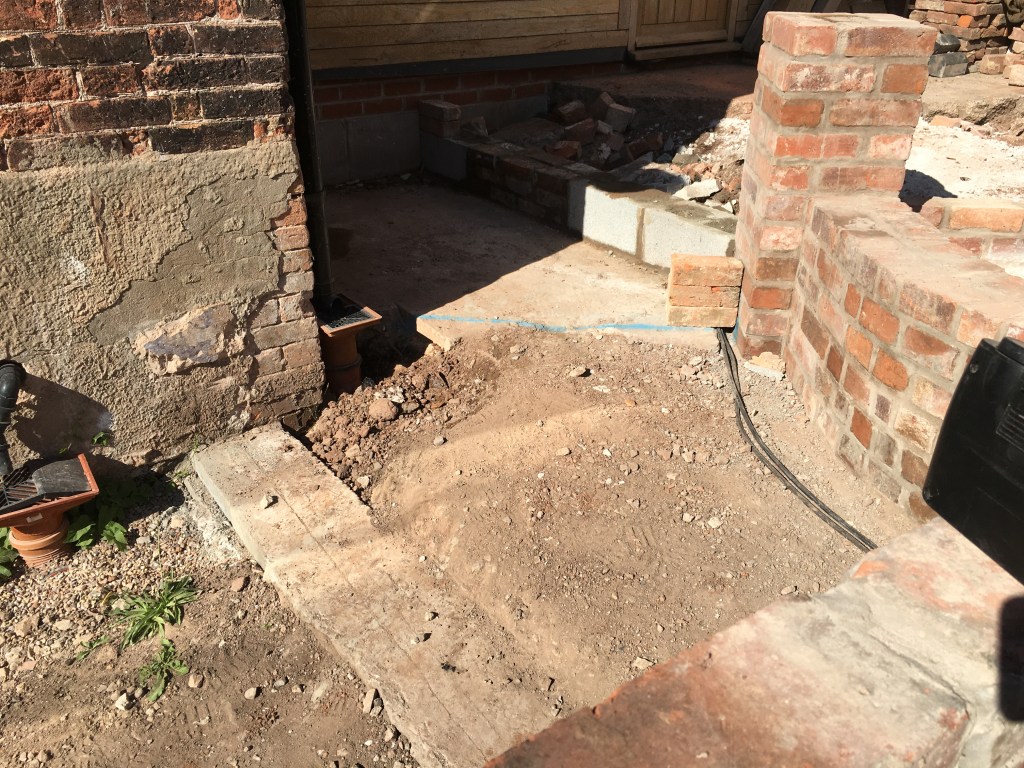
One thing I was keen to remove was the side steps in the front door. Blocking this off then creating a more private garden space. This was also because the ‘front door’ was being moved to the top of the house.
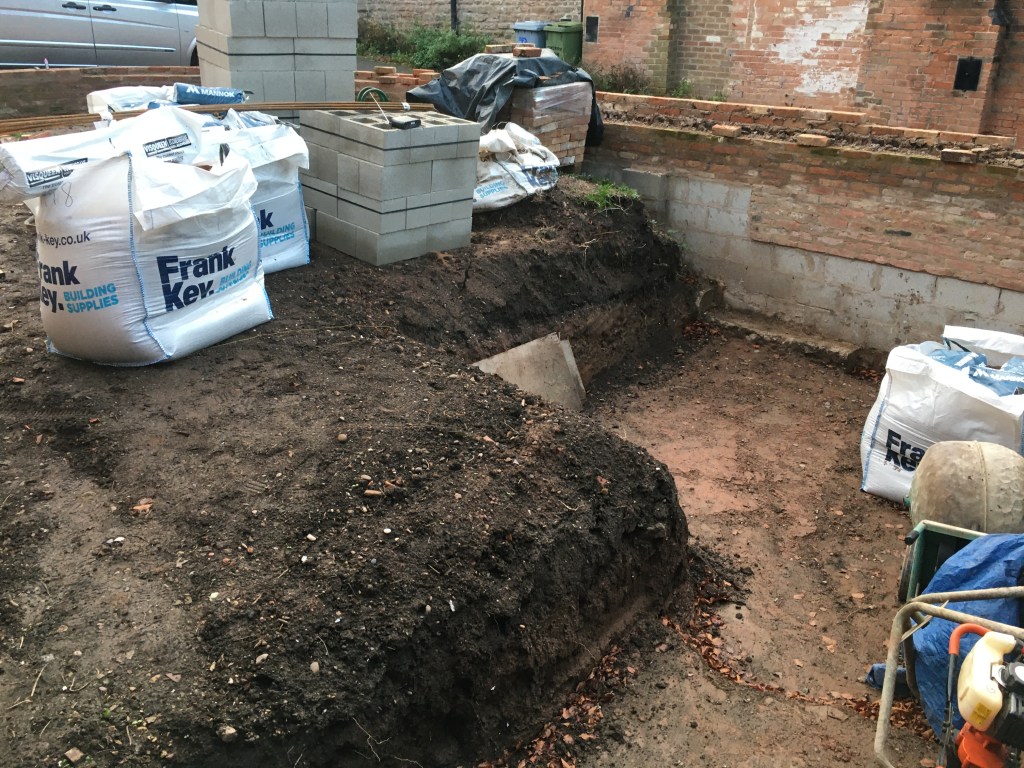
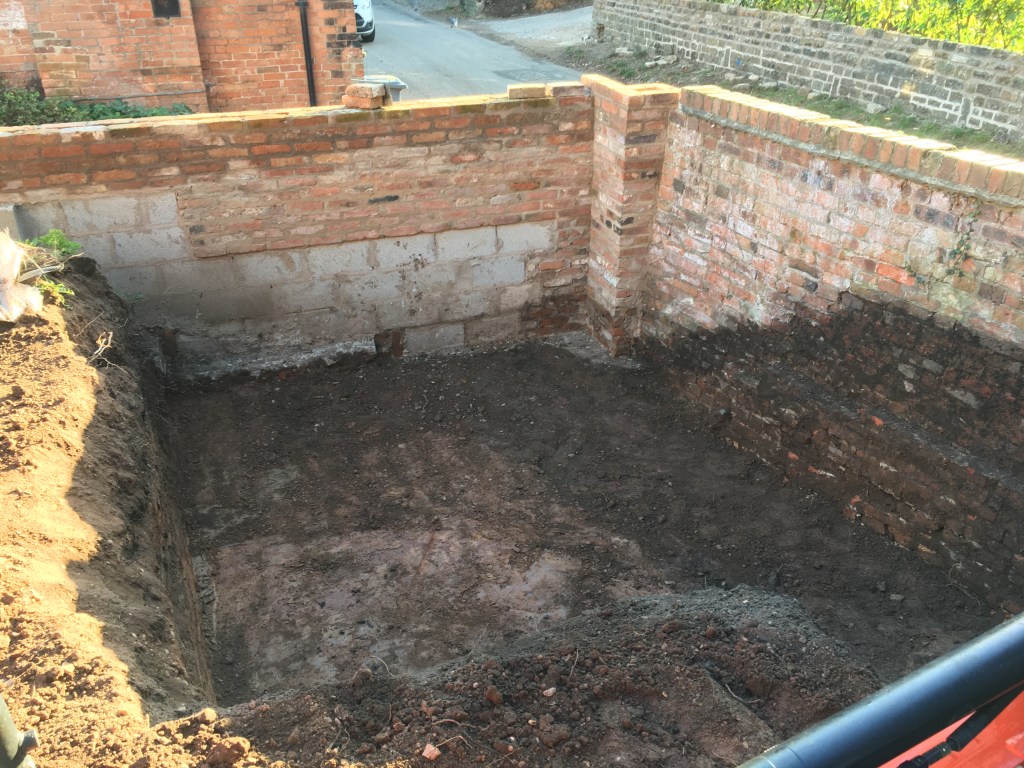
A few weeks before the official start, I came up with the, maybe crazy idea of creating a sunken garden. Doing this would then give total privacy and an area that could be used without onlookers. So, in 2021 the first dig was started.
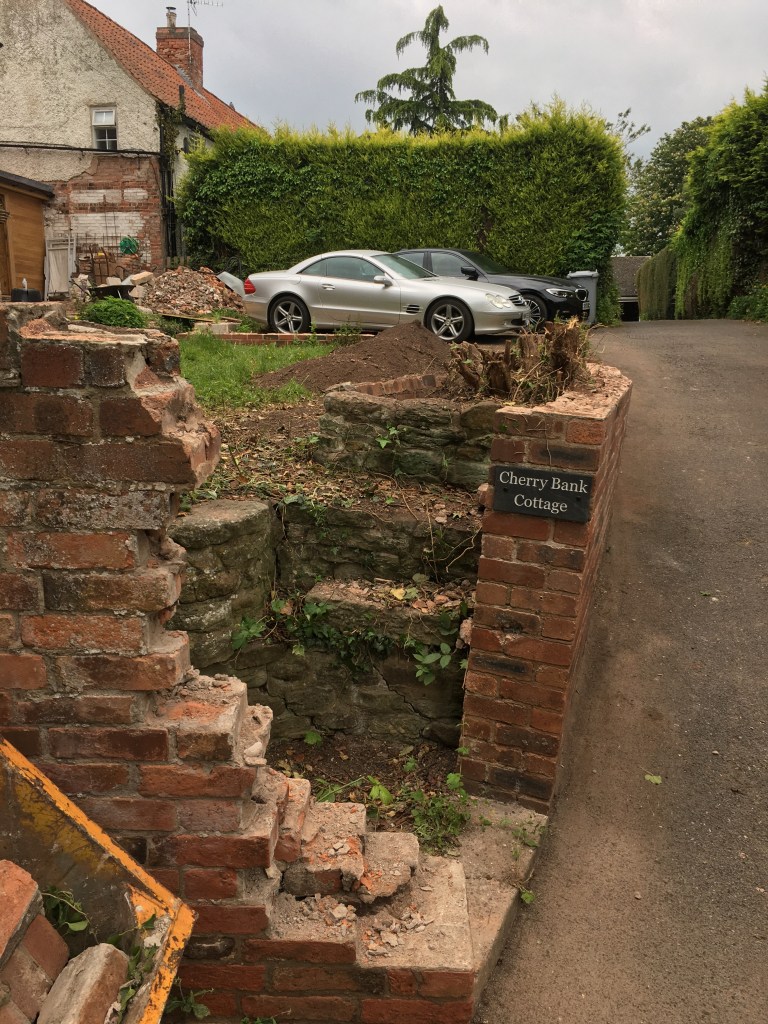
The owner got some guys in to sort the wall out in a design we had discussed. Well, this didn’t quite happen as quickly (3 months) or quite as planned as I wanted. So, I stepped in and completed the wall as it needed to be finished so I could start the inner section, and a lot of repairing was done.
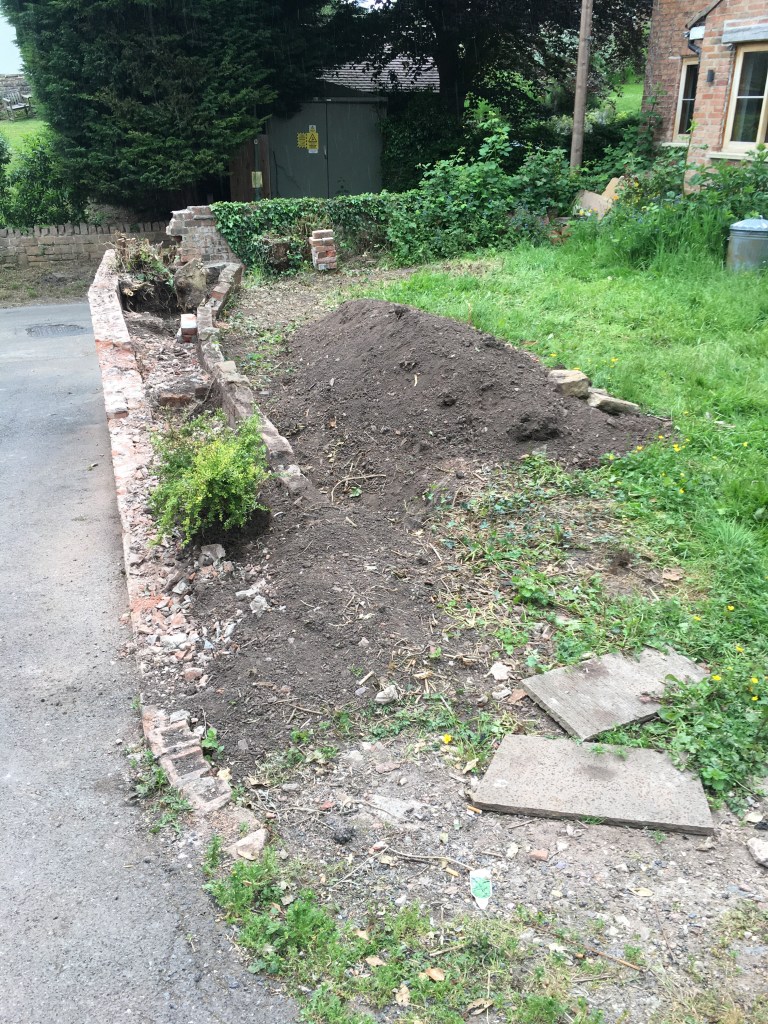
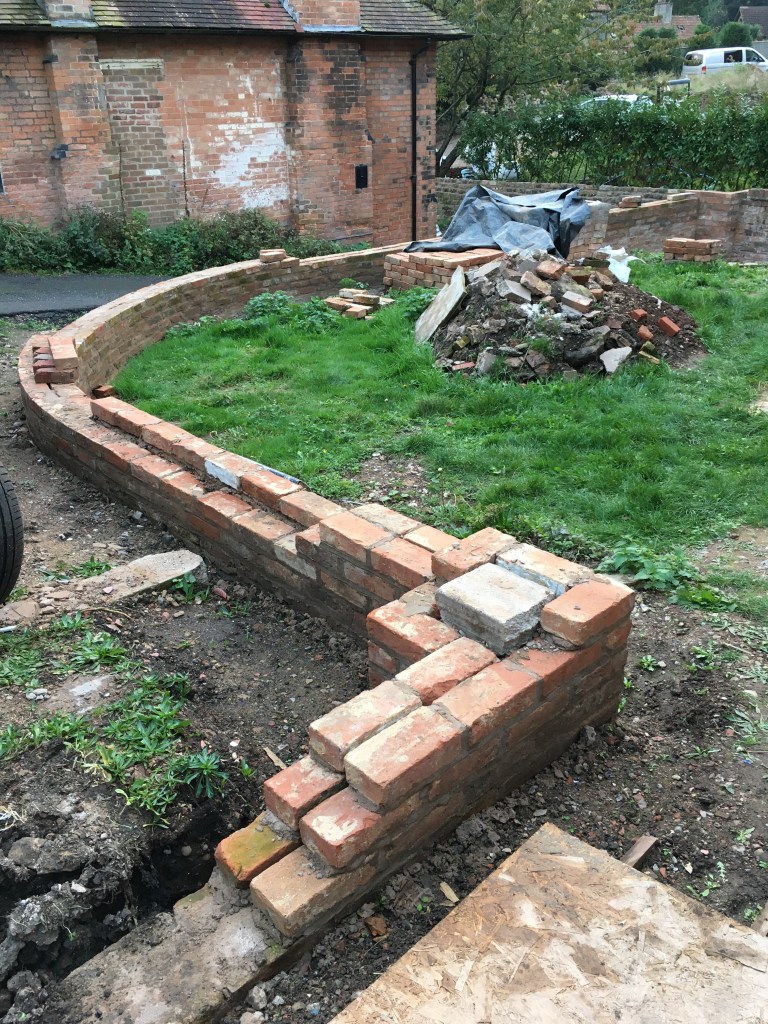
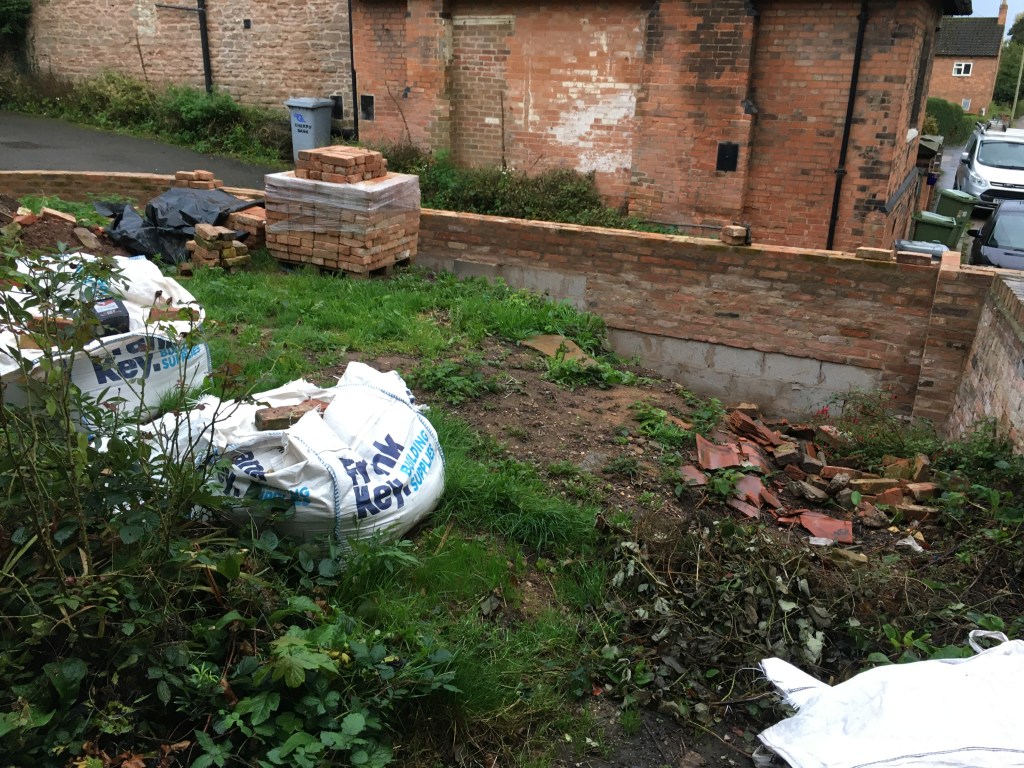
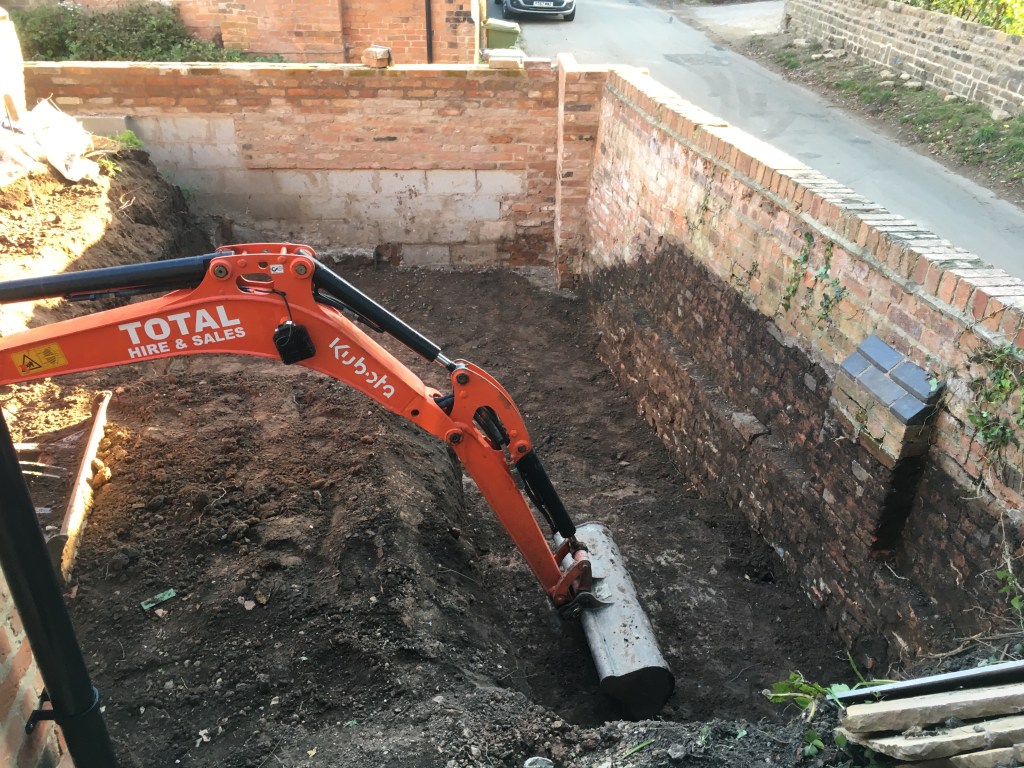
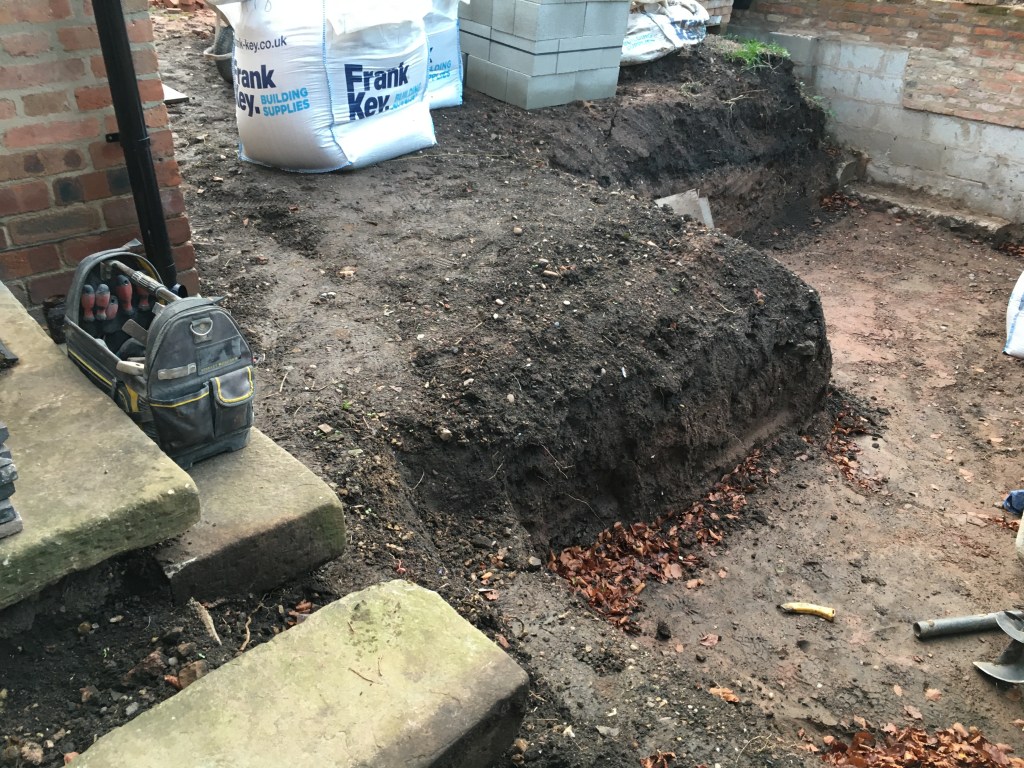
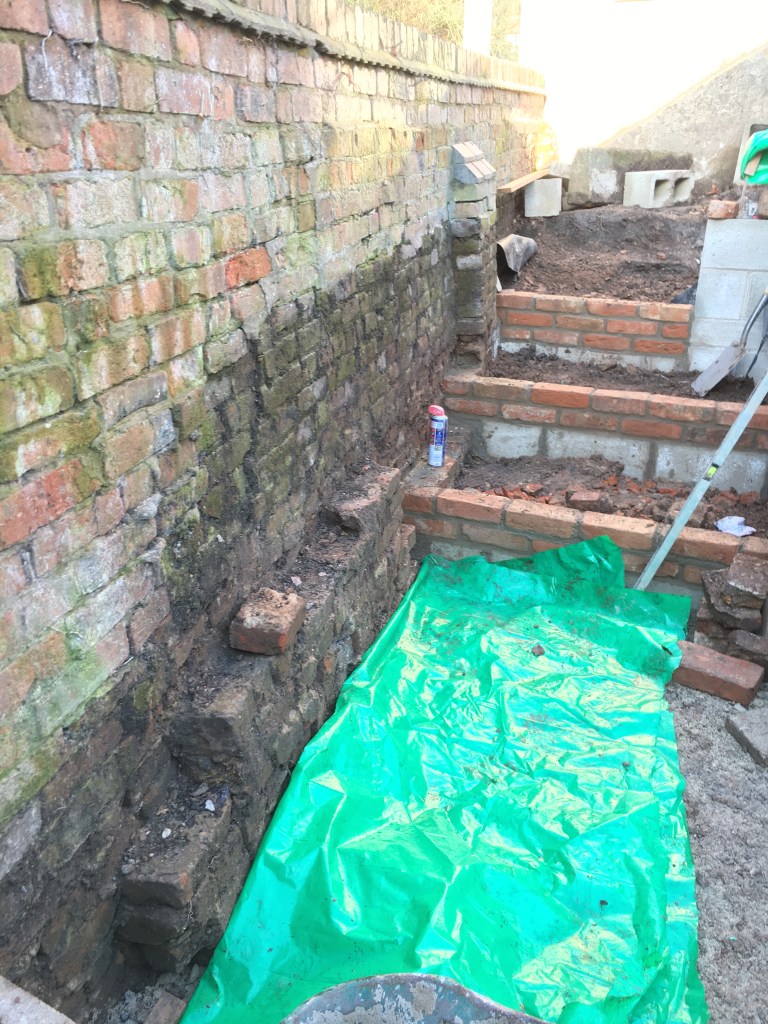
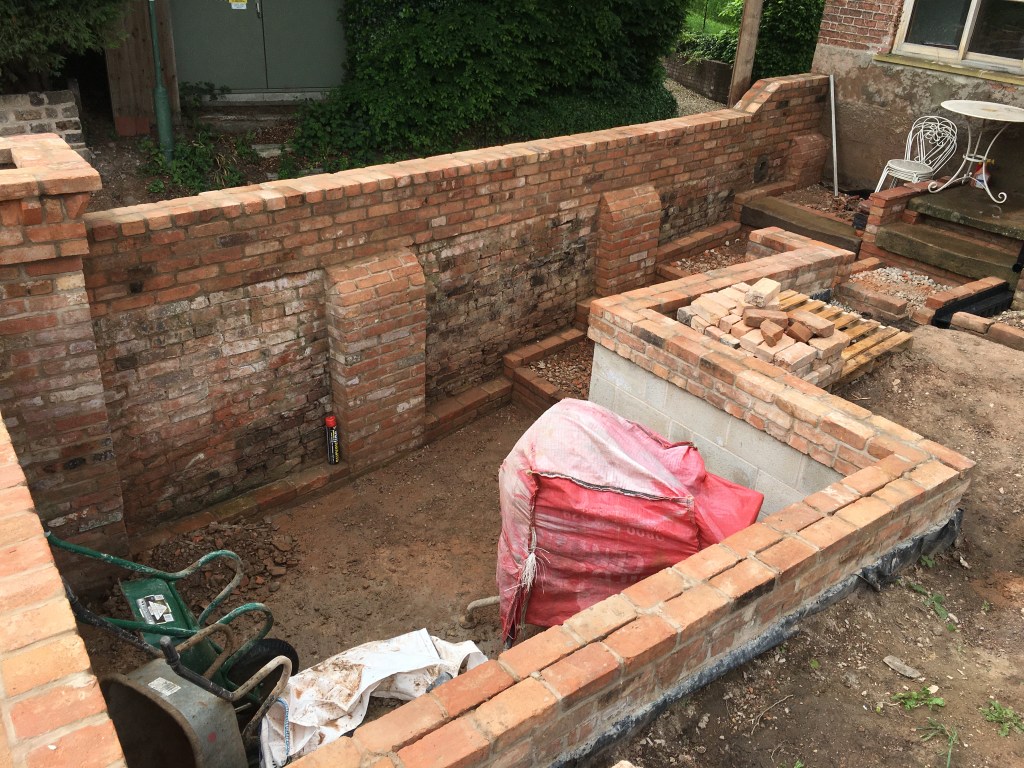
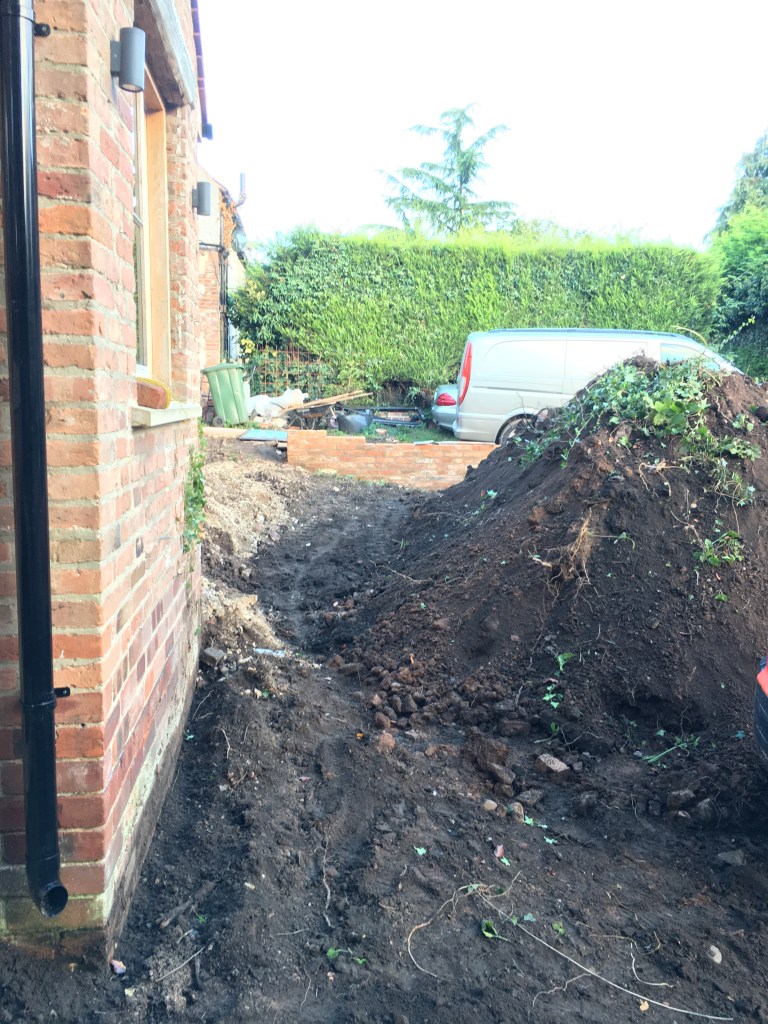
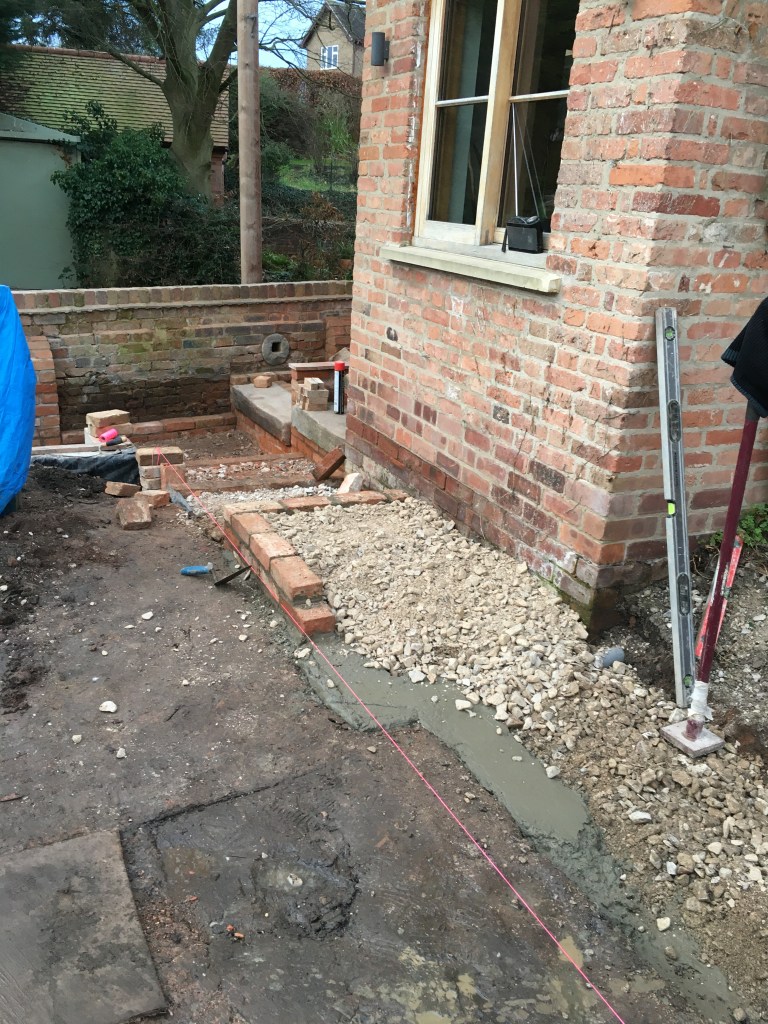
With the main area now cleared, I got the digger in and got to work on leveling and digging out the lower seating area.

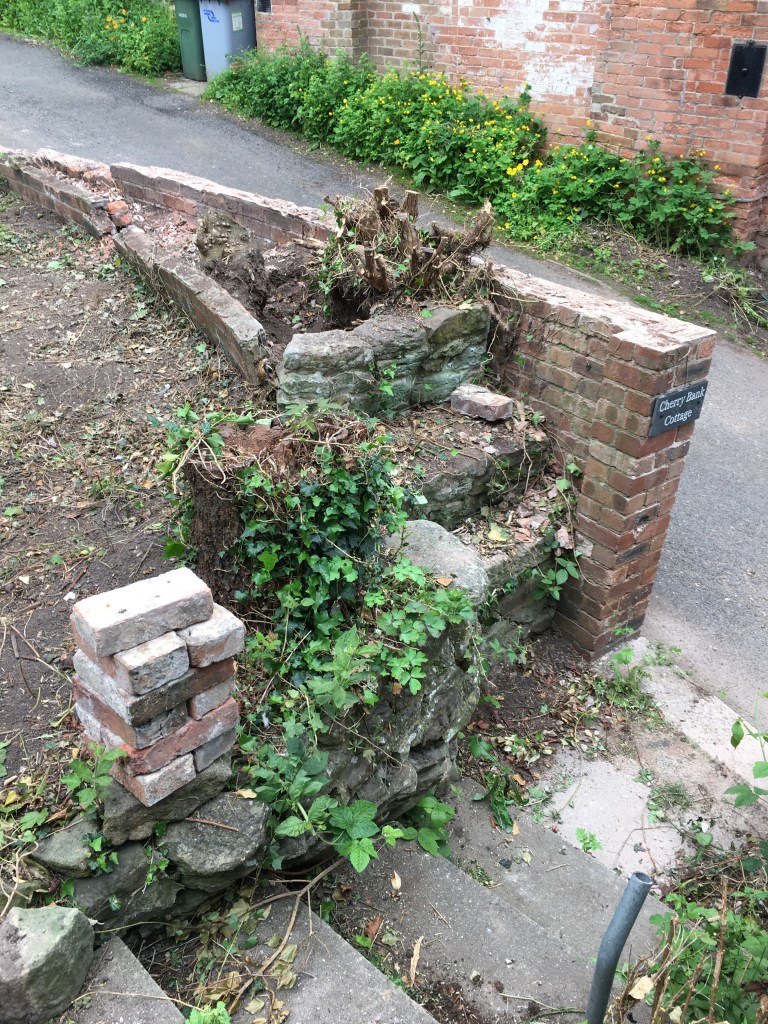
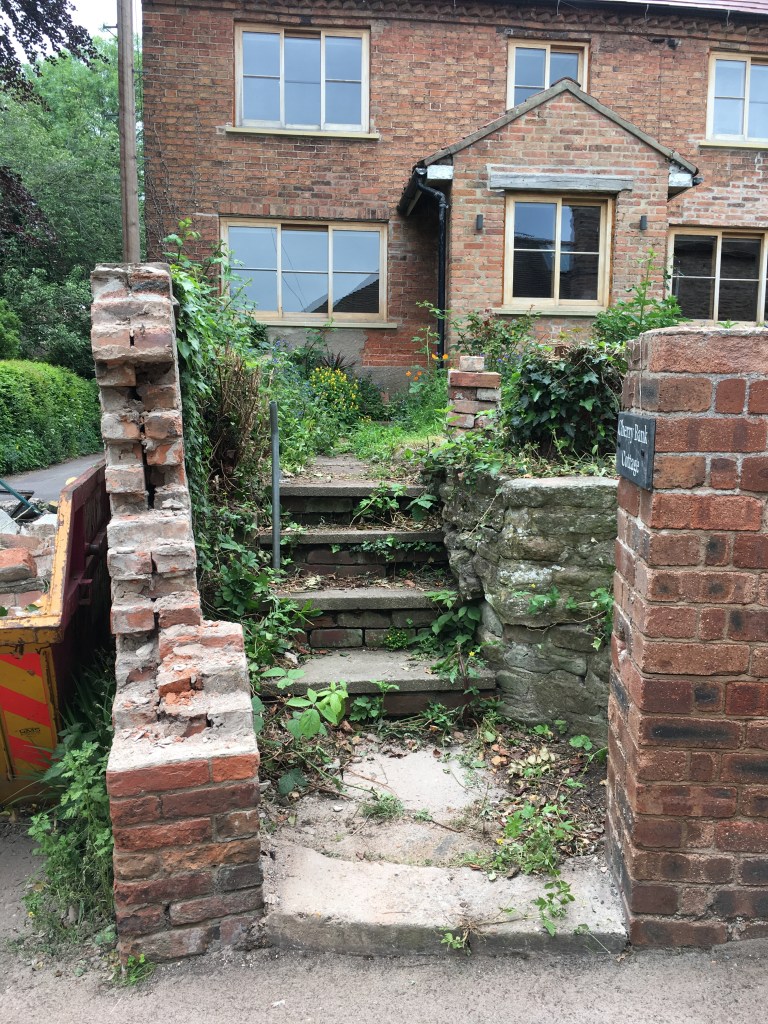
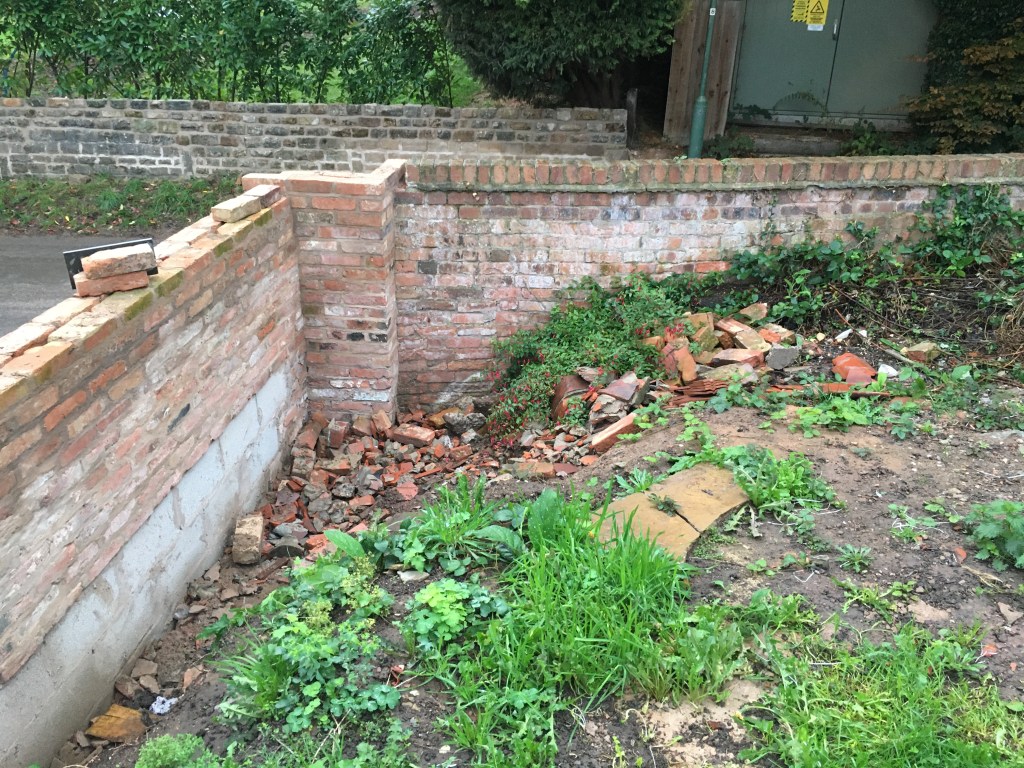
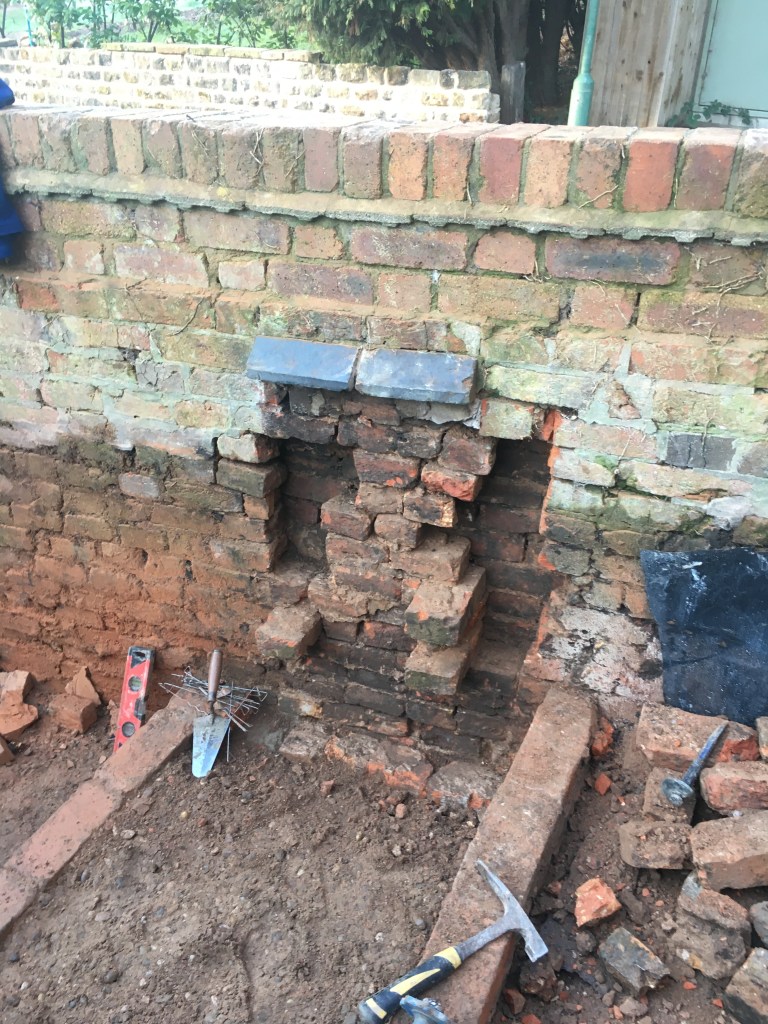
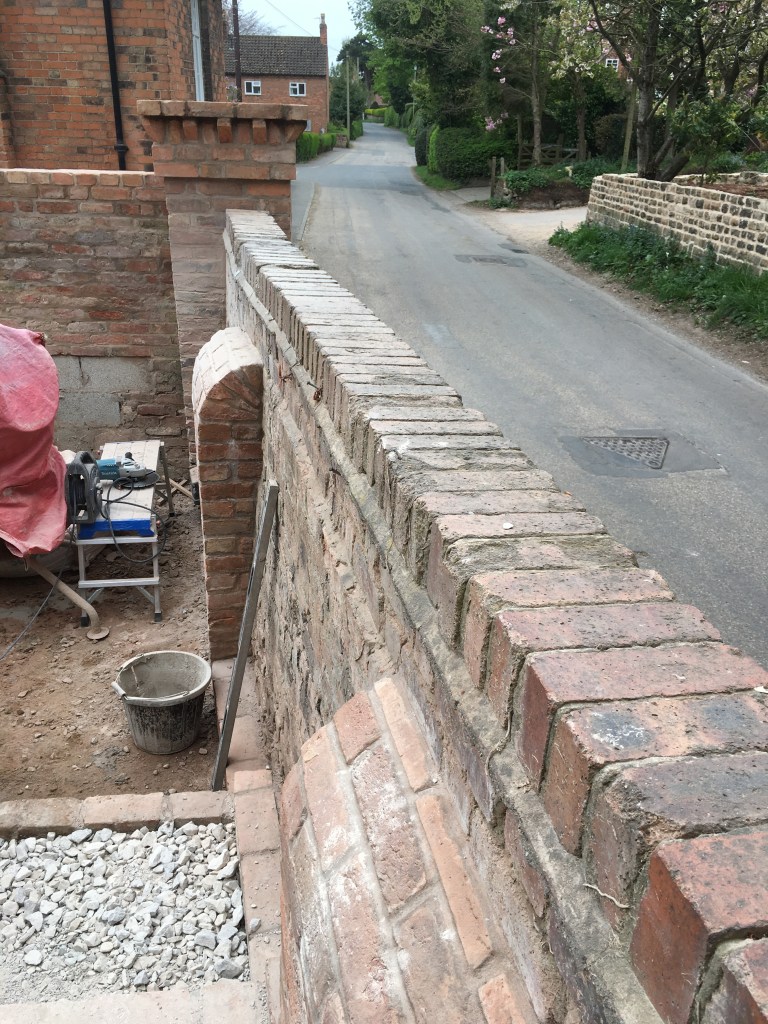
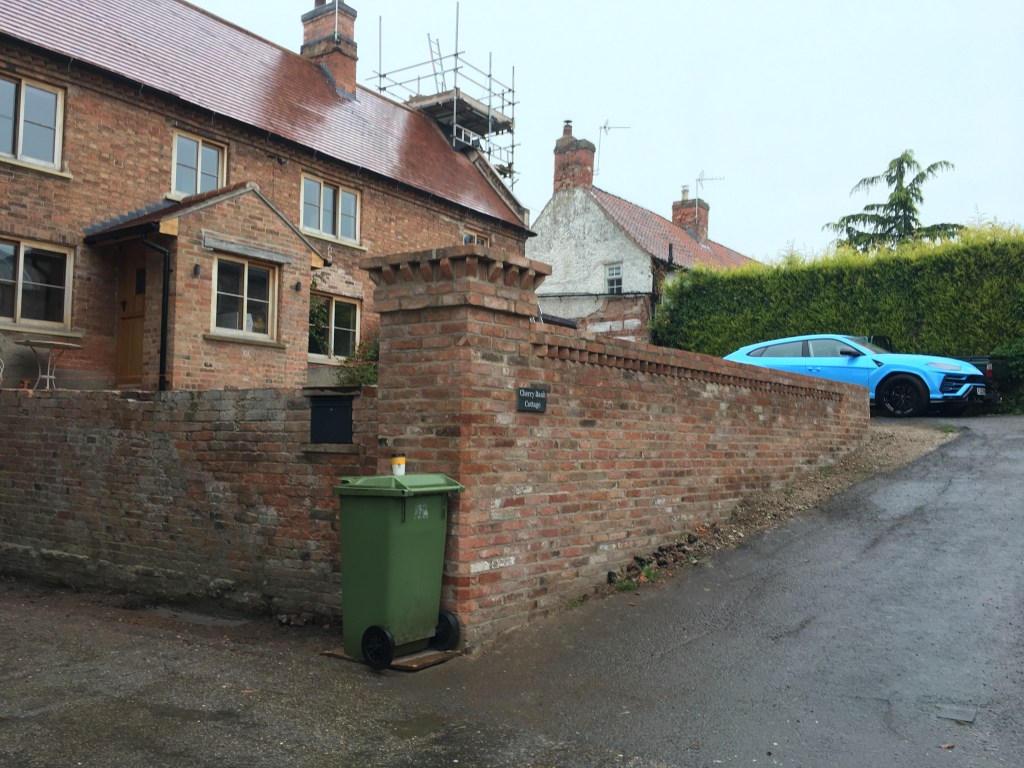
There was one major issue with this job. The Wall. It must not be knocked down! Very old, not listed but full of character, and a repair was needed not a replacement.
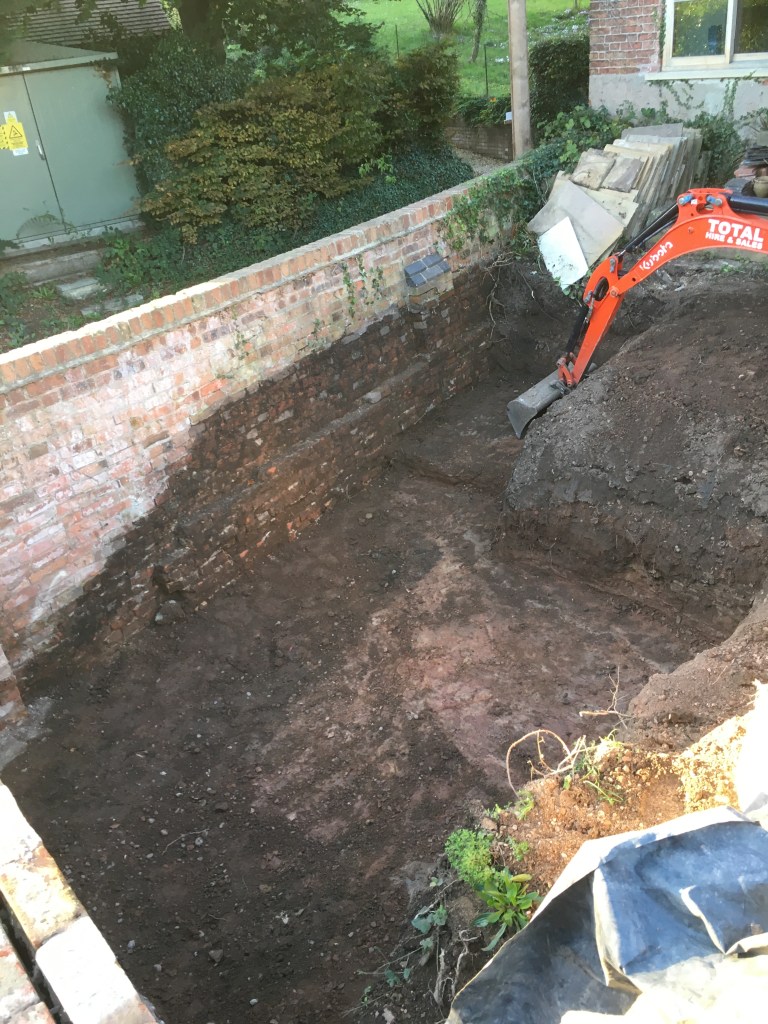
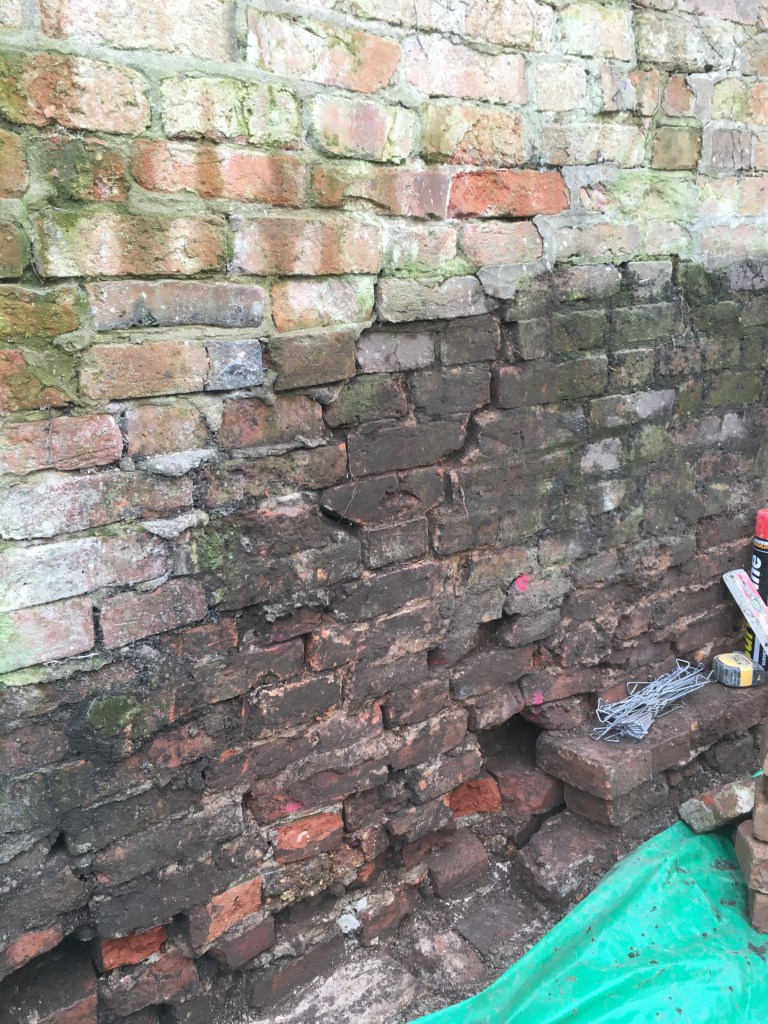
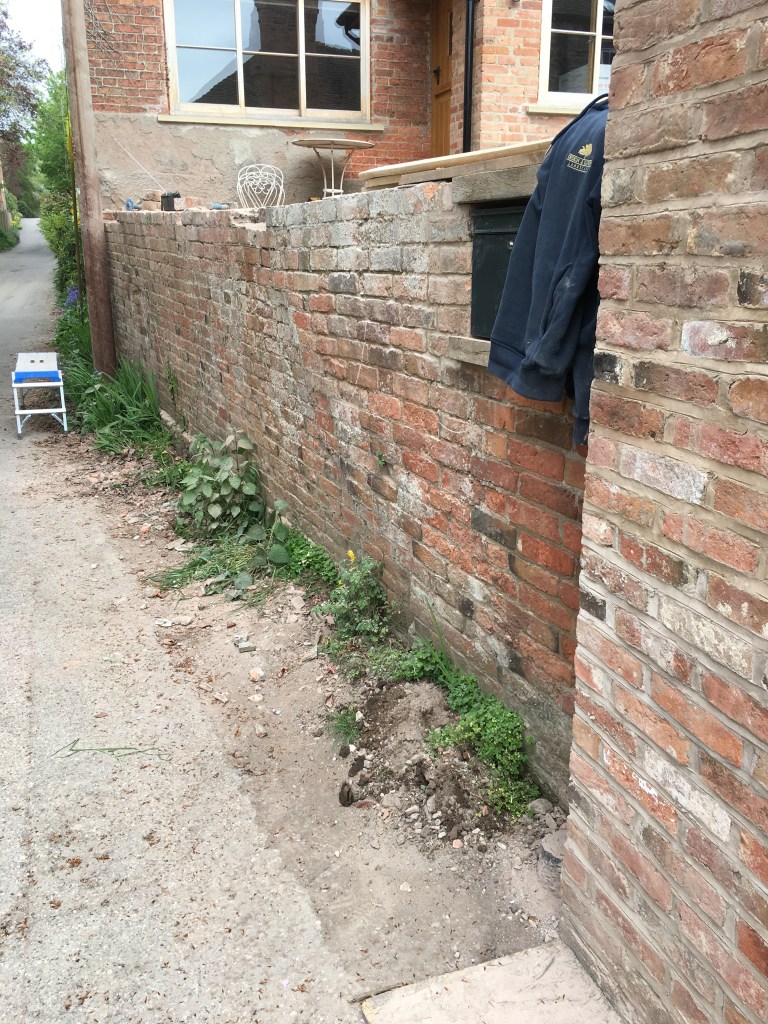
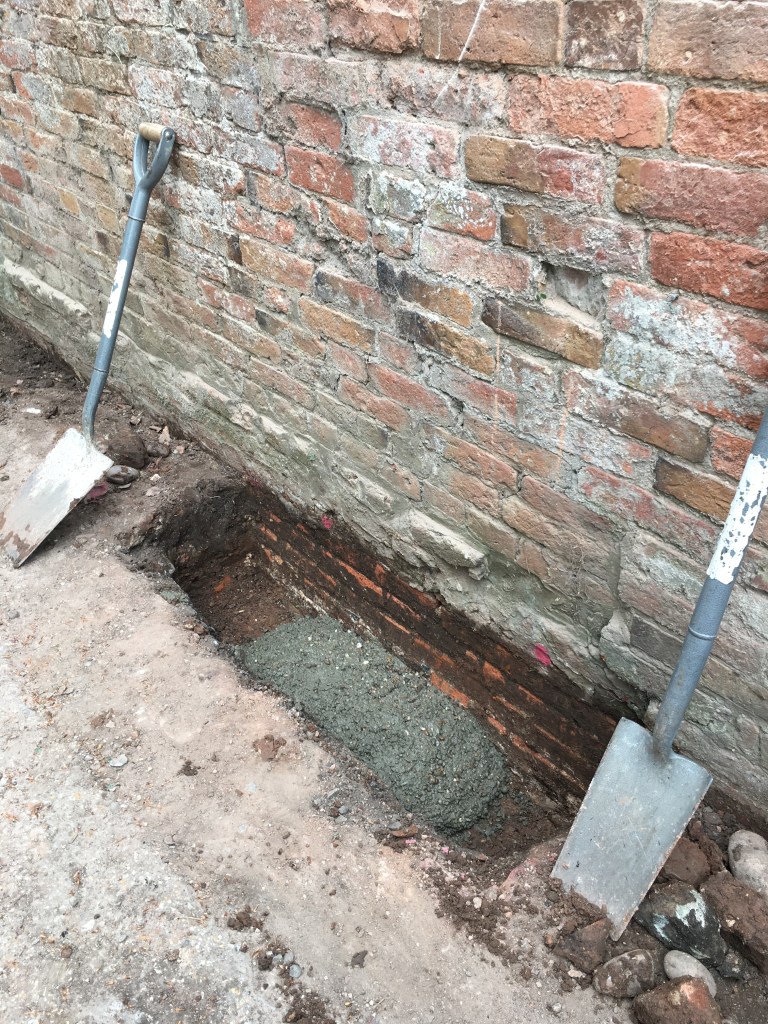
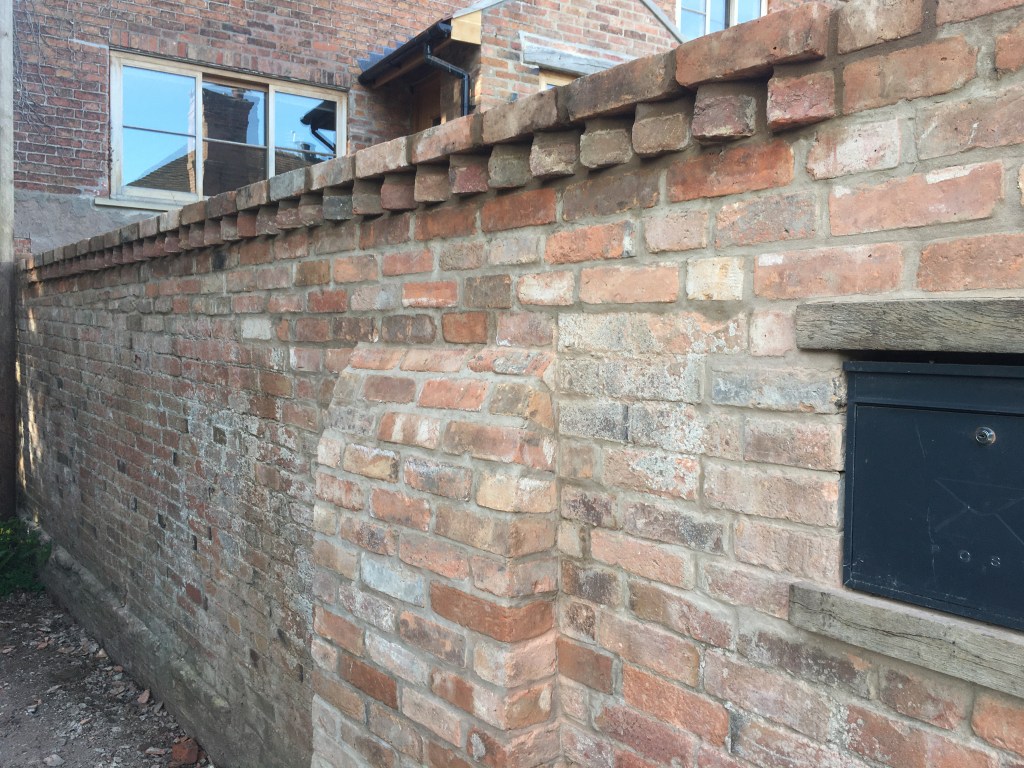
I made a decision for the old wall that a series of supports were required to strengthen it. These included removing old damaged areas and building buttresses to help correct the severe lean that the wall had developed towards the road. Because soil had been against the wall for decades, it had worked its way into the old bricks via the damaged pointing.
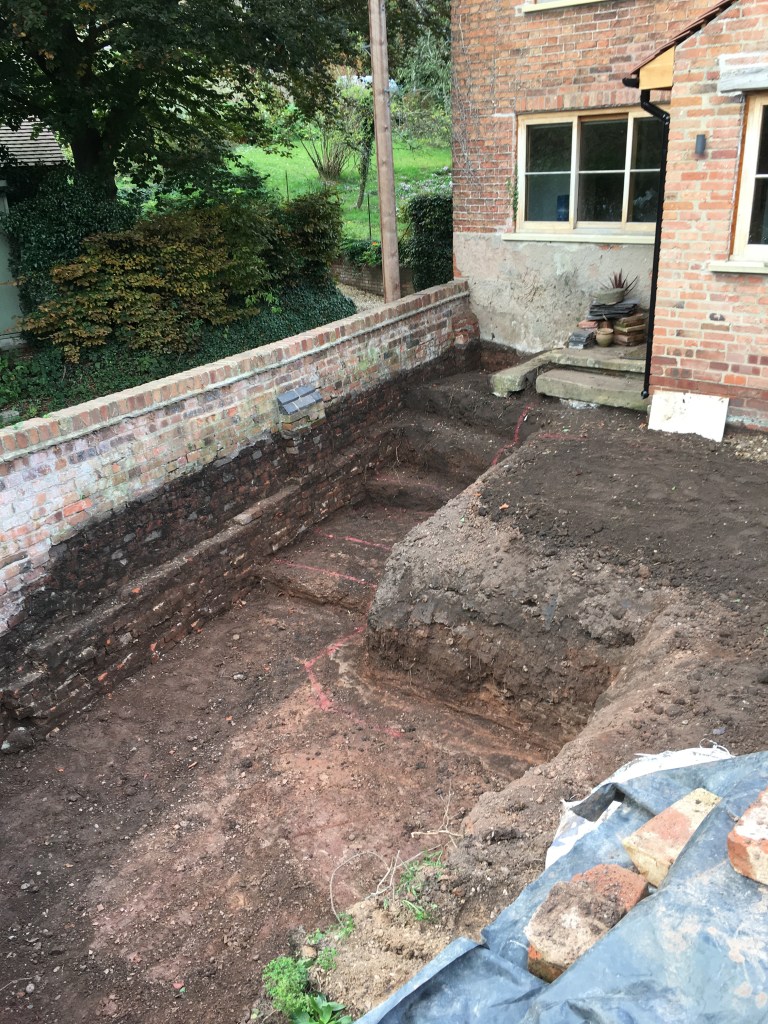

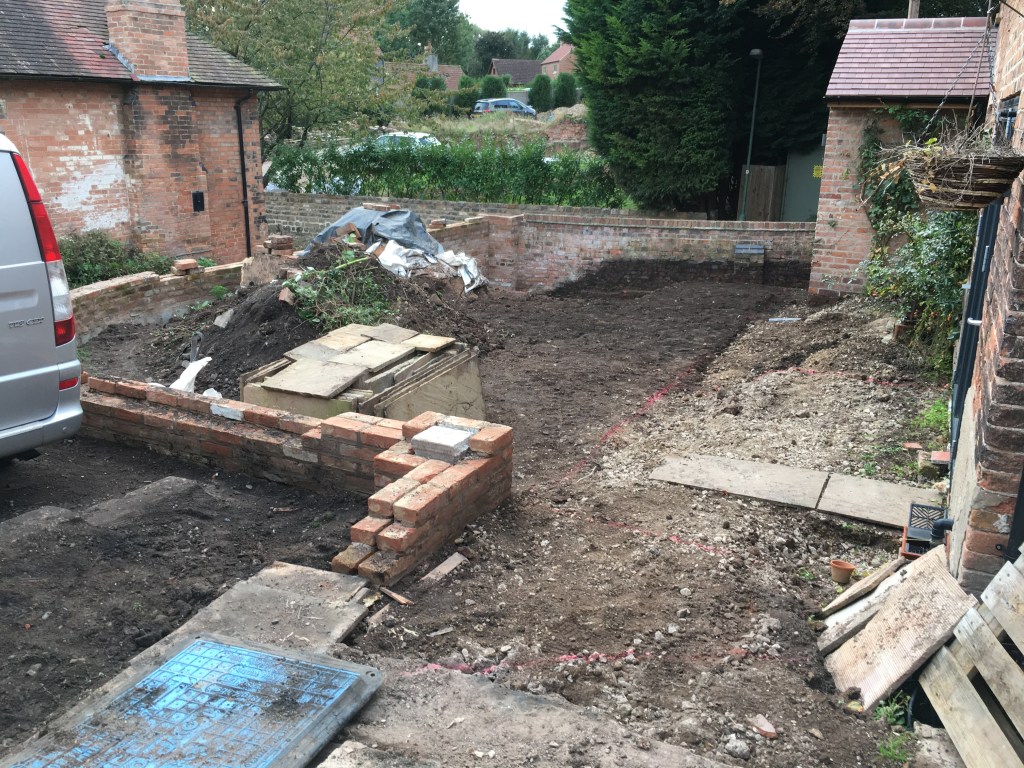
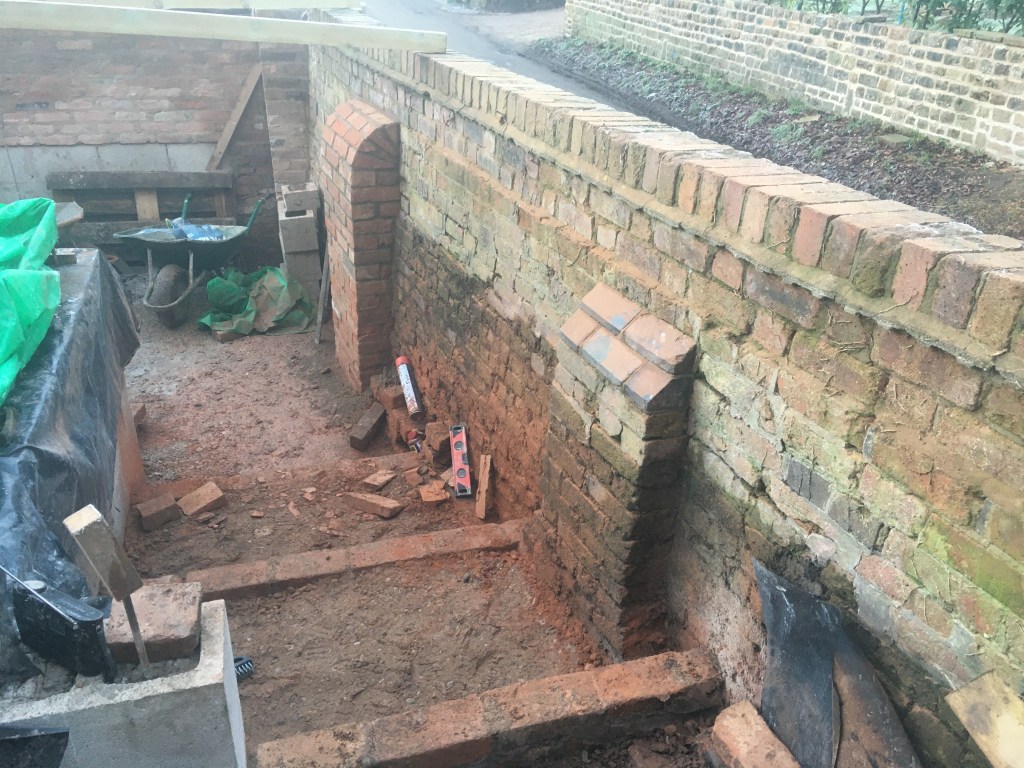
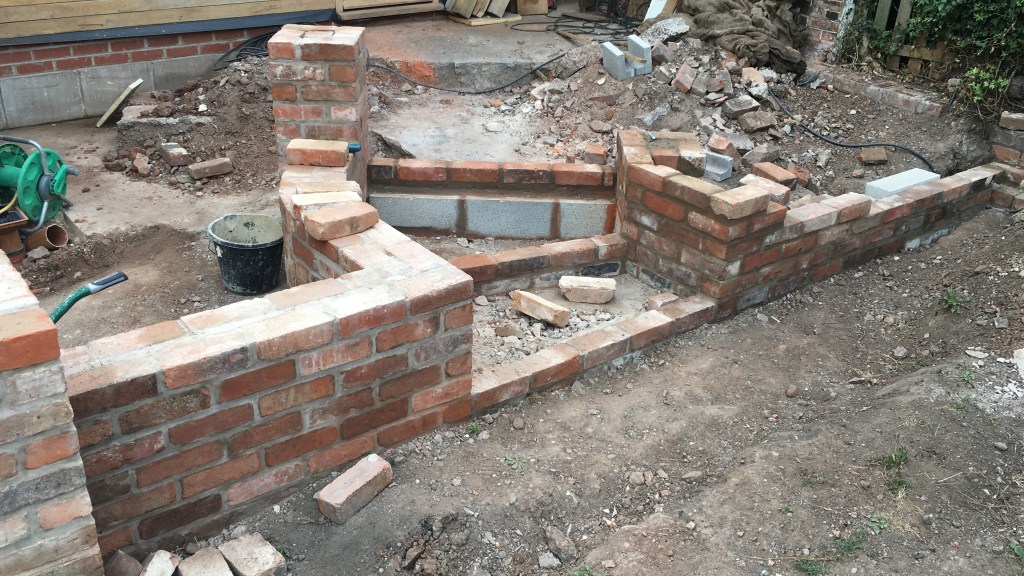
The hole is now dug out. Measuring is done to make it look as square as possible to the eye, as it was nowhere near equal, and then to outline the step area.


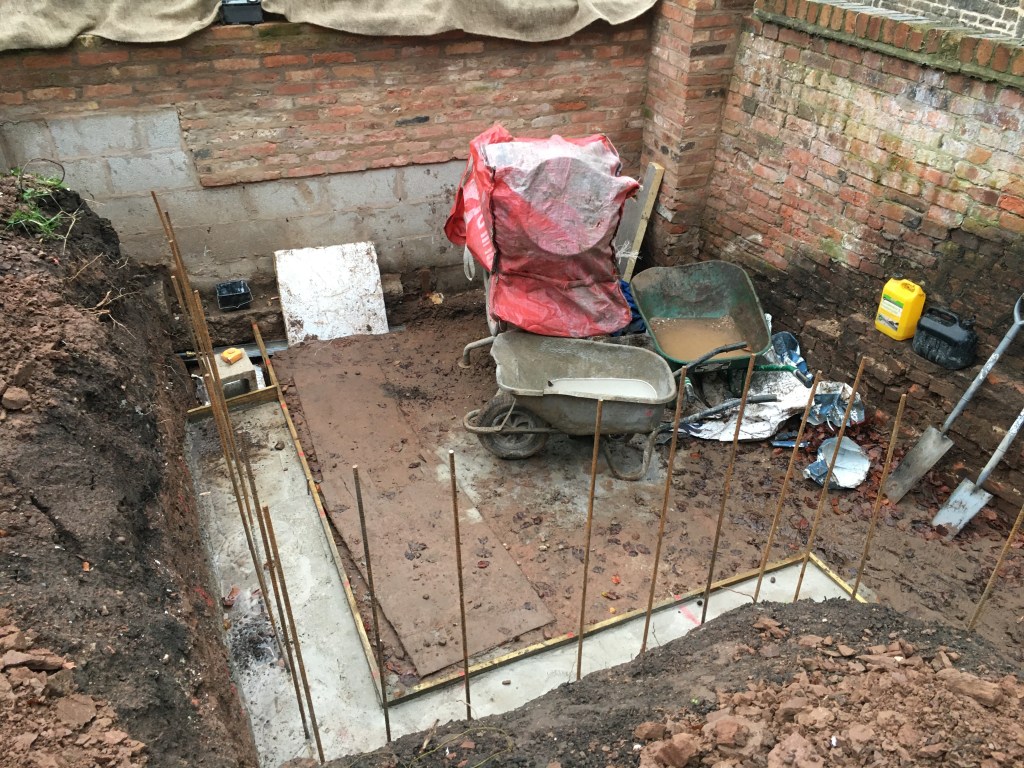
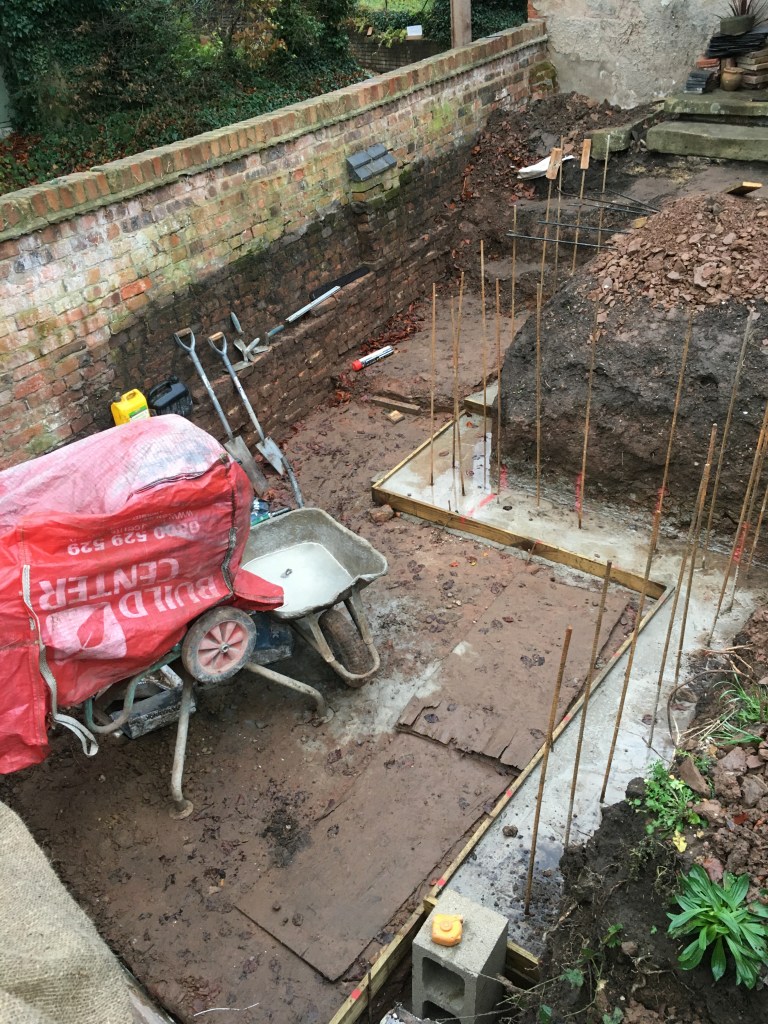
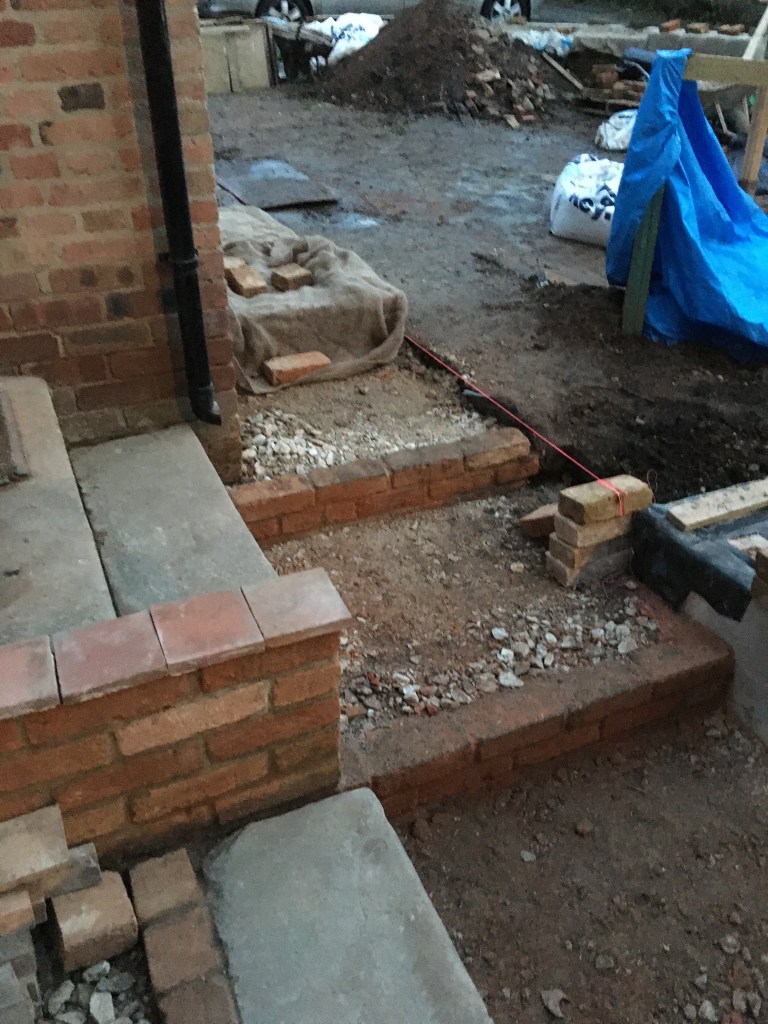
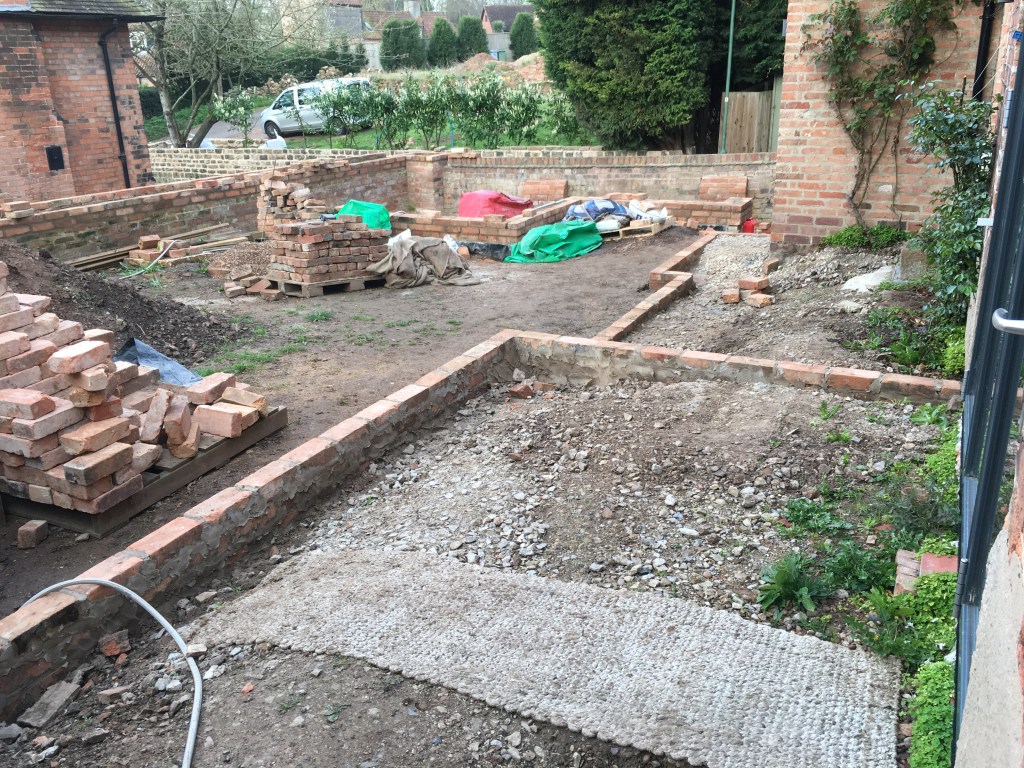
Wall footings are created with a row of re-bar inserted.
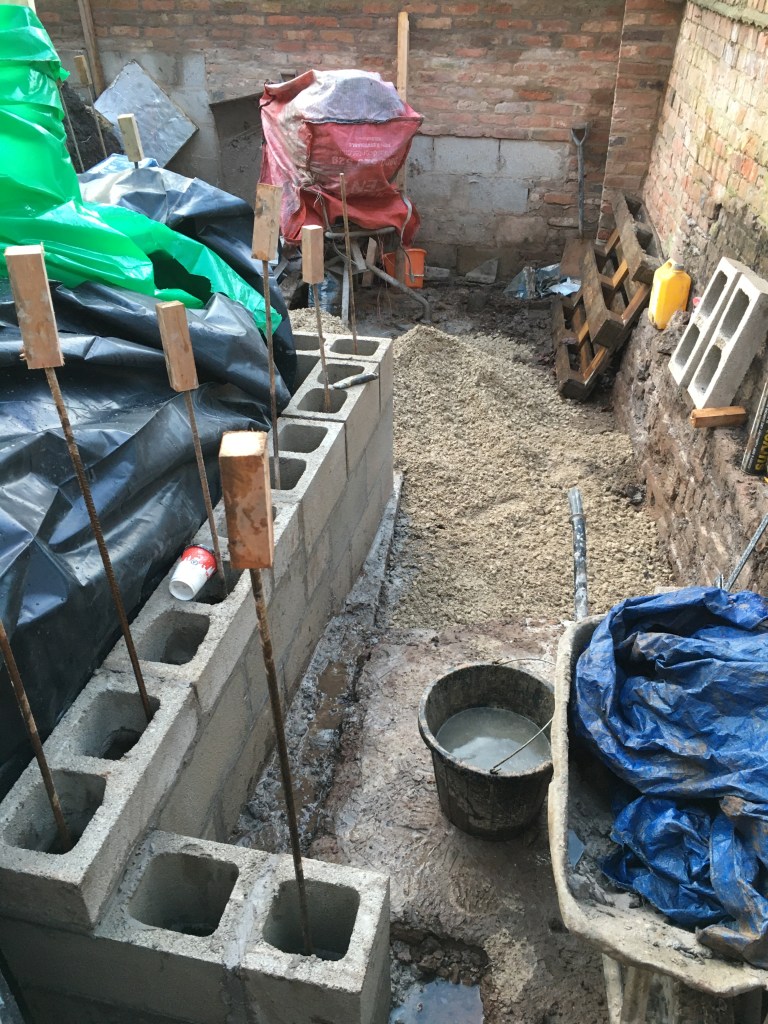


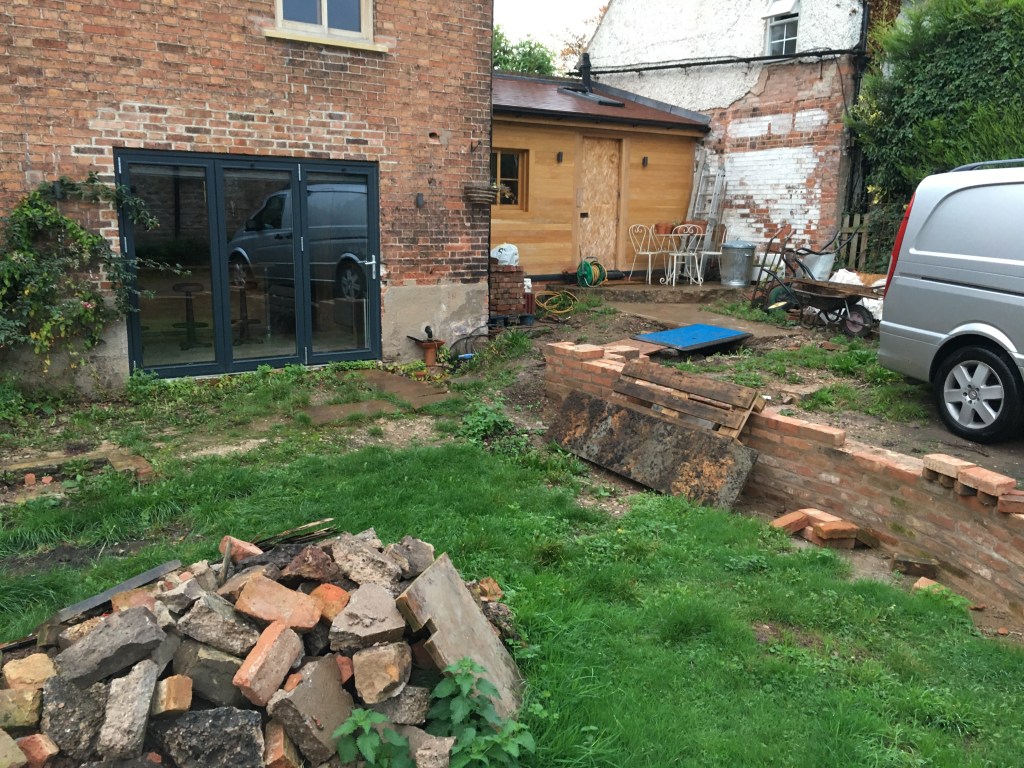
The inner retaining wall has now begun.


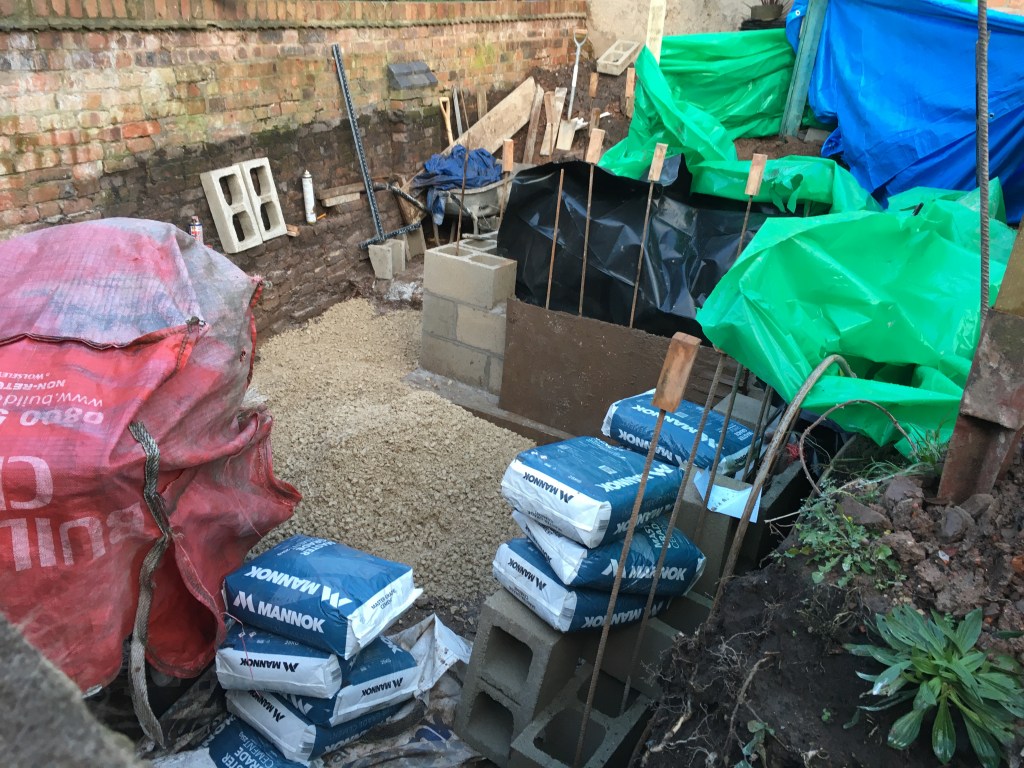
The upper steps are planned out and the area to the old front door will become the back door to the lower garden eventually. But, the importance of the old wall is now utmost. The weather is getting colder and any serious frost could pop the wall open.
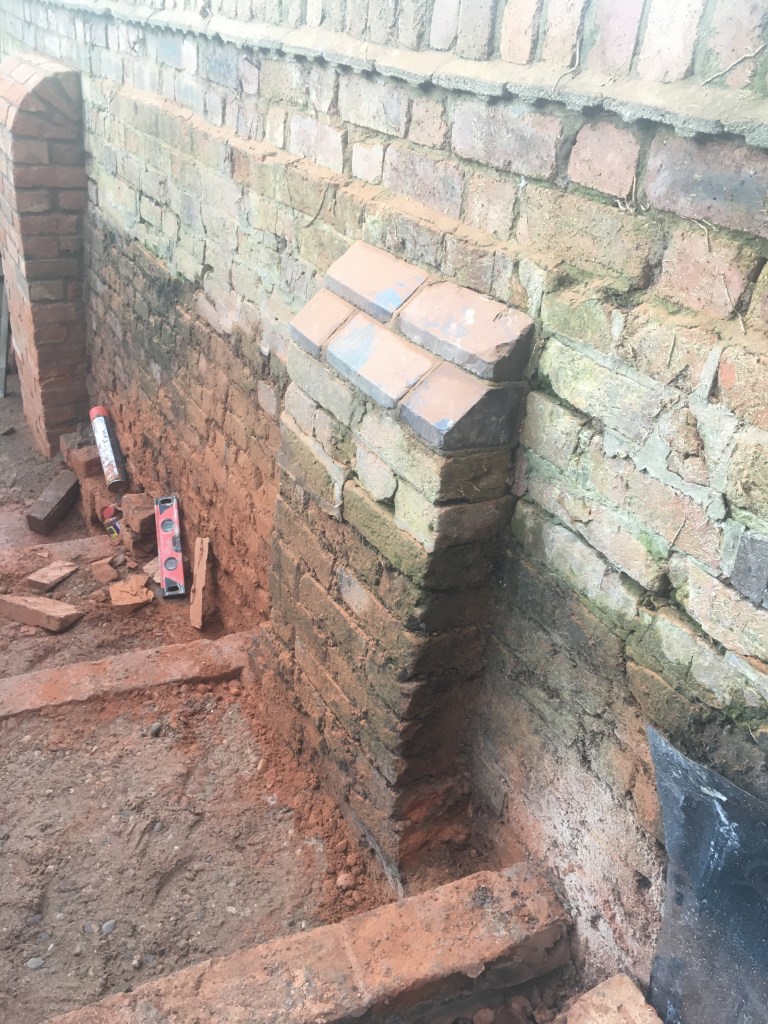
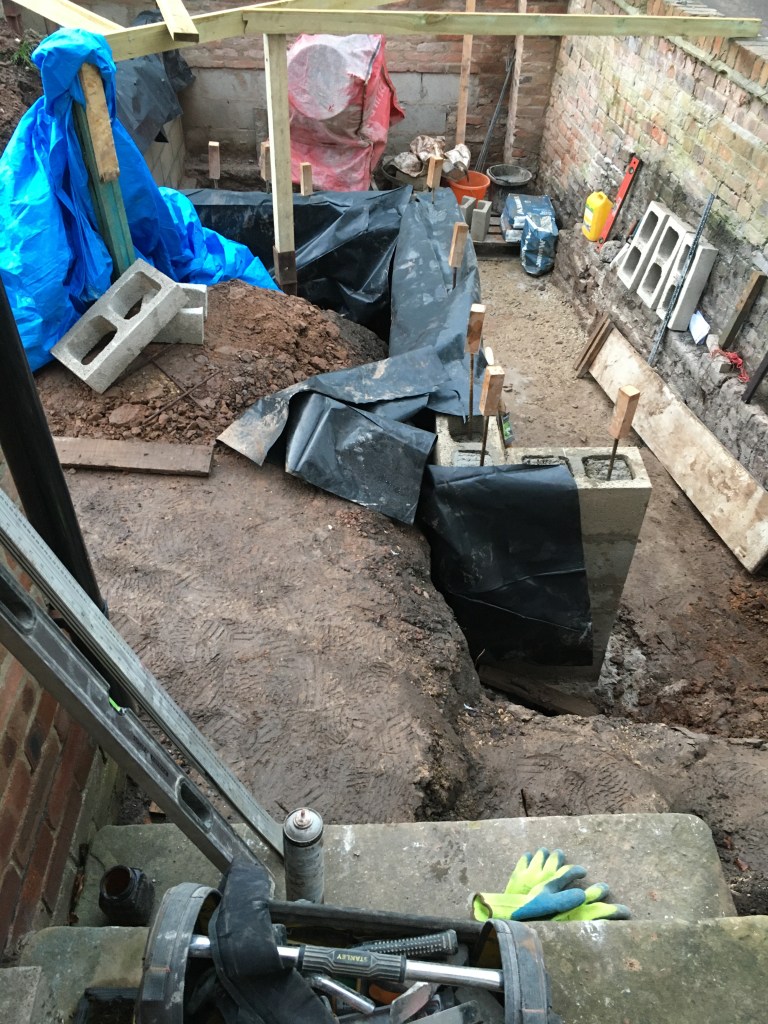
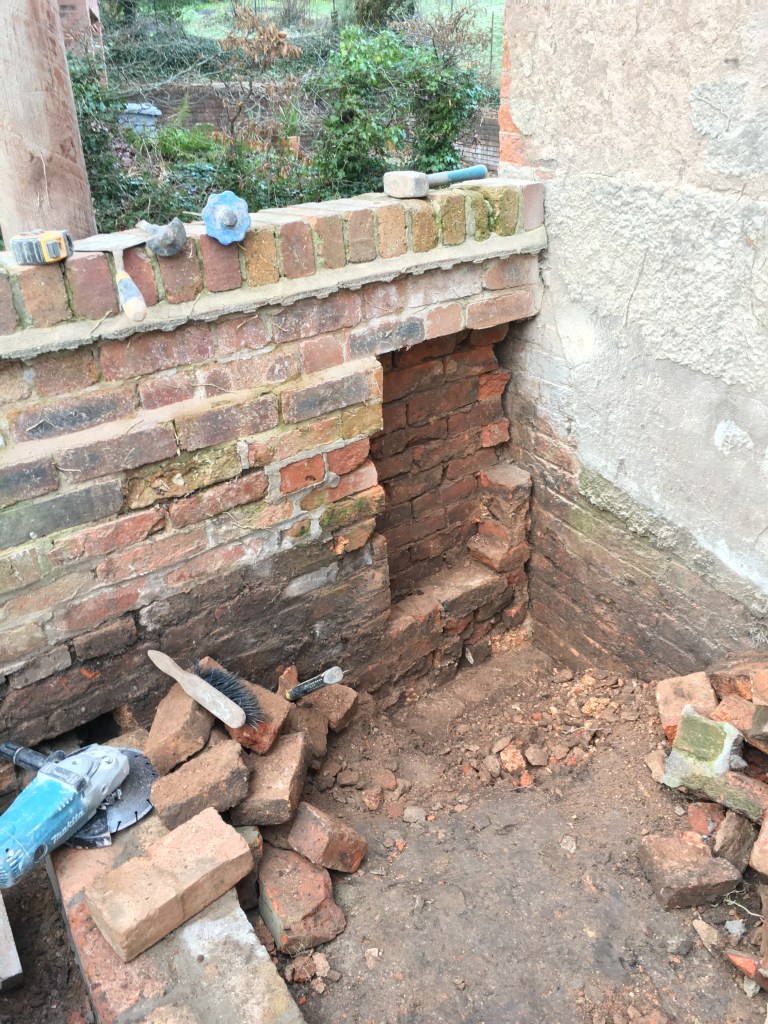
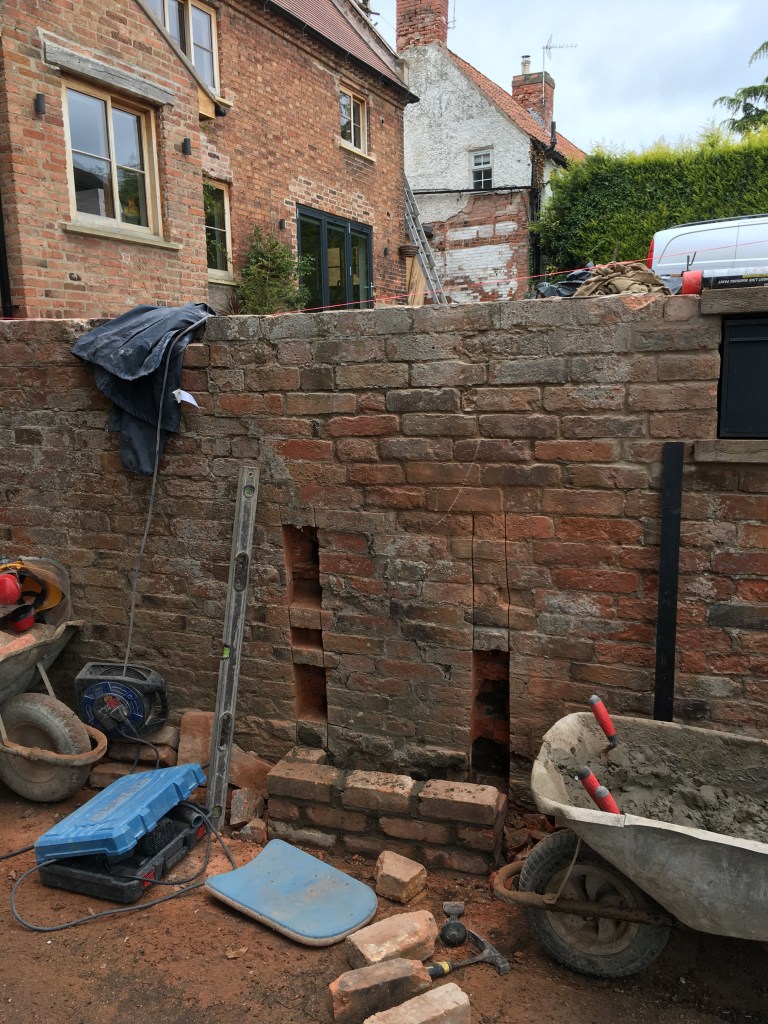
The old wall buttresses are taken down, and all the soil and dirt are removed from the wall and inside the wall cavity. Concrete and new ‘reclaimed’ bricks are used to repair the wall.

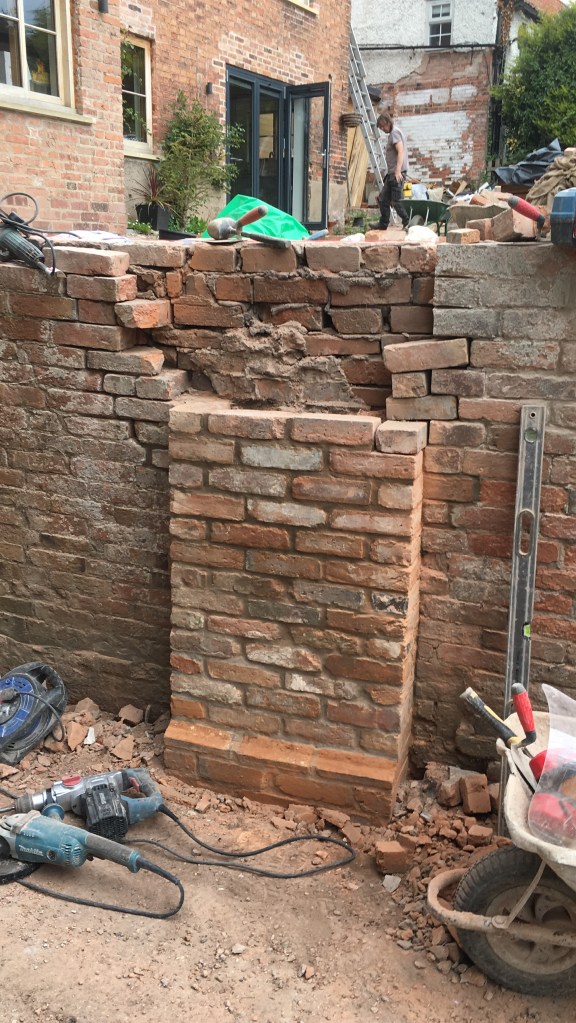
You can see the lean of the wall on the newly replaced buttress here.
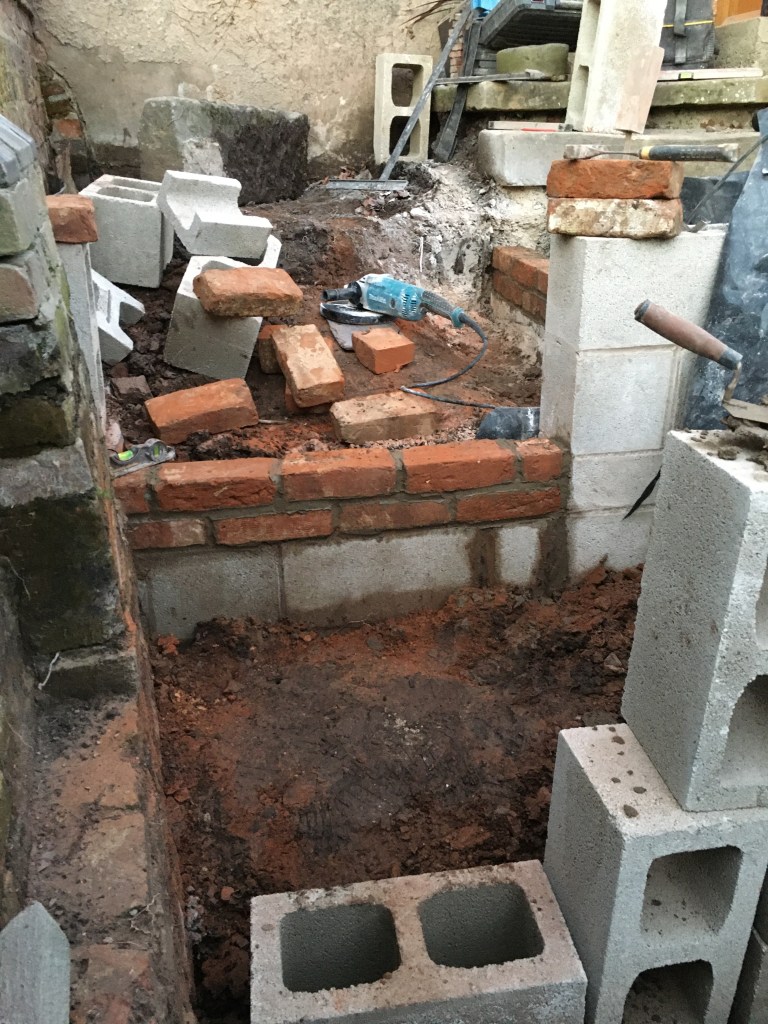
So the buttresses on the wall are getting replaced. Old bricks get replaced where needed. The level is being sorted and steps are now added to the ground.
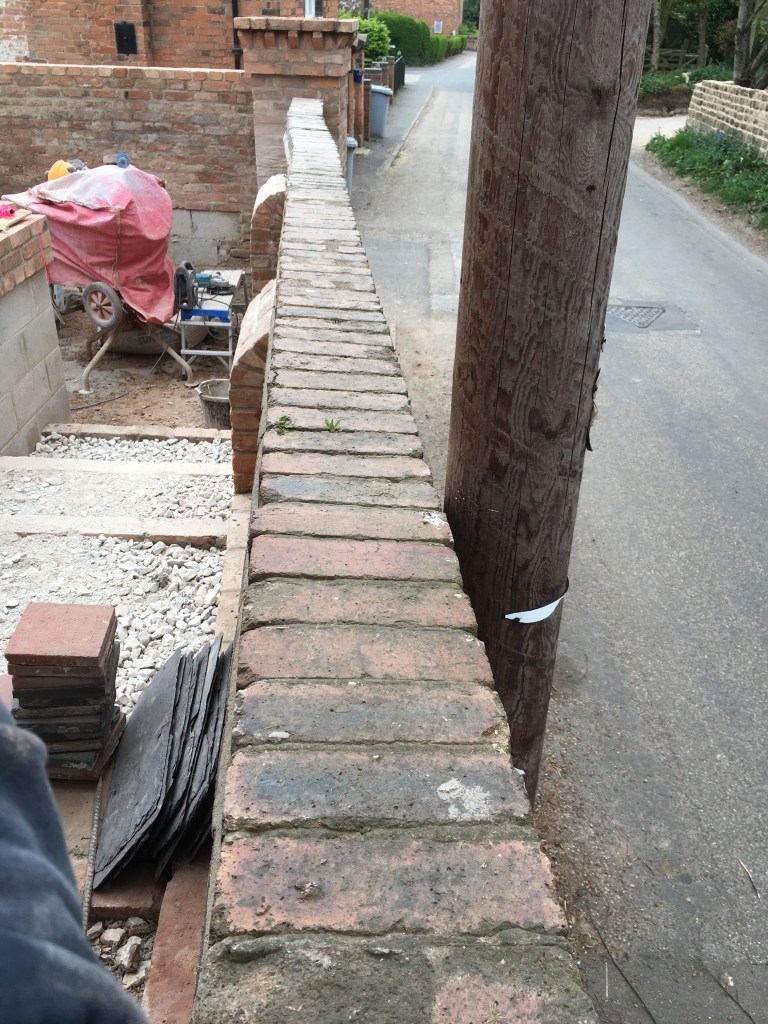
The inner buttresses are in. Steps are in. Six tons of MOT stone are eventually added to the ground. All that is required for the wall is replacing the poor later addition on the top. This needed chopping off carefully and taking down 2/3 courses. I couldn’t hammer it off due to the chance of the old wall falling down. It also needed removing to straighten the top and correct the heavy lean on the outer side towards the road.


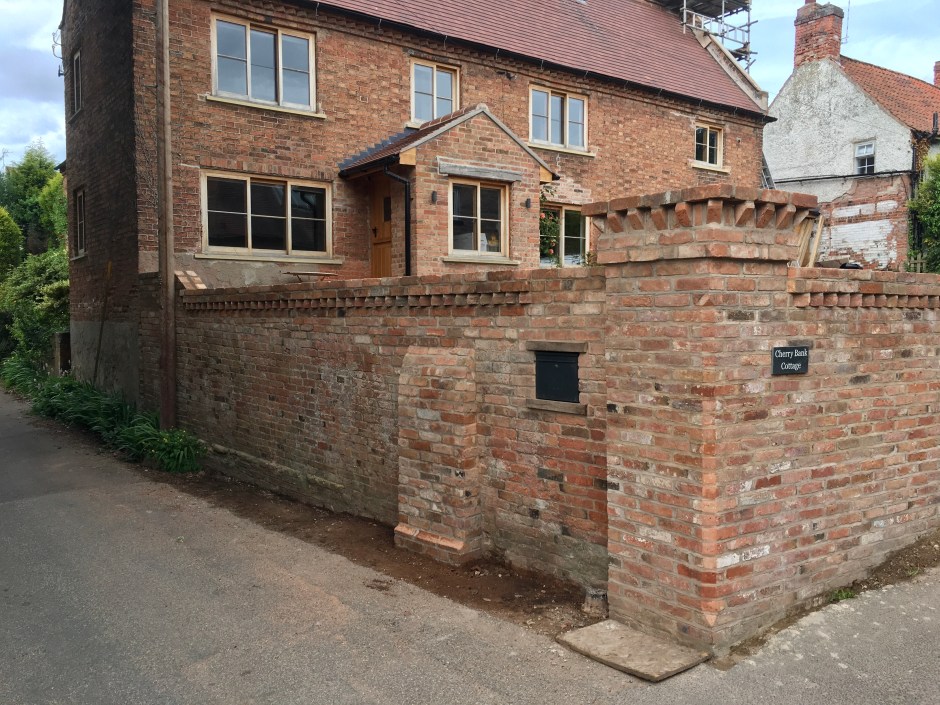
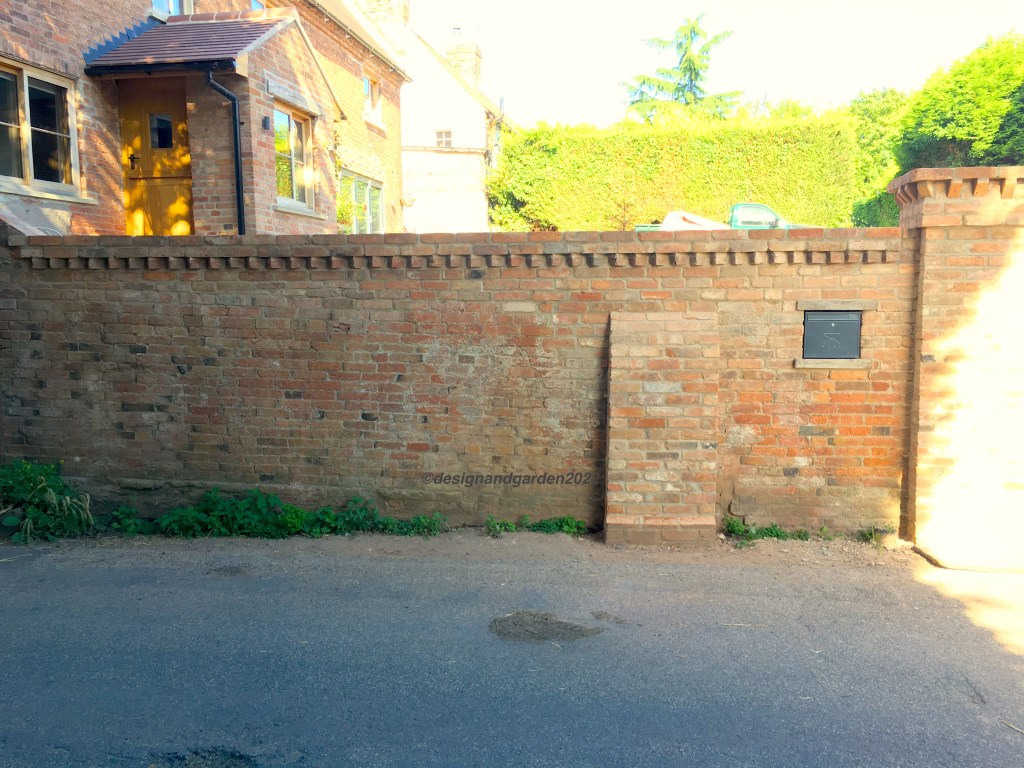
The outer wall on the drive-side had a few more courses added. Also, the dogtooth brickwork was added to match the design of the roofline on the house. The ‘chimney’ section was copied from the house next door which had that design.


Let’s get that top off…
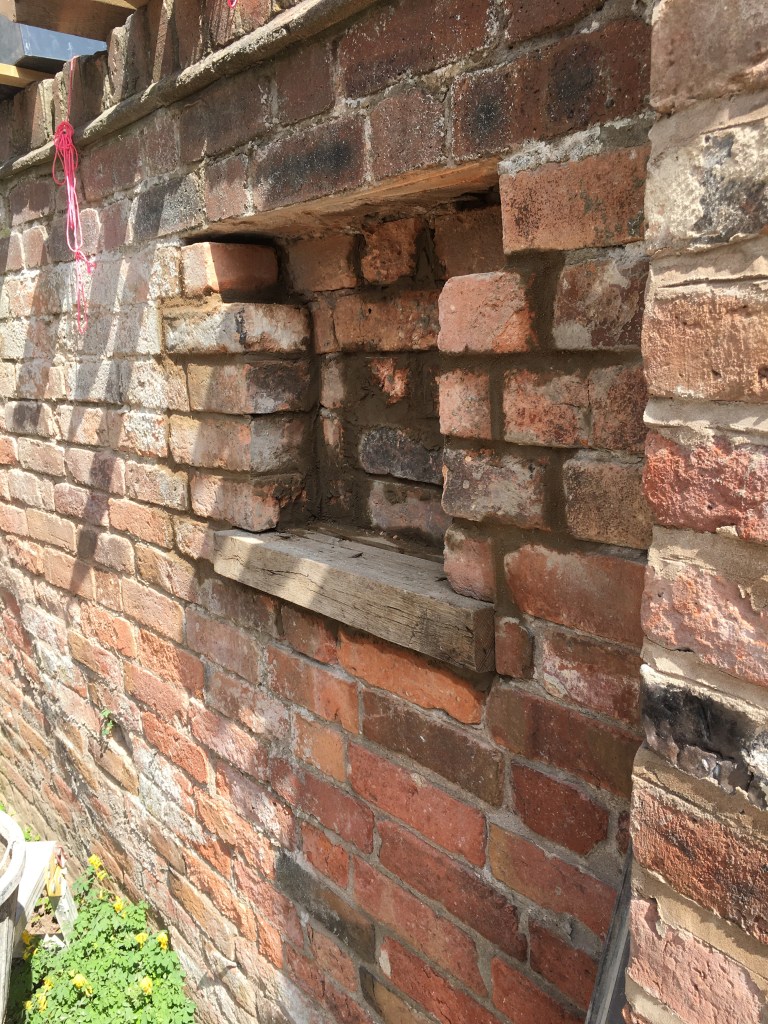
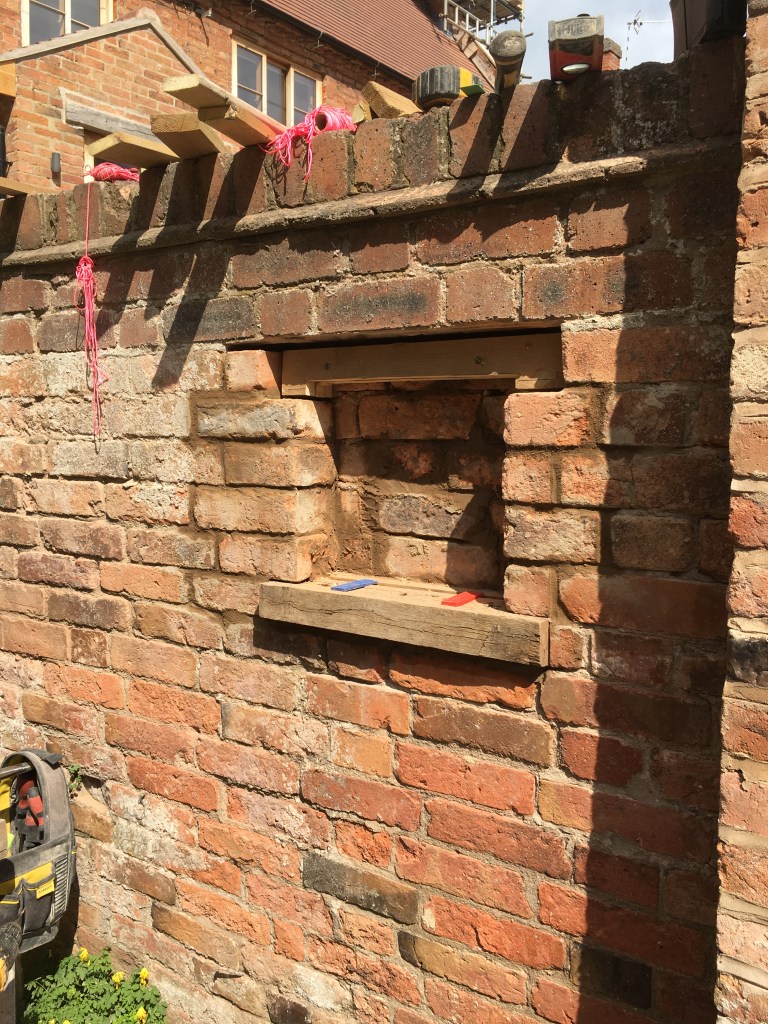
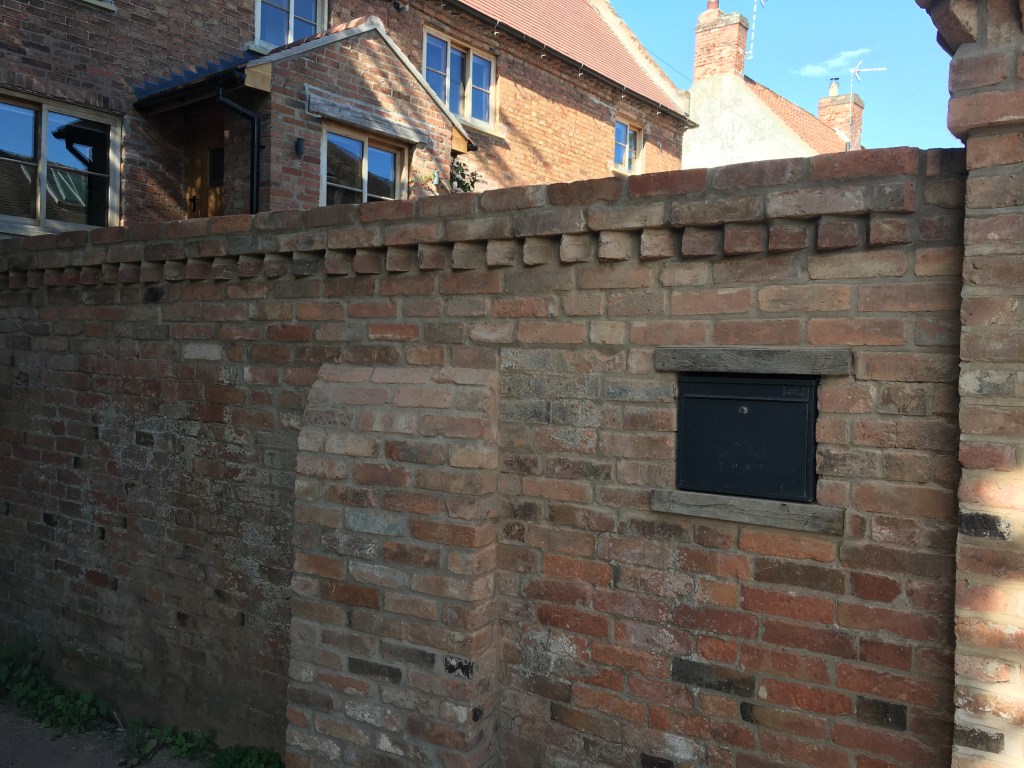
Whilst I was at it, I had the thought… I’ll build the letterbox into the wall. Two pieces of oak left over from the restoration inside the house were used to give it some nice character. The top of the wall is still needing to be removed in these pictures.

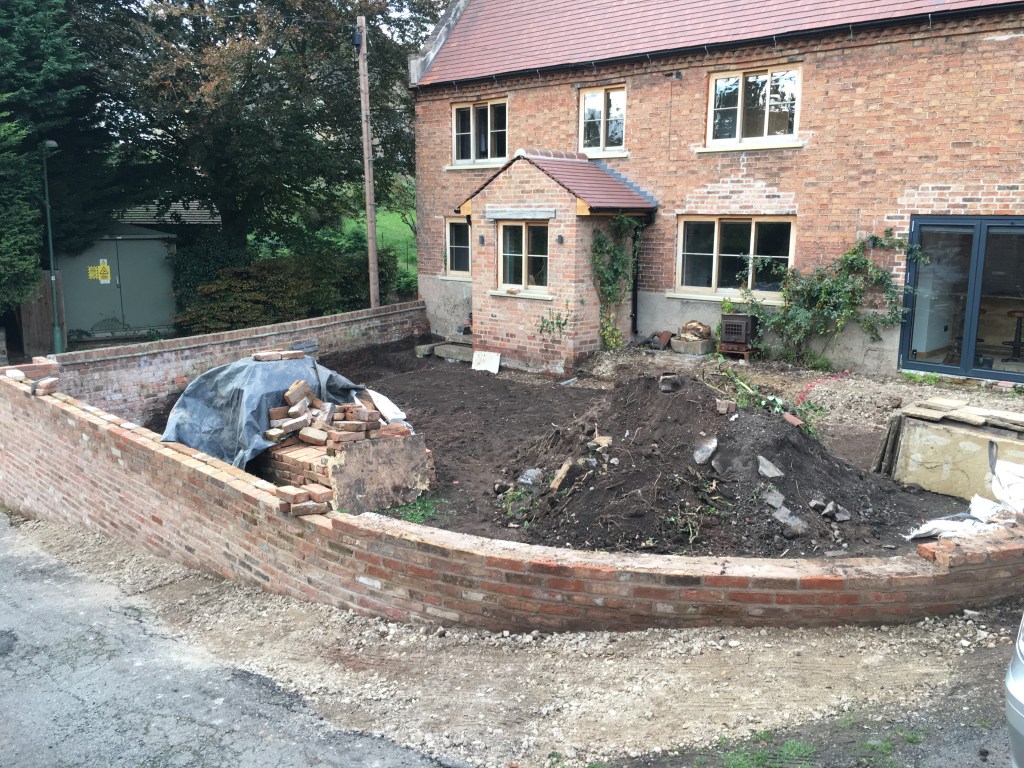
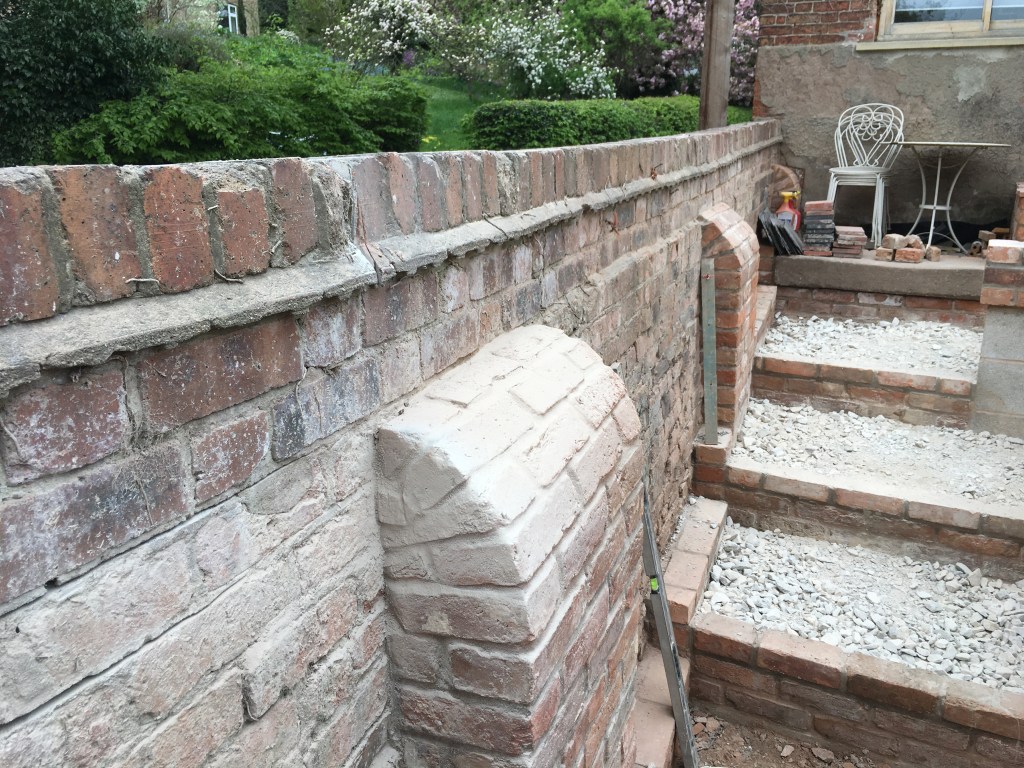
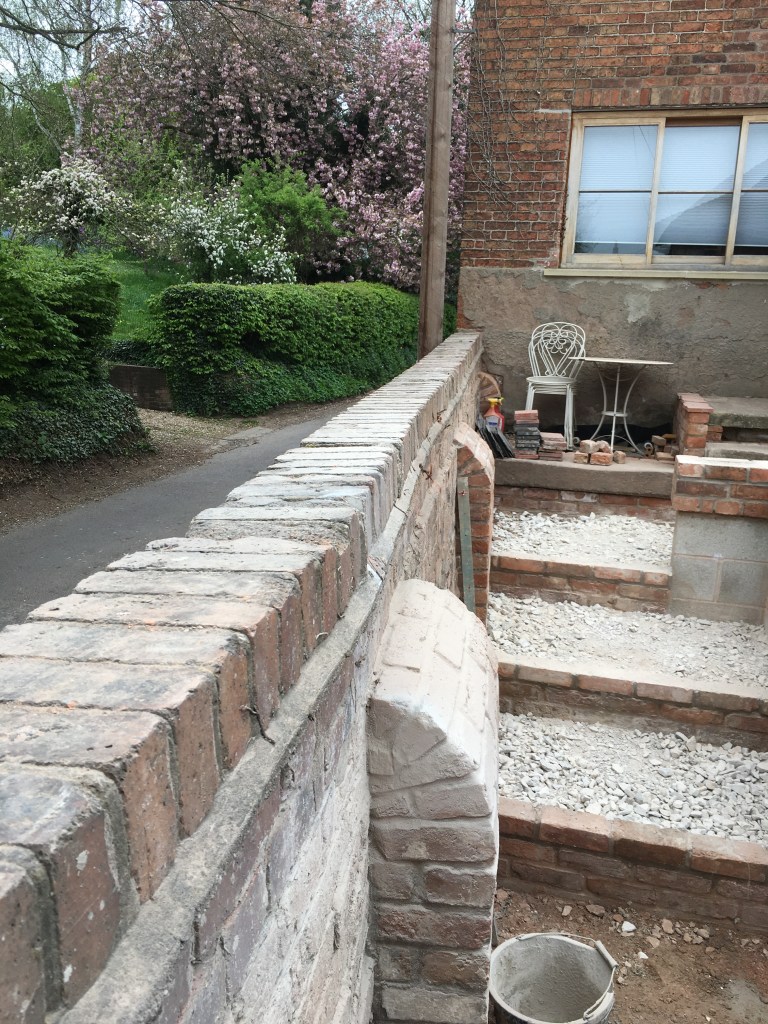
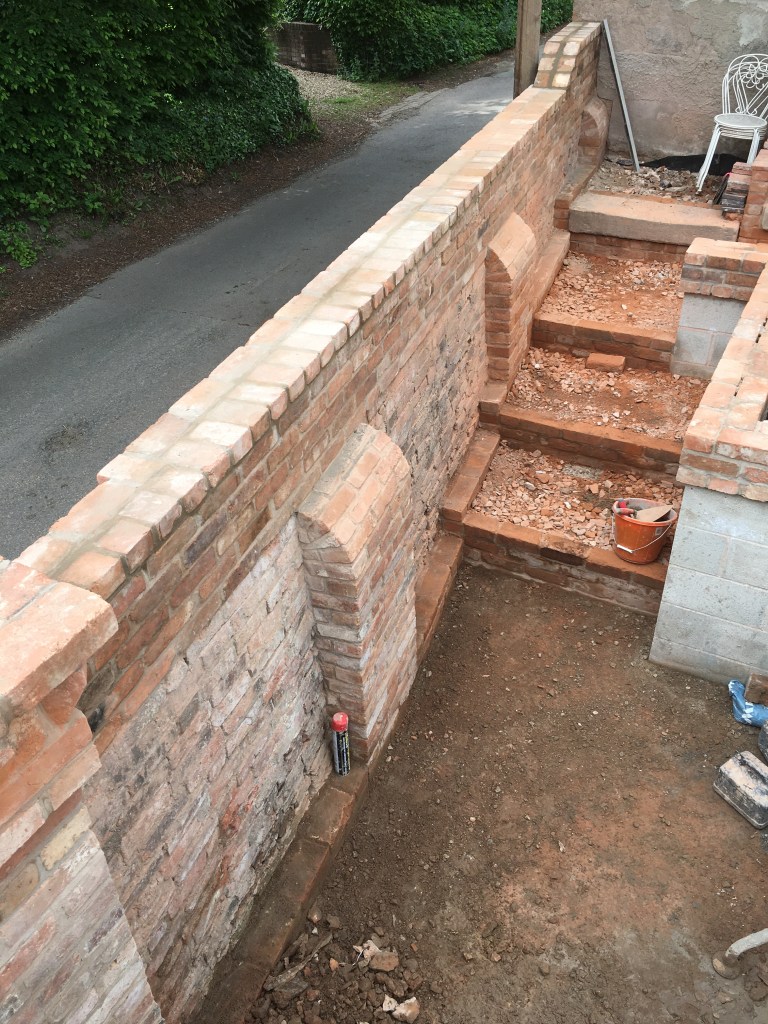
The top of the wall is now removed and an outer bolster is being built to distract the view of the heavy lean on the wall and also to give it new strength and support.

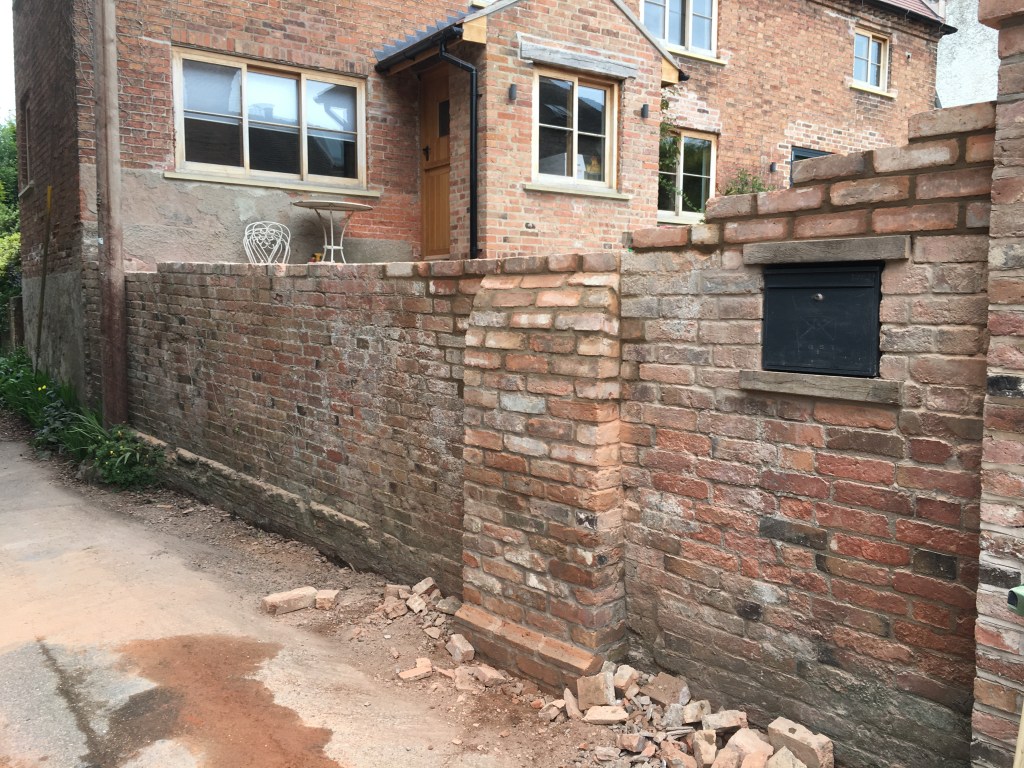
That’s the roadside buttress finished and the top course of bricks is finished, including the dogtooth to match the house. A design feature I added early on, knowing the size that the wall was going to be, so this gave it a connection to the house.

The inner block wall is now up to the right height and the top courses of reclaimed bricks are being added. The outer wall still needs more work.
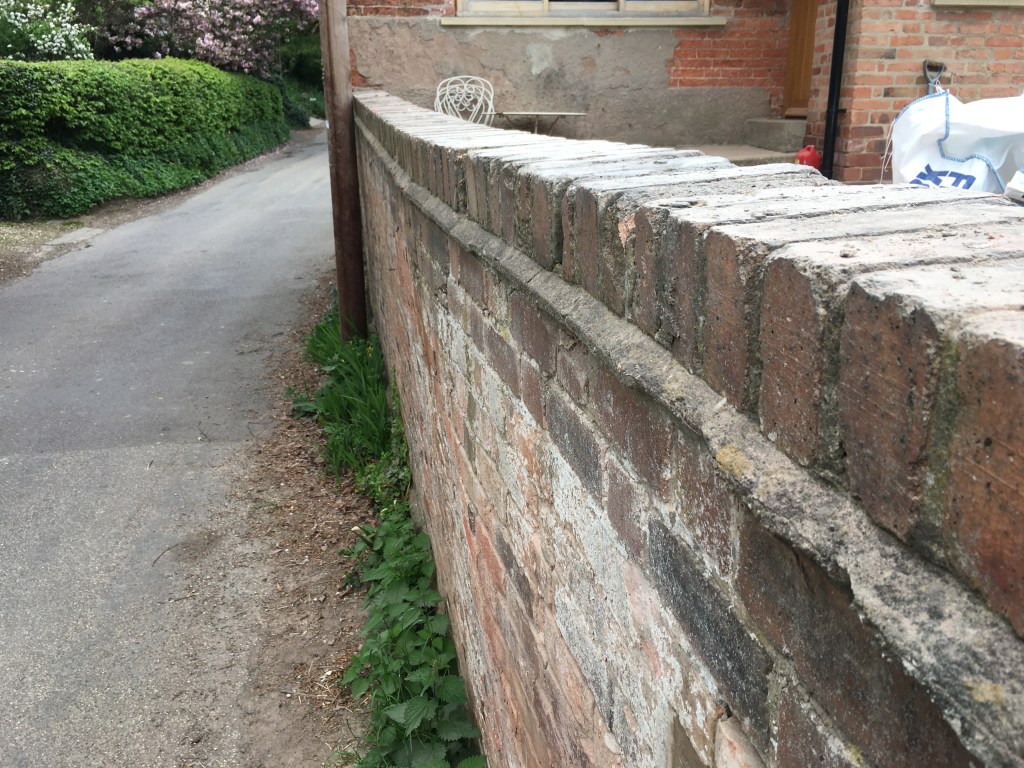
The top of the wall is finished and now straight! the inner sections of the wall will be rendered at a later date.
———–––––––––––––––––––––––––––––––––––––––––––––——–
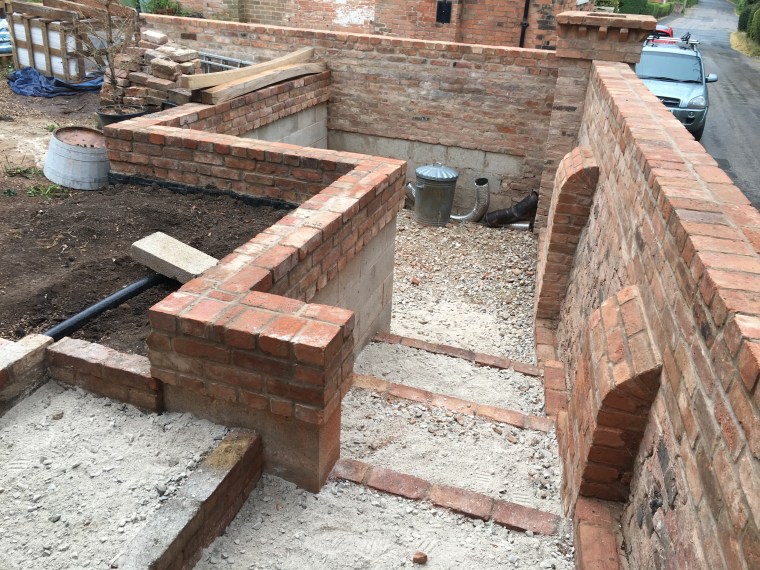
The outer wall is now complete and secure. The decorative ‘chimney’ section is done, together with a raised upper area towards the house and dogtooth edging to match the house. An extra six courses were added in bricks to get the correct level, including having to slice bricks in half to get the level.

––––––––––––––––––––––—————————––––––––––––––––––––––––––––
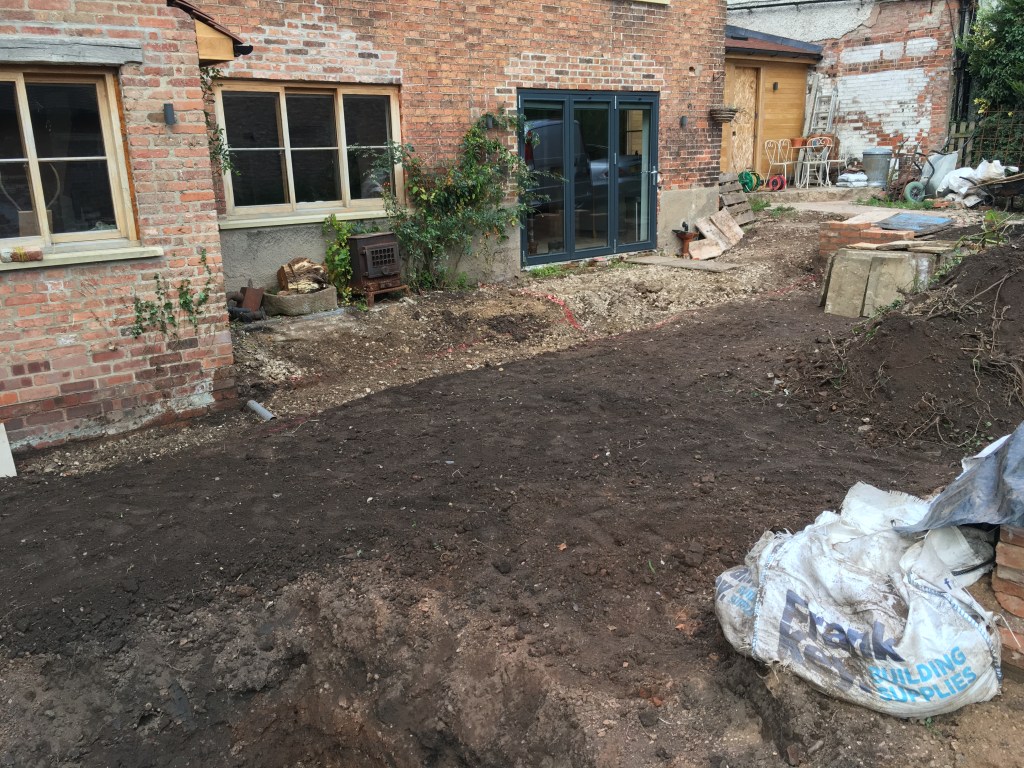
Now, moving back to the top of the garden. The pathway and upper patio areas are to be cleared.

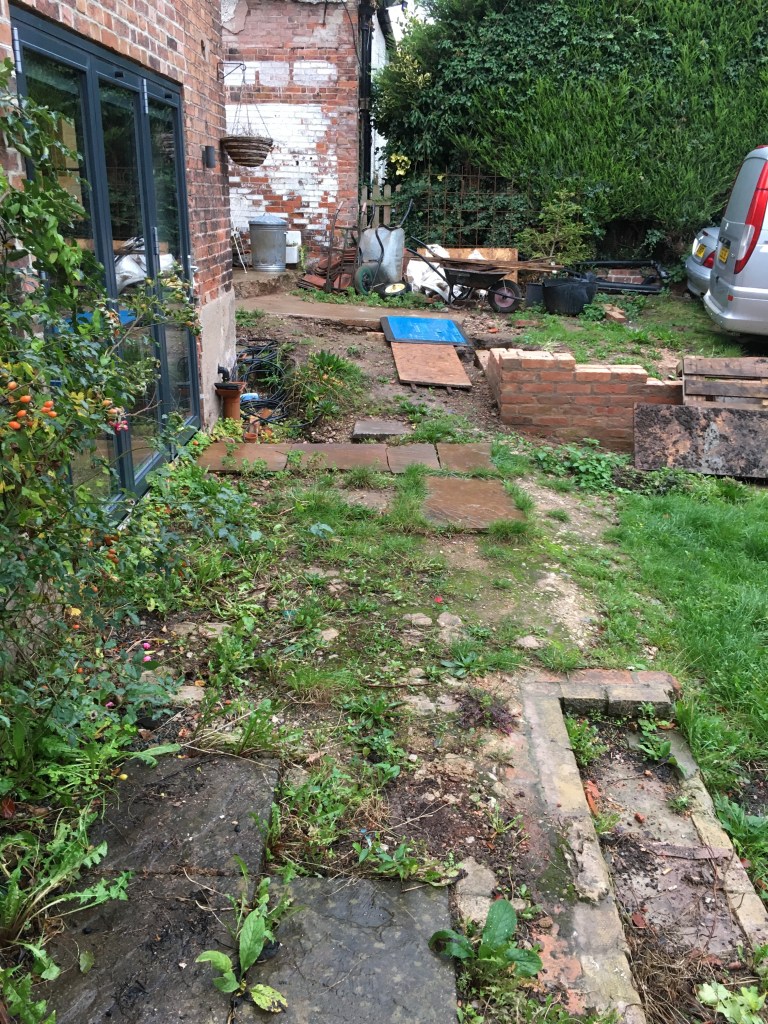
The digger got to work and removed all the old concrete and slabbed areas.

Large quantities of waste and unfortunately the original soil had to be removed, sadly there was no room to save it and it was of lovely quality. The upper path and steps were arranged and then the footings were sorted and yet more brickwork was added.


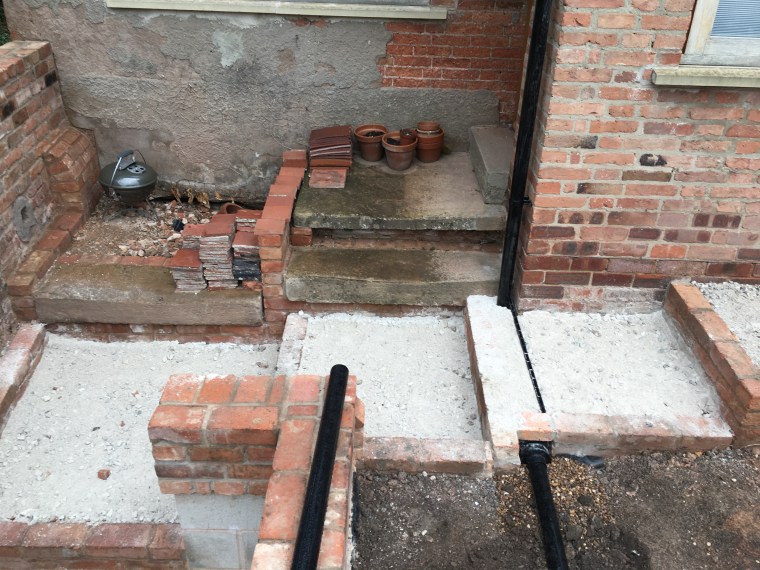
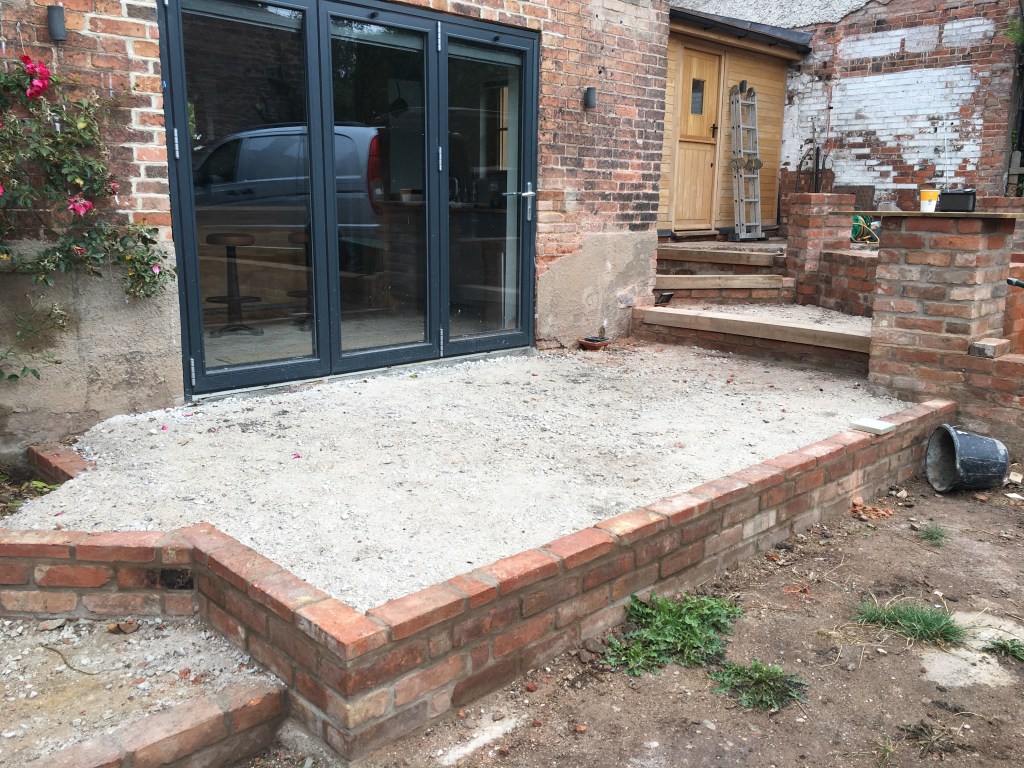
The upper patio was built and the level needed to be the same as the floor inside the kitchen, behind the bi-fold doors. A series of steps, using the old reclaimed bricks were created.
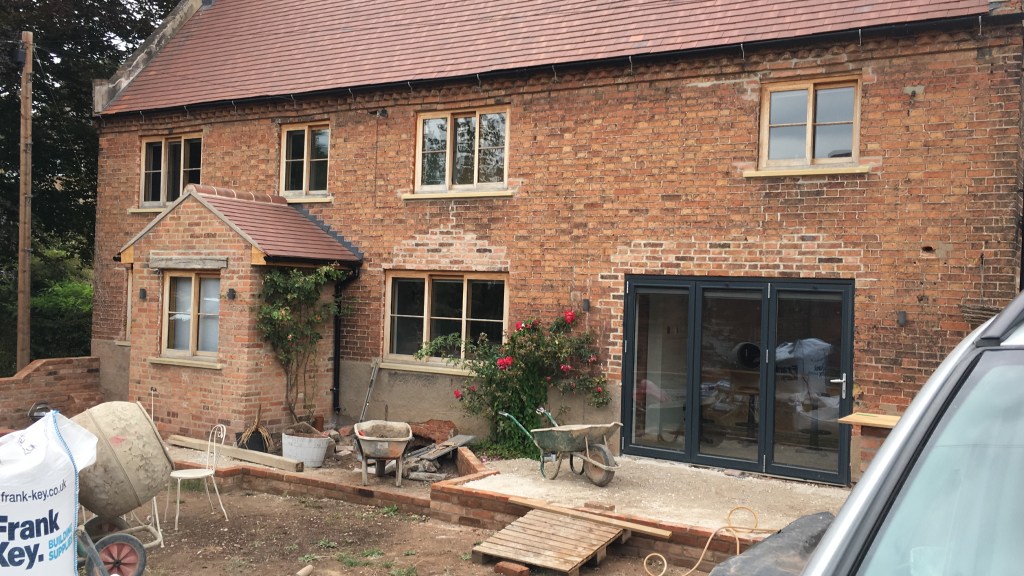
The upper patio is done and the steps to the lower garden are in.
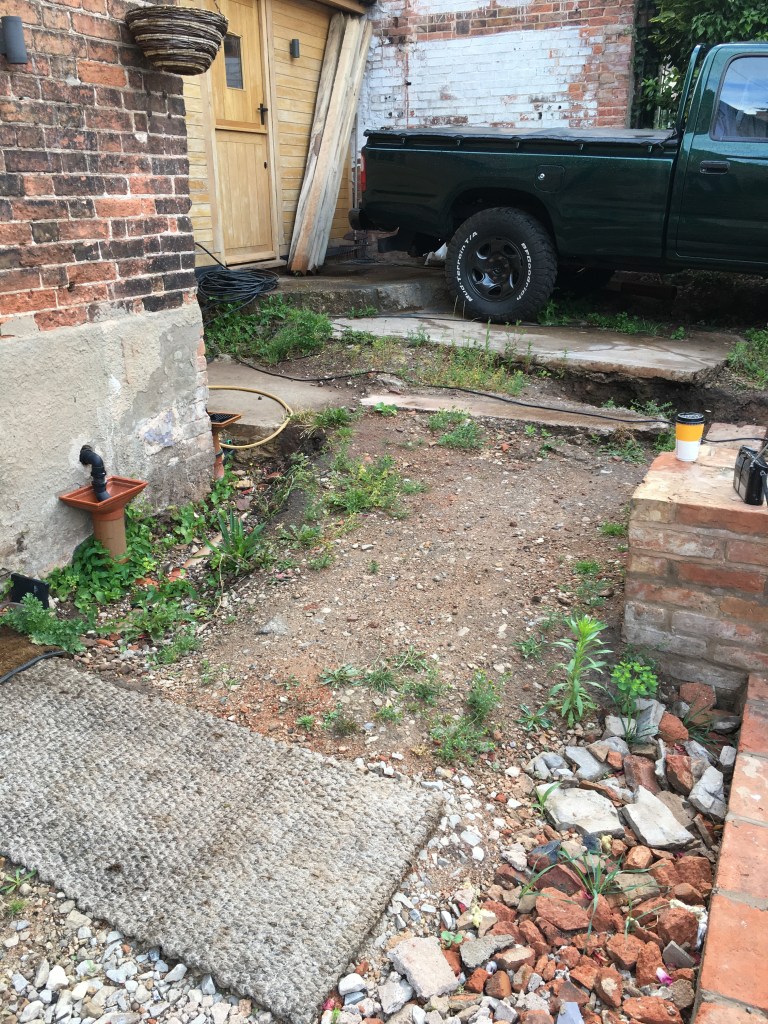

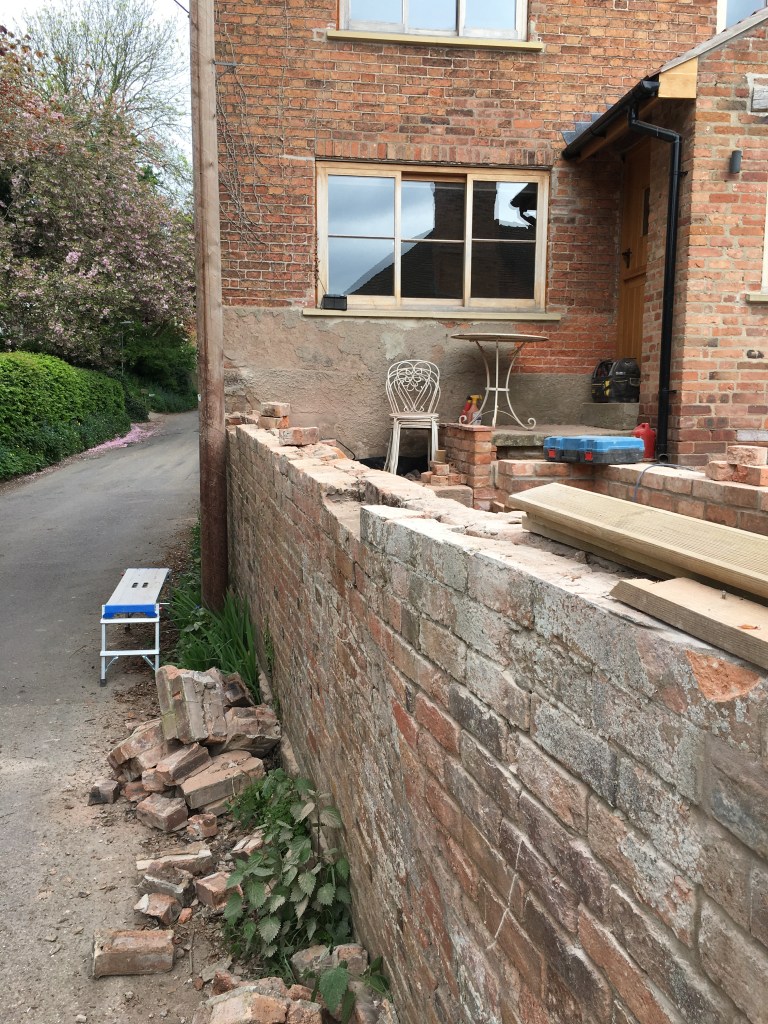
Now for the final area to be done. This was now the front door area. However, it had to be done in a way that anyone visiting didn’t walk towards the bi-fold door. So a design was created. Also, a major issue was a large concrete block that had to remain (due to a planning issue) and be applied to any plan.

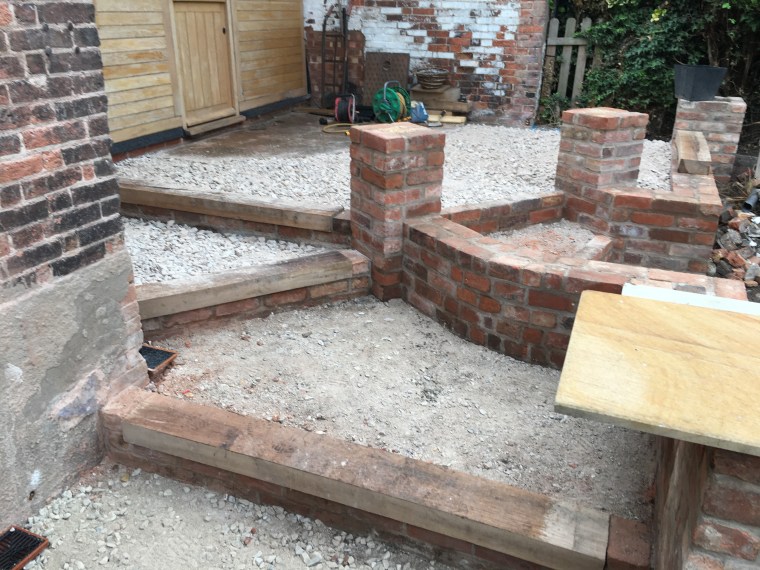
The old wall was removed and a new design was created aiming visitors to the new doorway from the drive. Brick piers were added to give it height and direction.
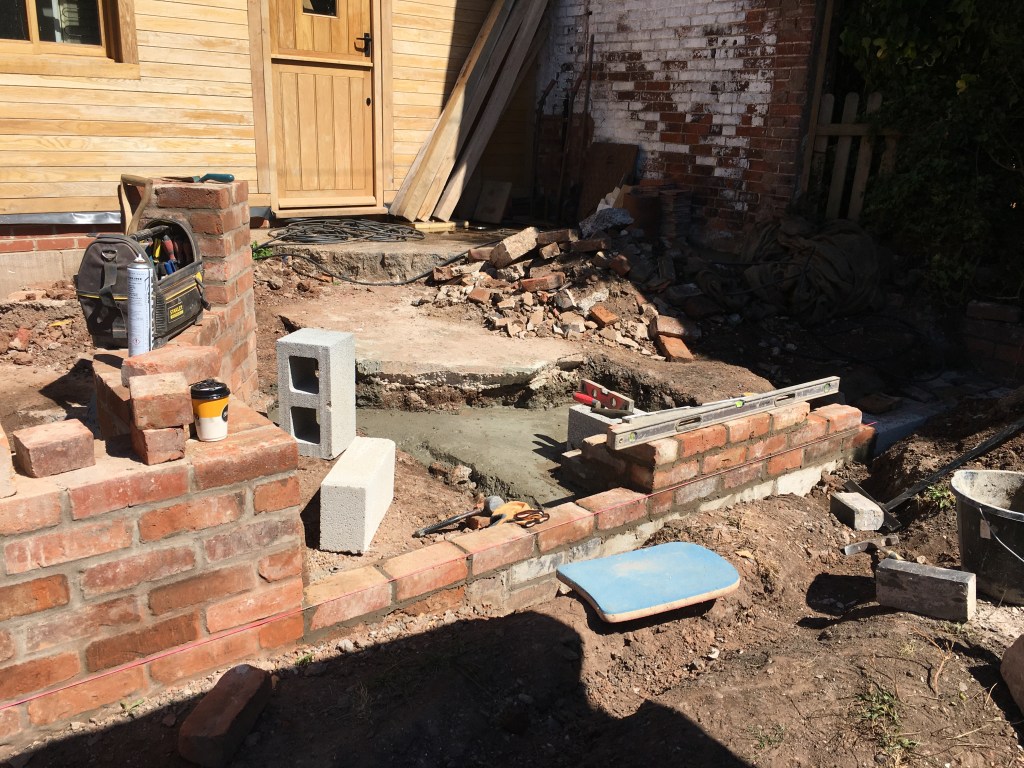

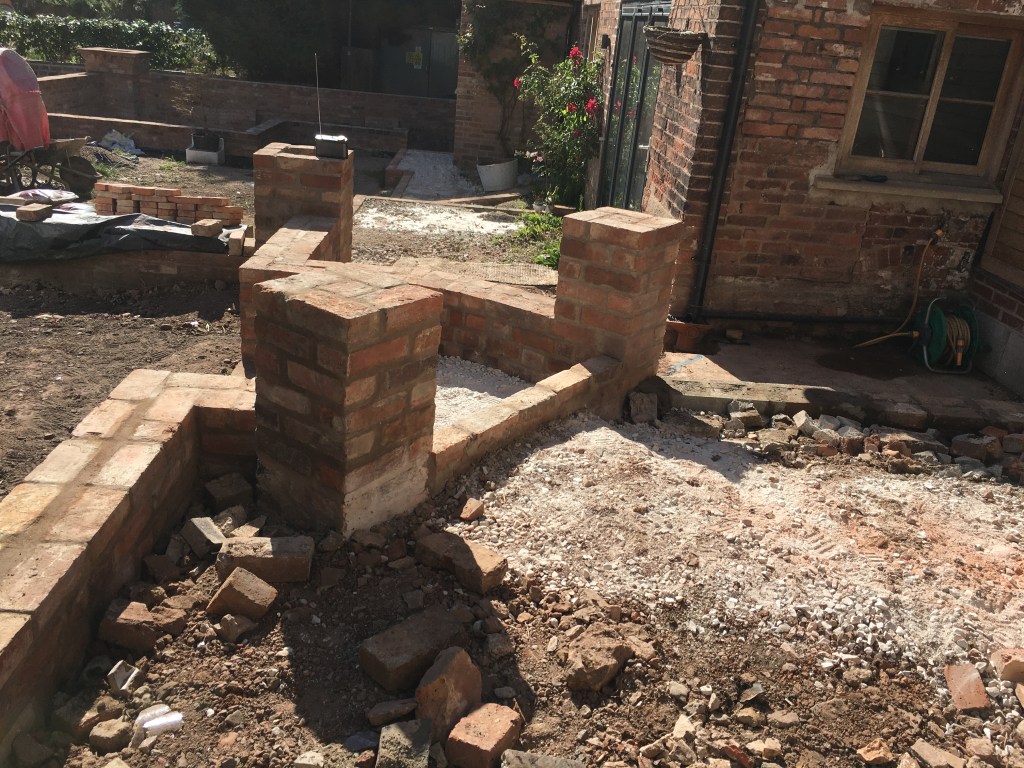
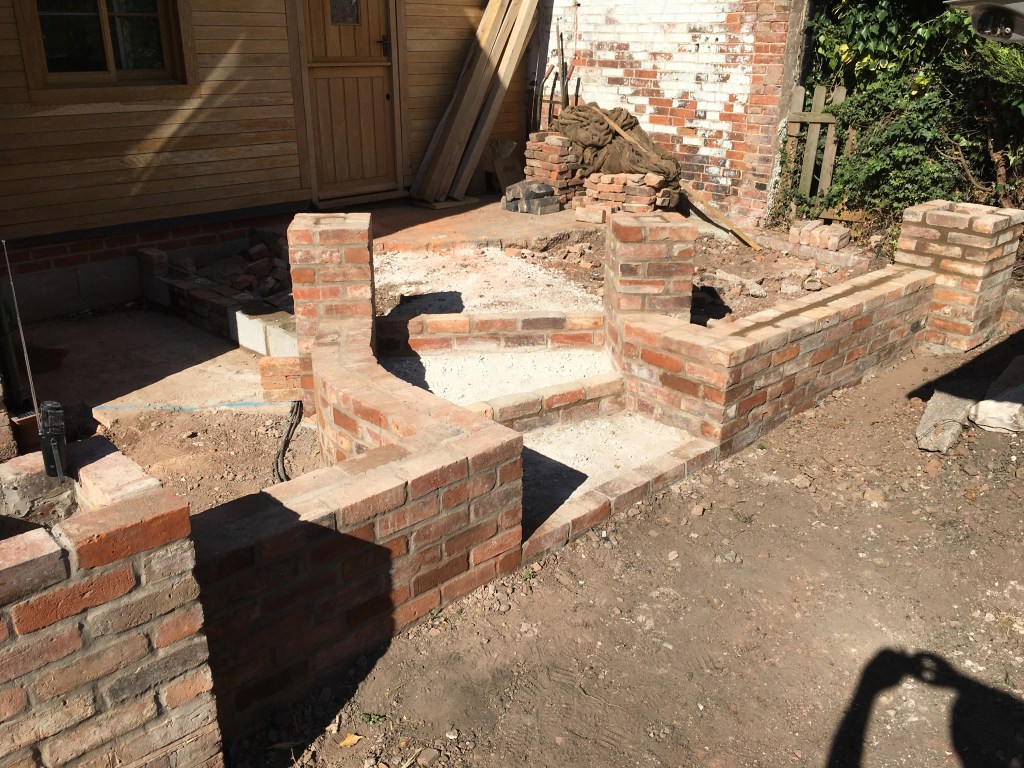
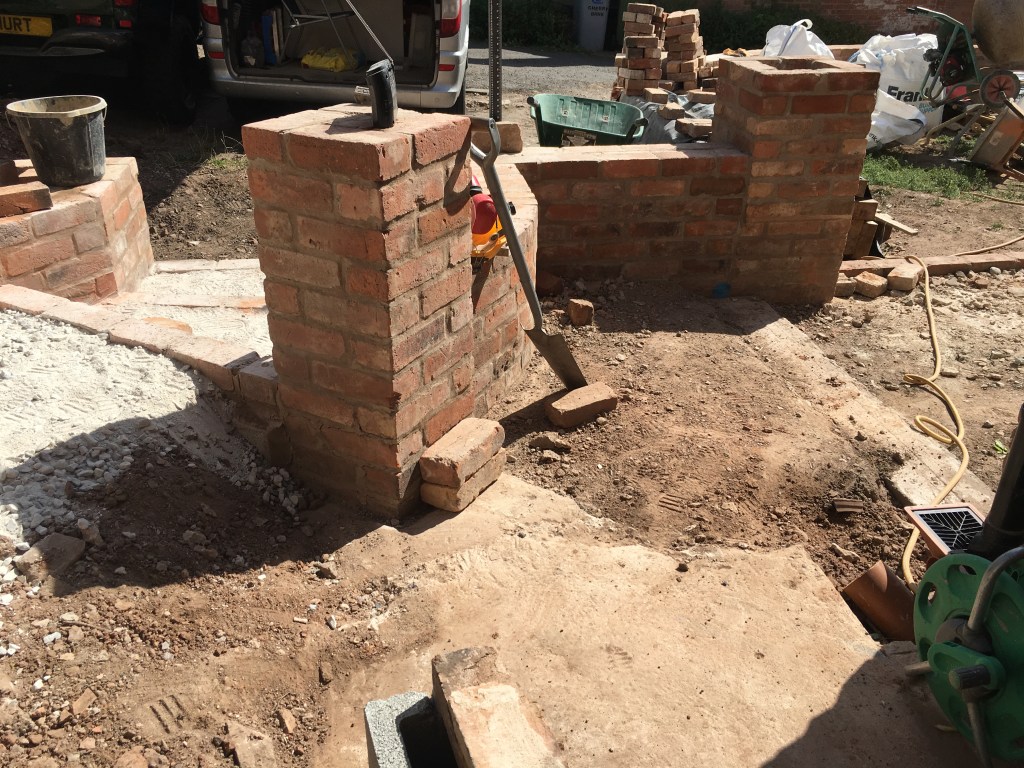
It’s taking shape. At this point, a supply of reclaimed bricks became a real issue. Trying to get the same size bricks was becoming very difficult, so a mix had to be done, which was frustrating.
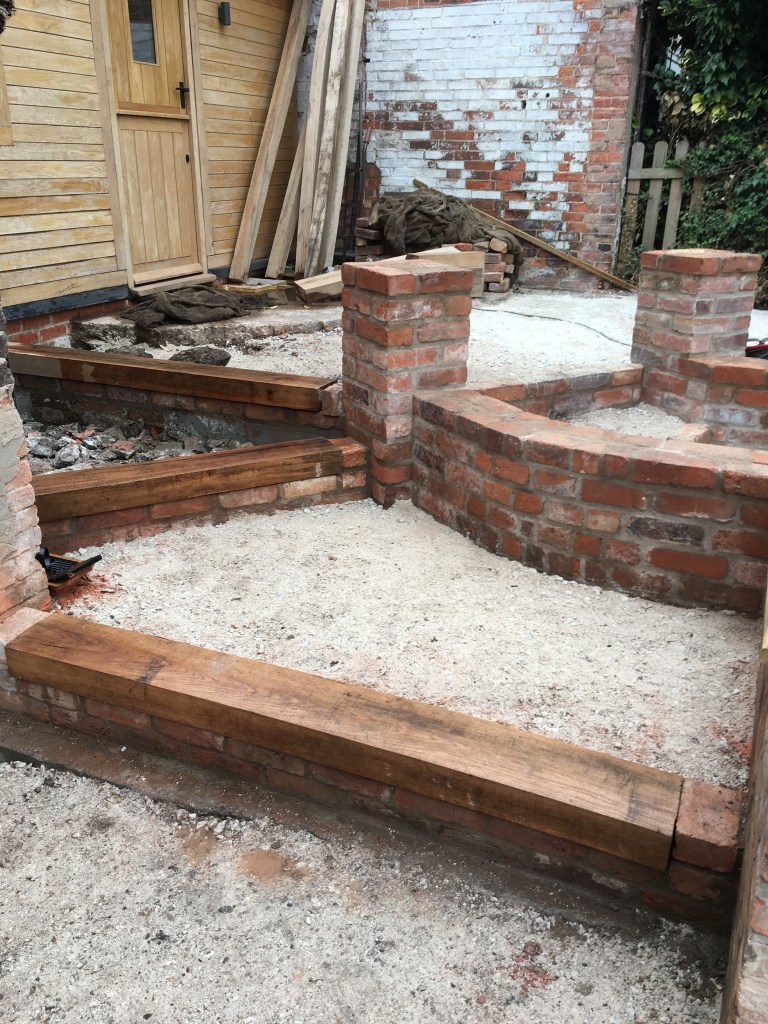
The point from the upper patio to the steps is now the area to sort out. The client wanted to use some old beams of oak he had got for the step edges so a plan was made to create that. An armored cable for electricity was added for a charging car point at the top of the drive and other electric points for the lower garden.

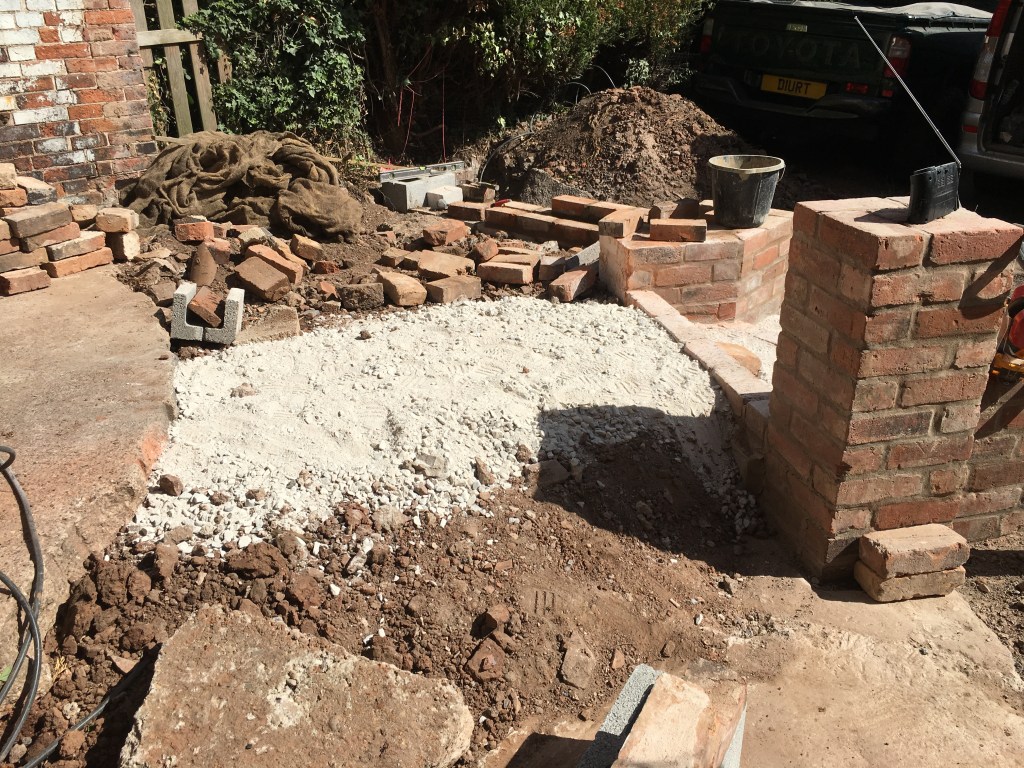
The final stage was the stone being added and the level flattened for slabbing.
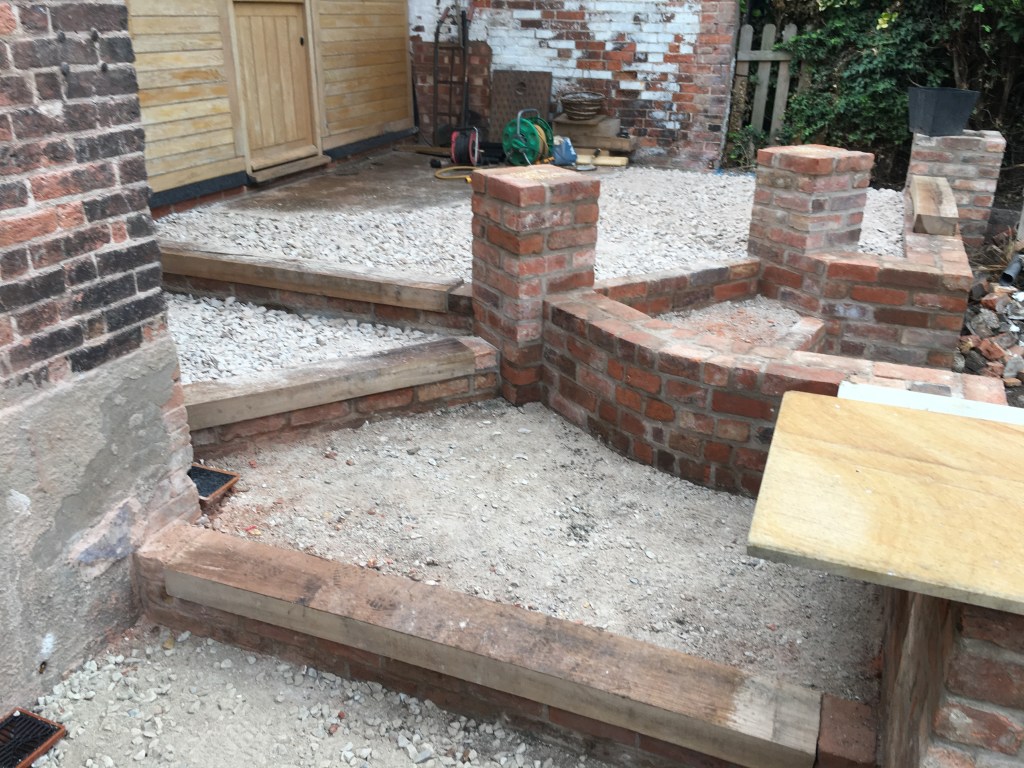
And now the finishing touches to the levels…

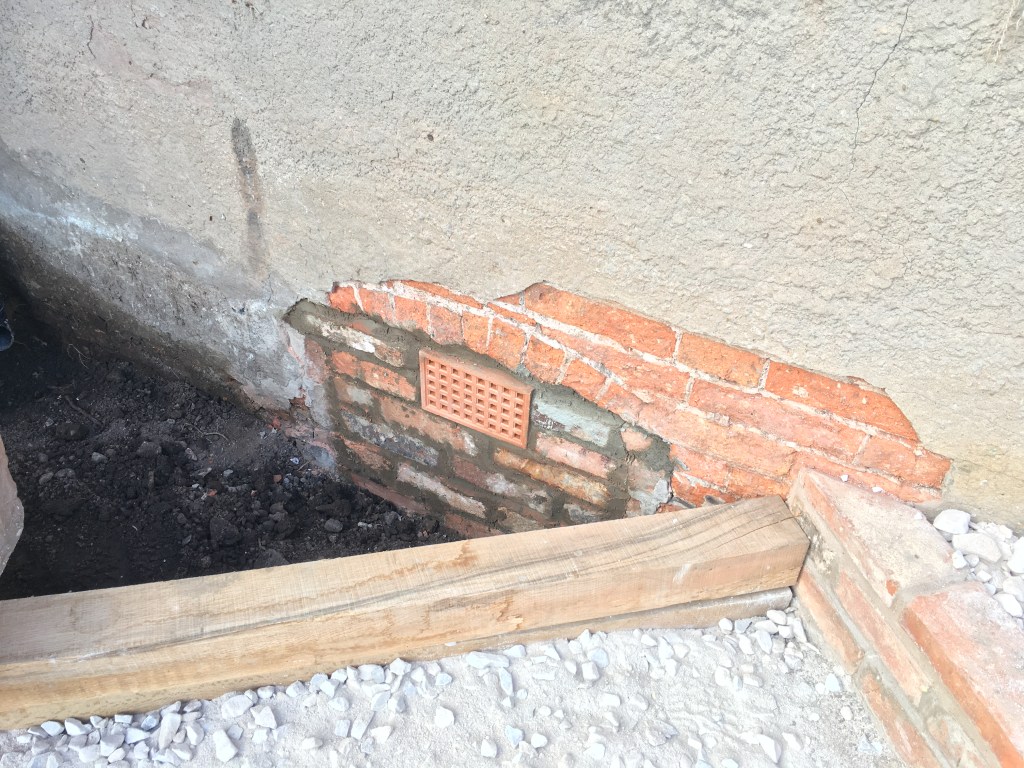
A stone air vent was added and the old coal doorway to the cellar was bricked off. This will be rendered at a later date.
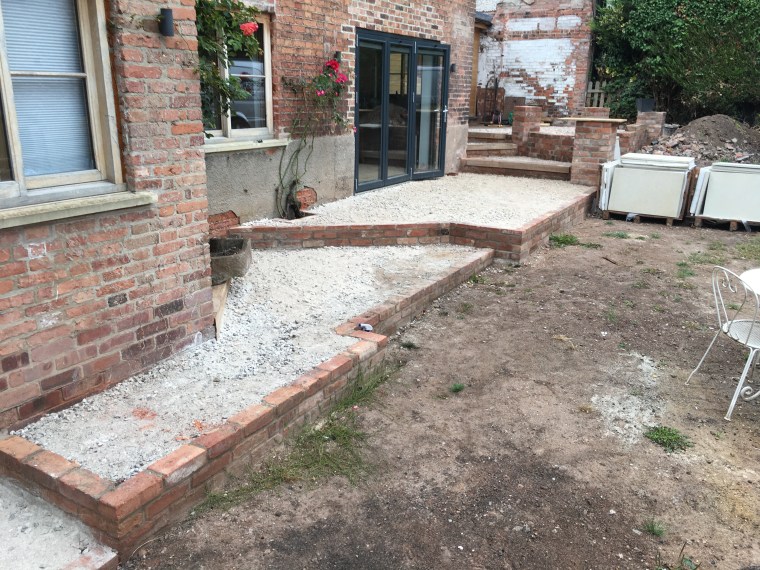
The lower seating area is now complete and awaiting slabs
The steps from the lower area are finished and a slot drain has been added to a soakaway from the porch roof.


The upper patio is finished and leveled off, as you can see the slabs have been carried up and are just waiting to be laid…
As mentioned at the start, I was only going to do a few weeks of work here, but the client wanted me to do it all. Well, this never got finished by me due to time restraints. The decision was made that the client got someone in to do the slabbing. As all the design and hard work was done, that wouldn’t be an issue.
The remaining areas of lawn and planting were done at a later stage… Frustrating for me, but the time to do all the details how I wanted to do them was overrunning other work I had planned. I’m proud of what was achieved on this job and it’s been built to last for many years to come.
In 2024/2025 I’m back… more to follow!
©designandgarden2022
