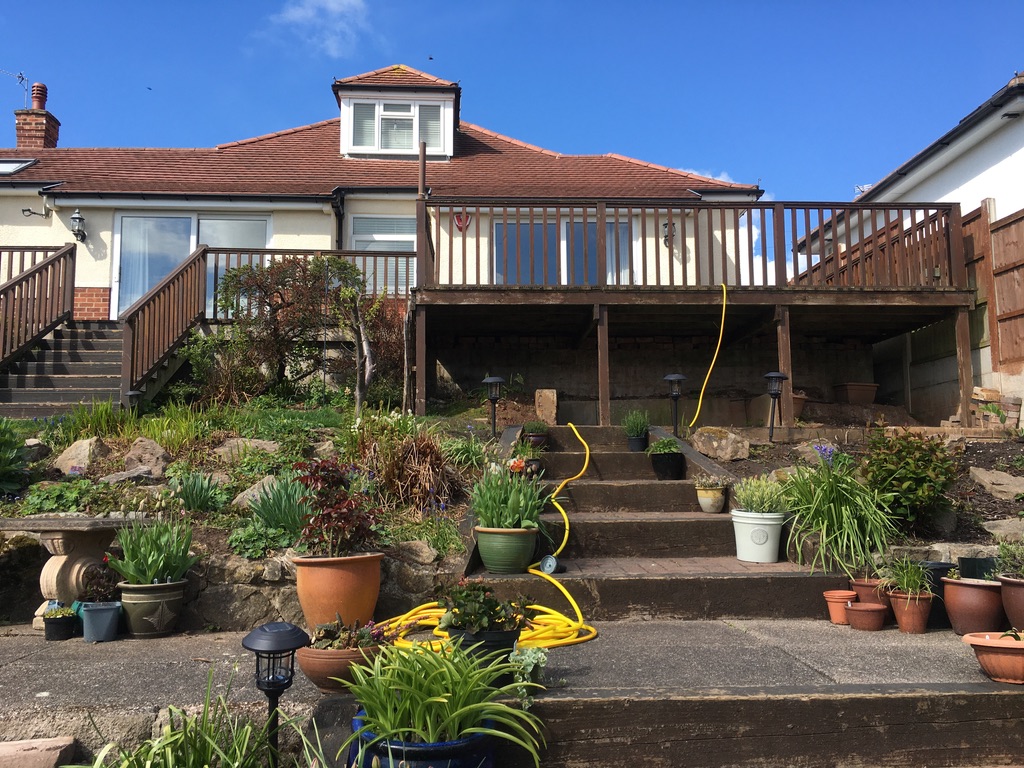
A Recent house move to a property that had the views but unfortunately, amass of rotten decking. This started in 2021. And took a while due to the complexity and delay in the aftermath of covid.
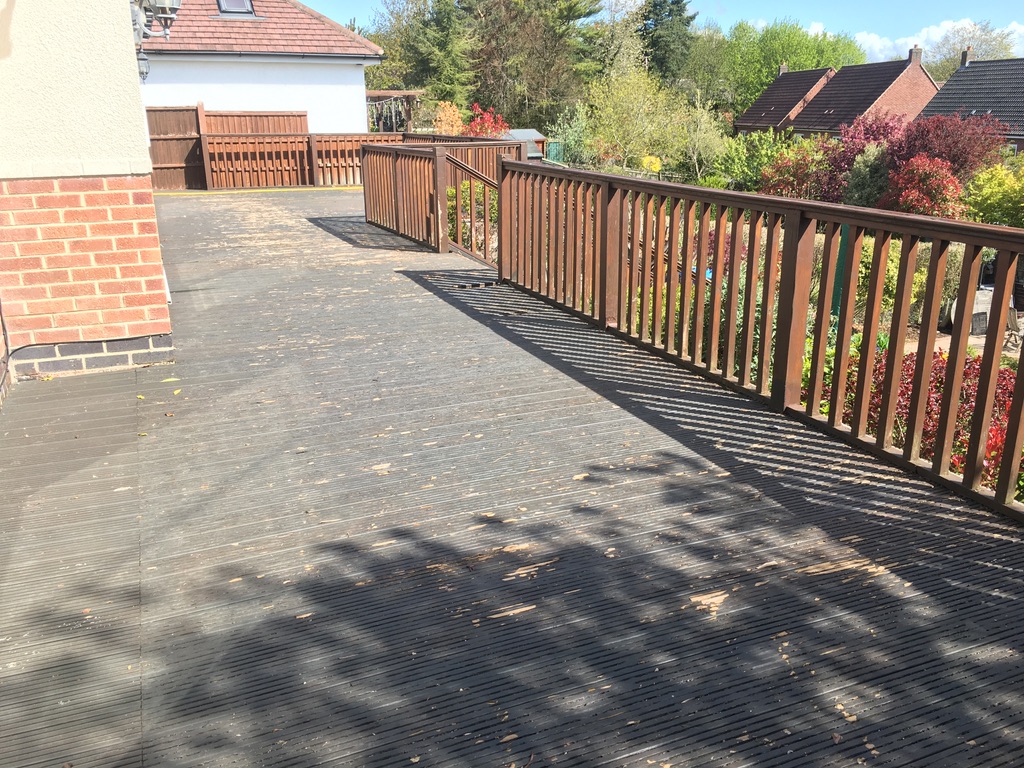
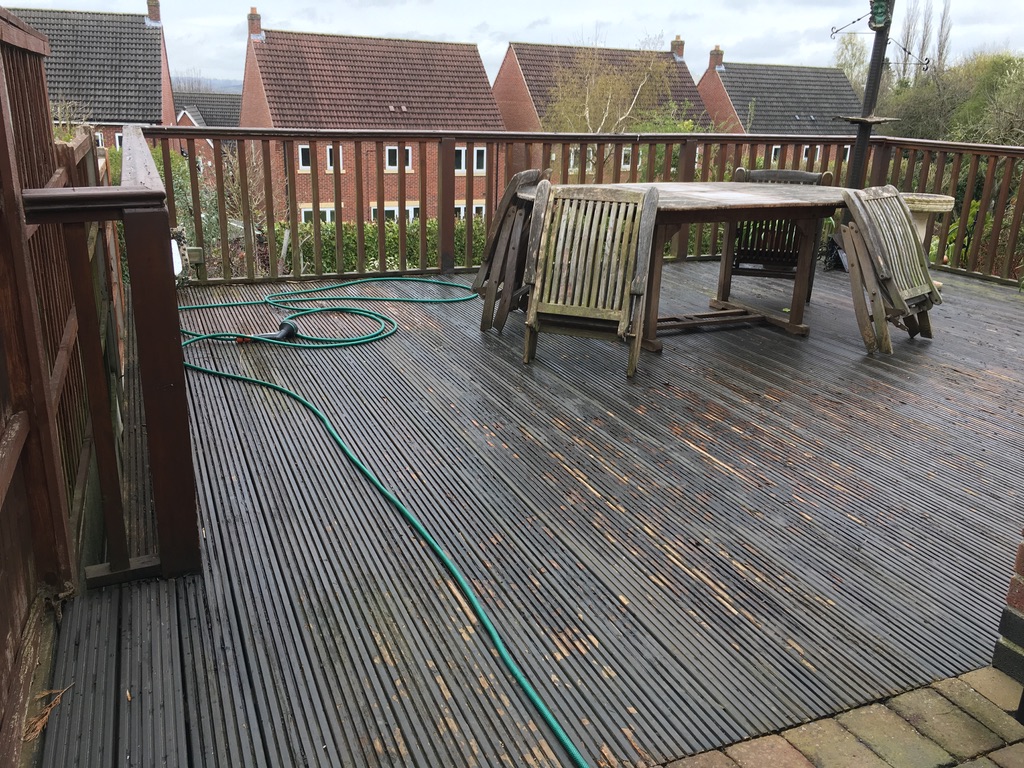
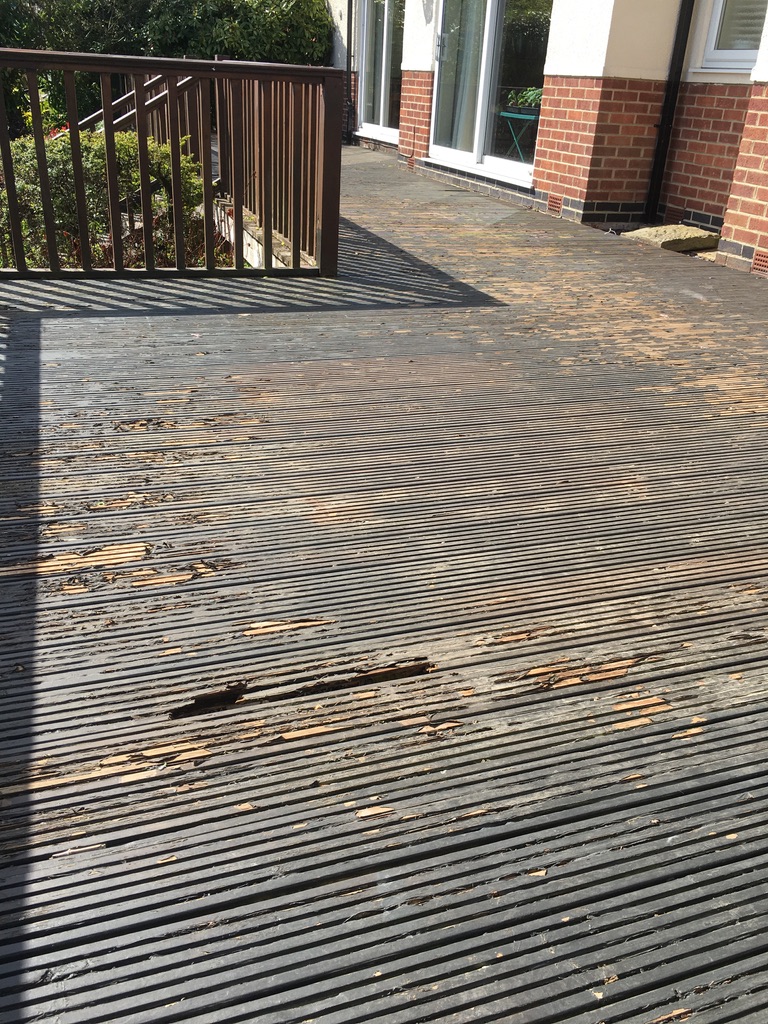
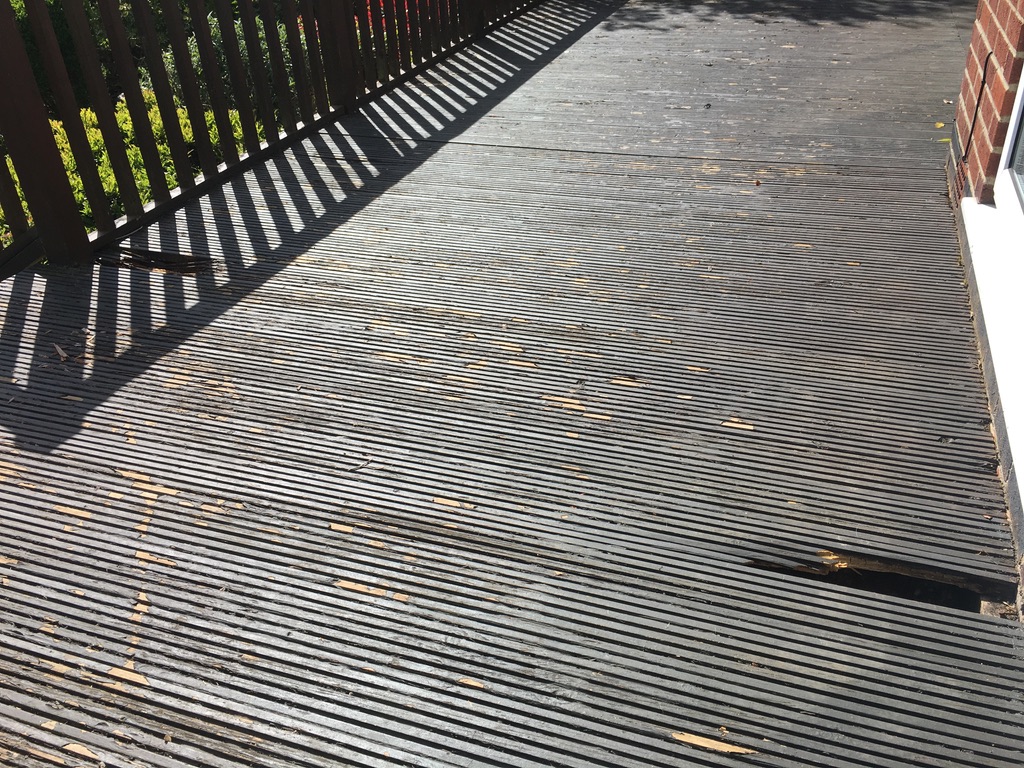

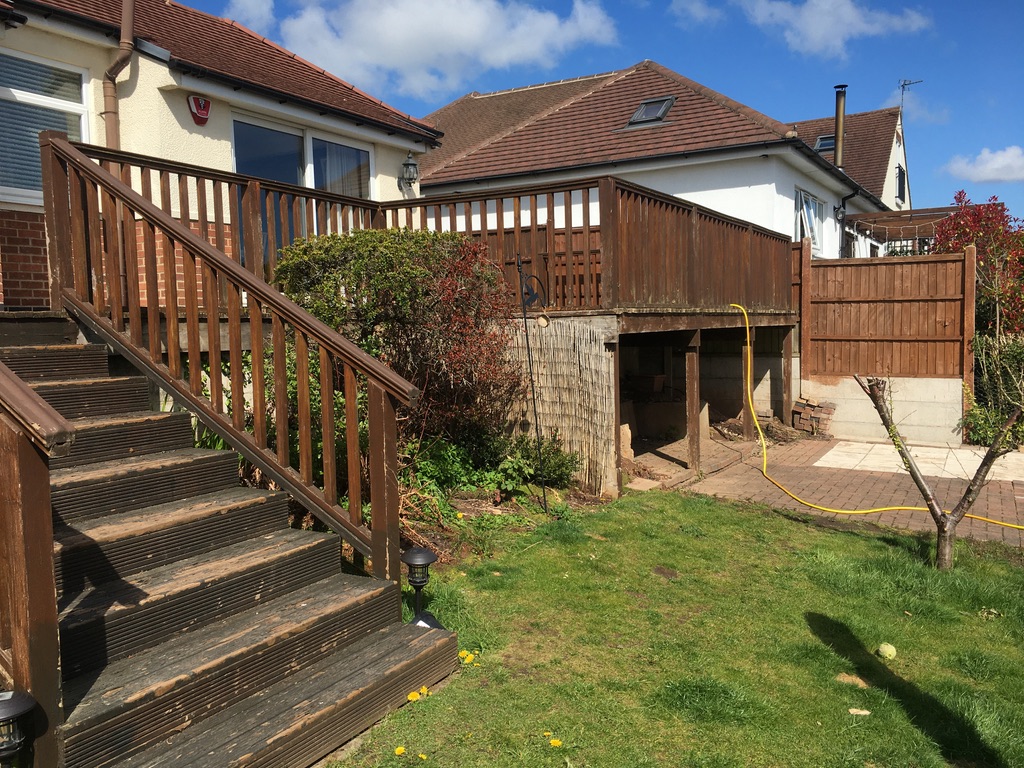

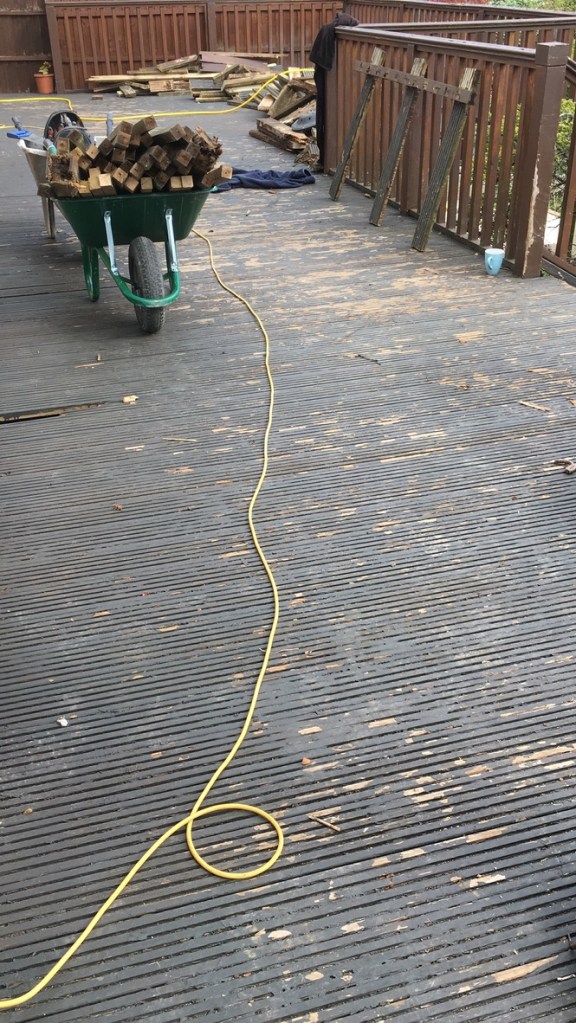
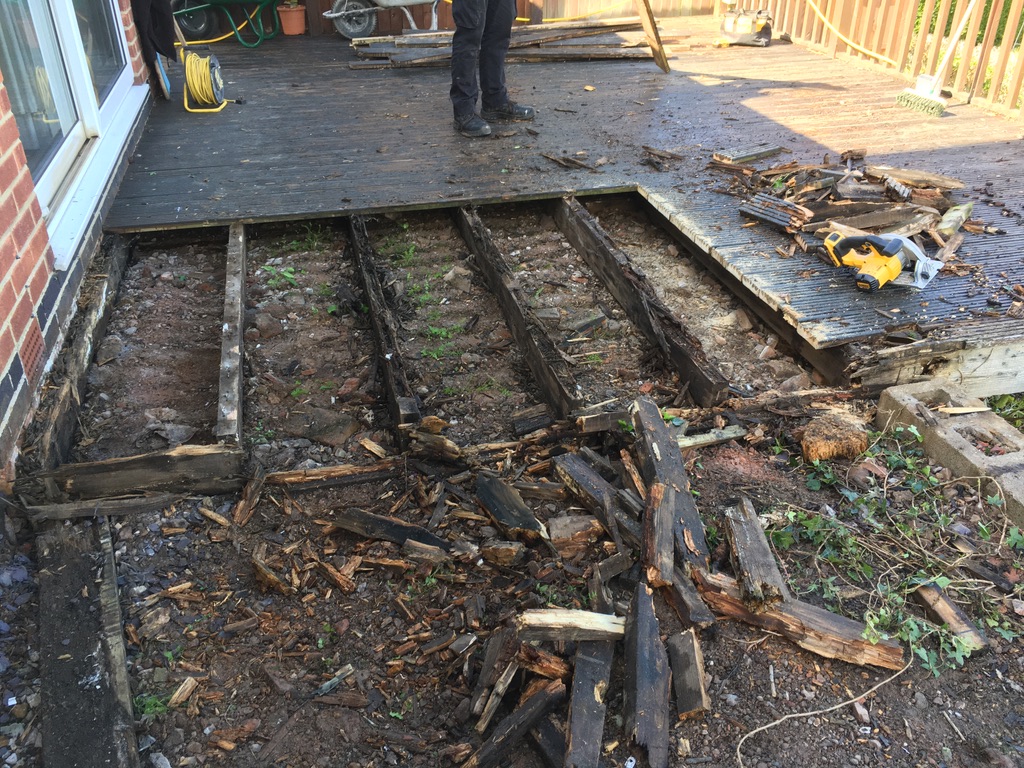
The size of the decking was almost overwhelming before taking into account other problems that may be hiding. Sections of it simply fell away and the under beams were mush.

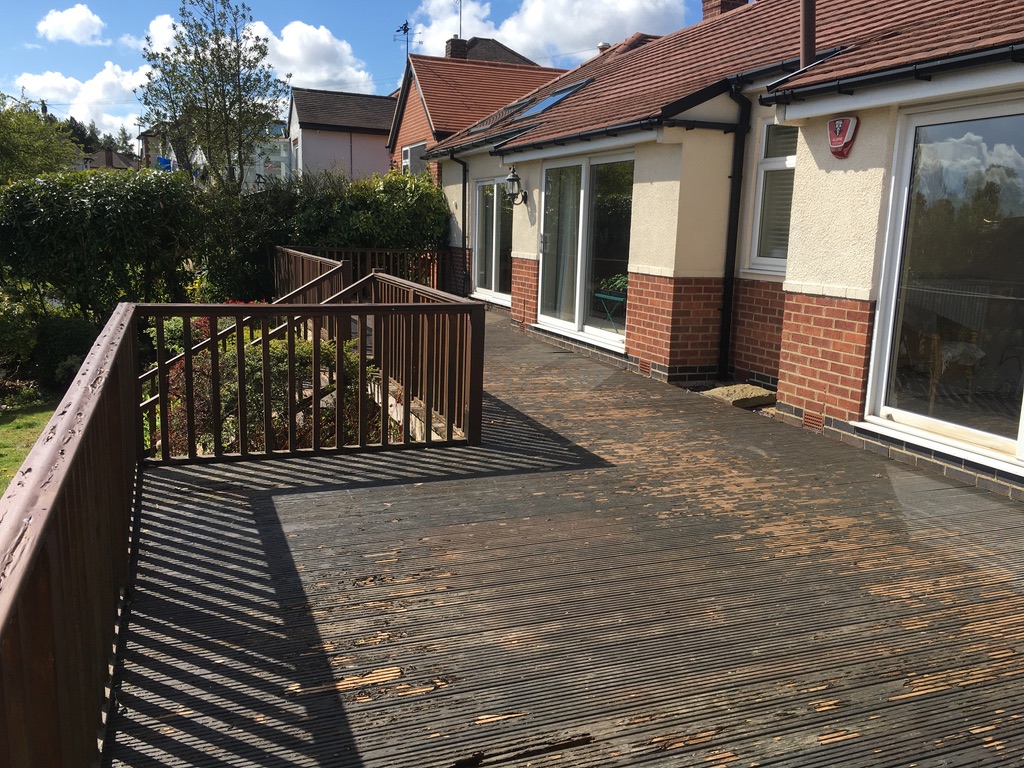
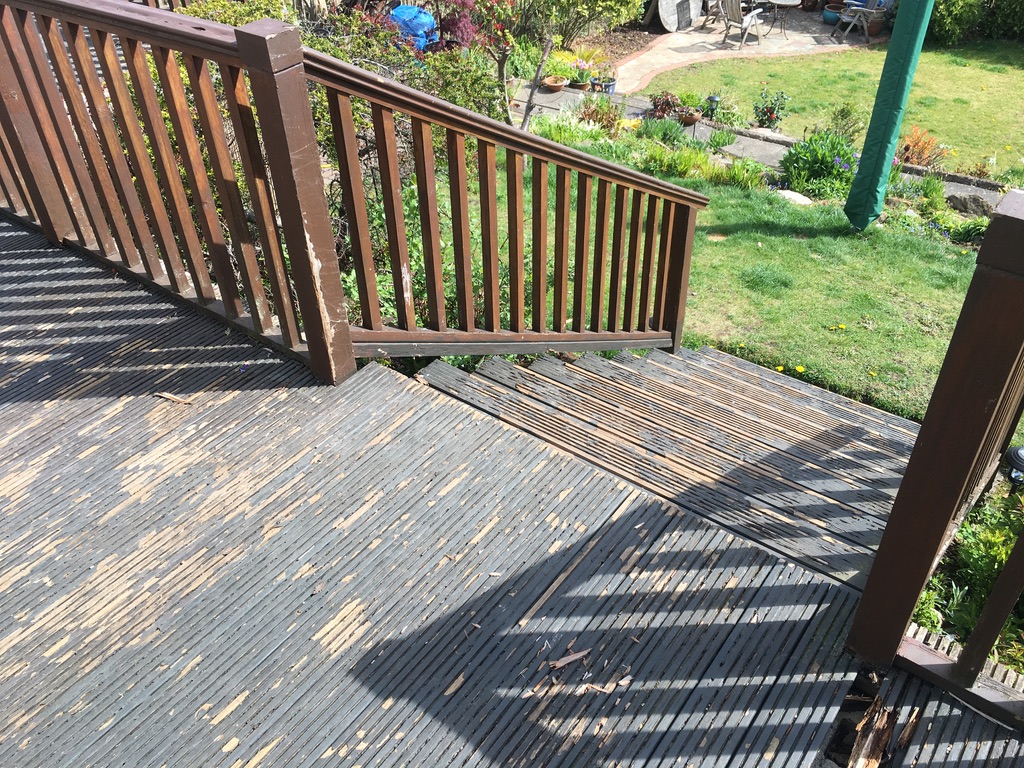
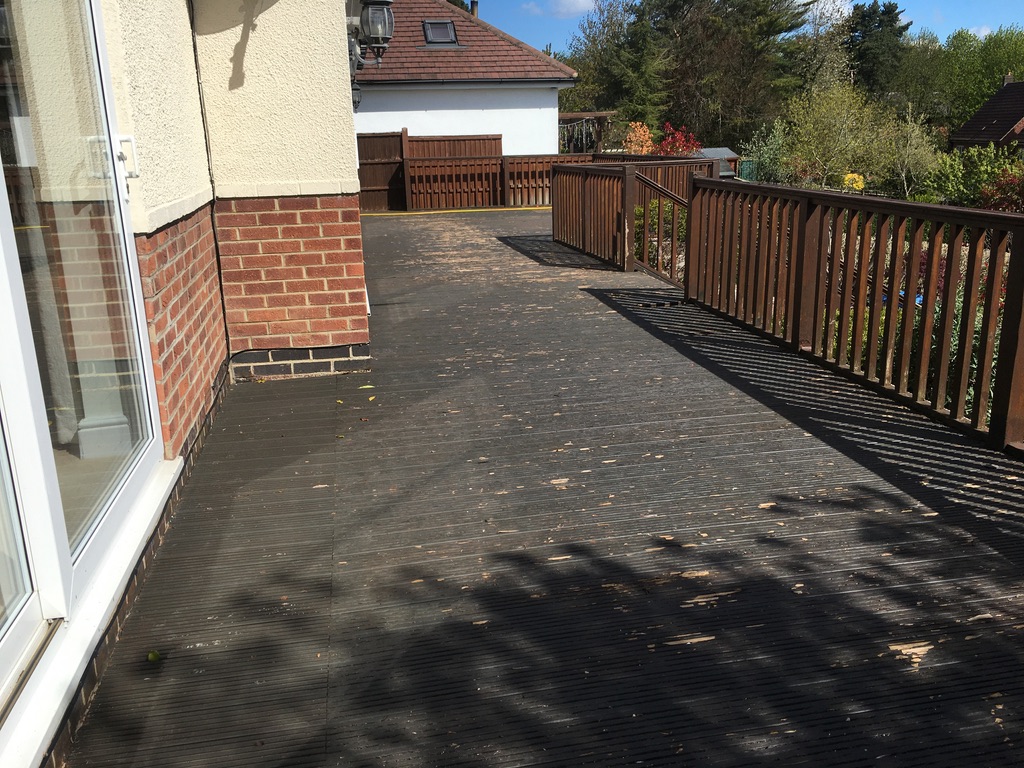
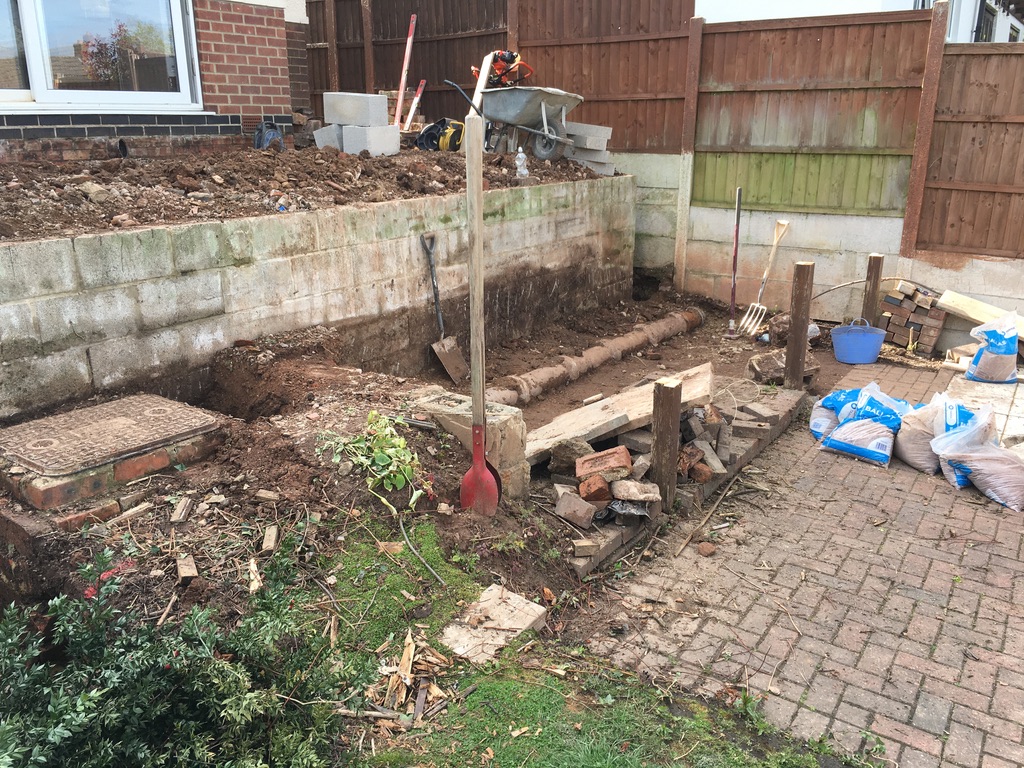
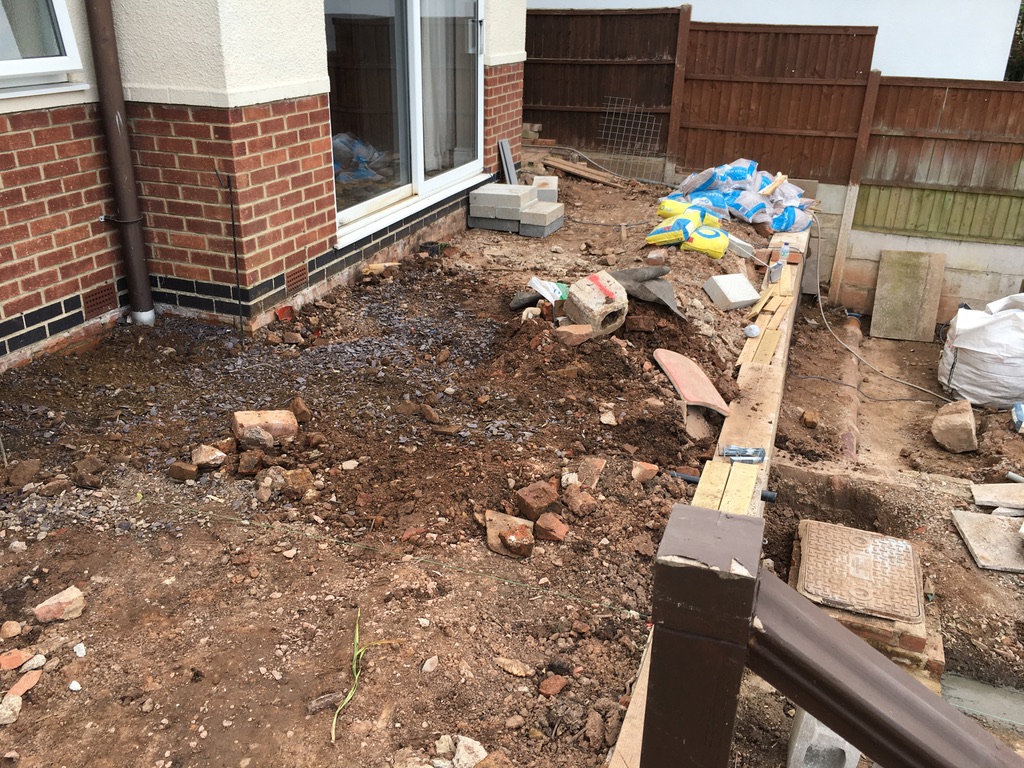
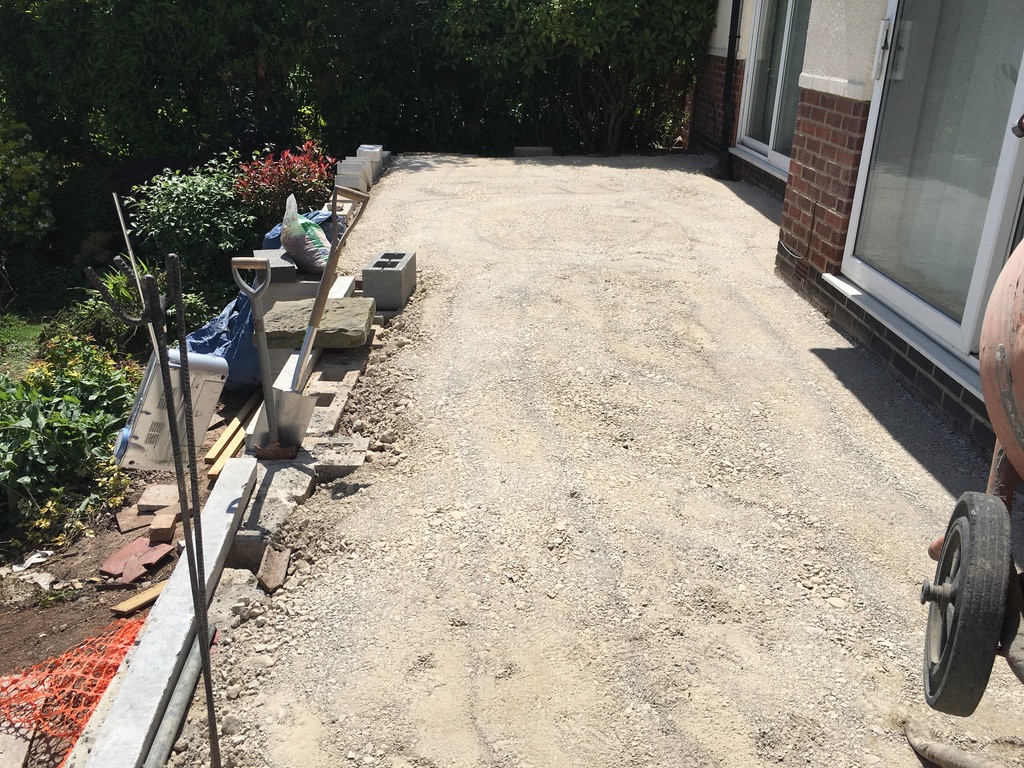
The upper ground area seemed ok, looked and felt solid to work on. However, the wall that was under the edge of the decking was totally out of line by about 18″ at it’s worse. So a new wall was deemed the only wall to correct it ready for the new design.
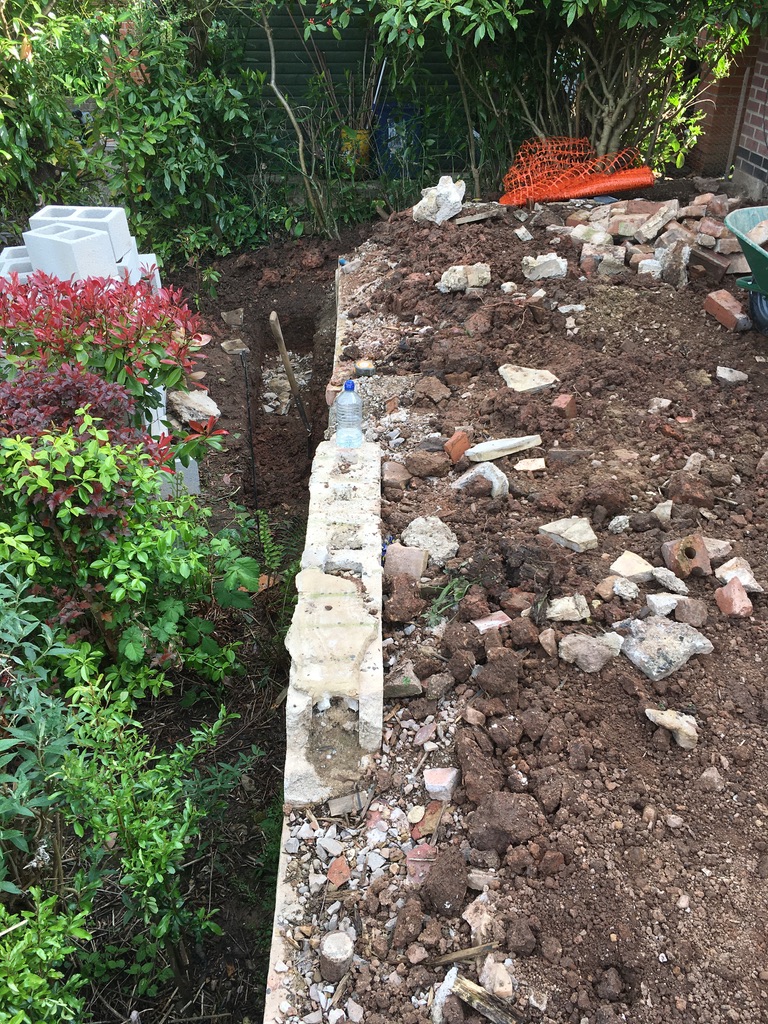
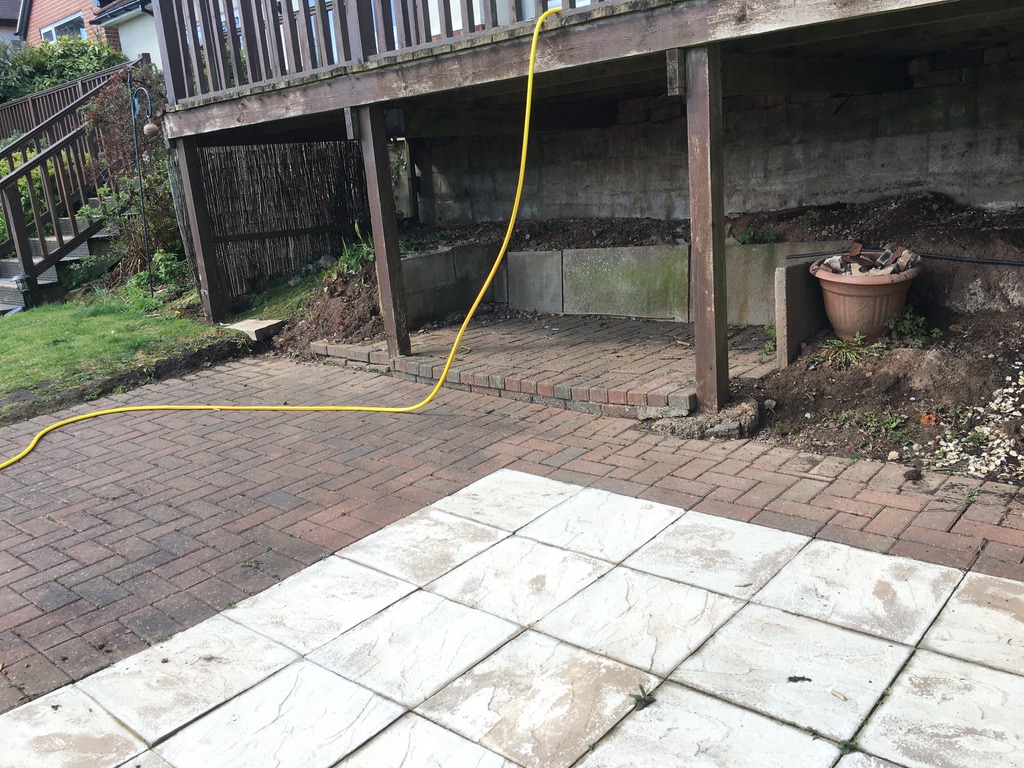
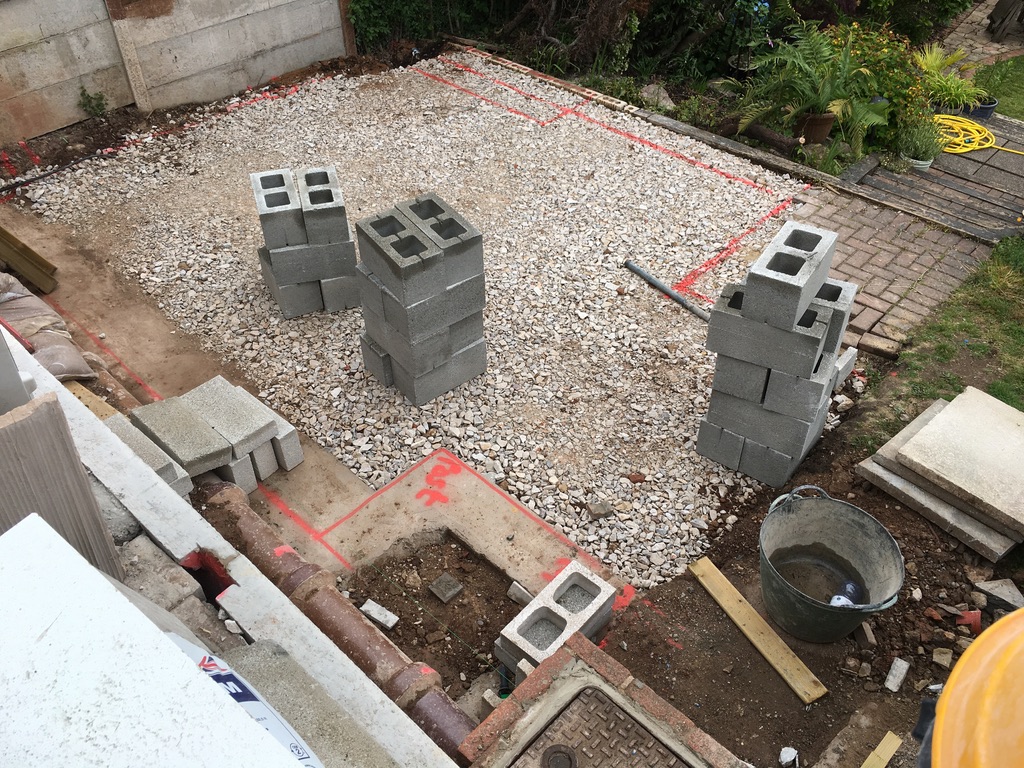
Now the first sight of a drain appears from under the old raised decking area. Although this was first seen on inspection, it did look like it came from the toilet of the house. No problem we can work around that…


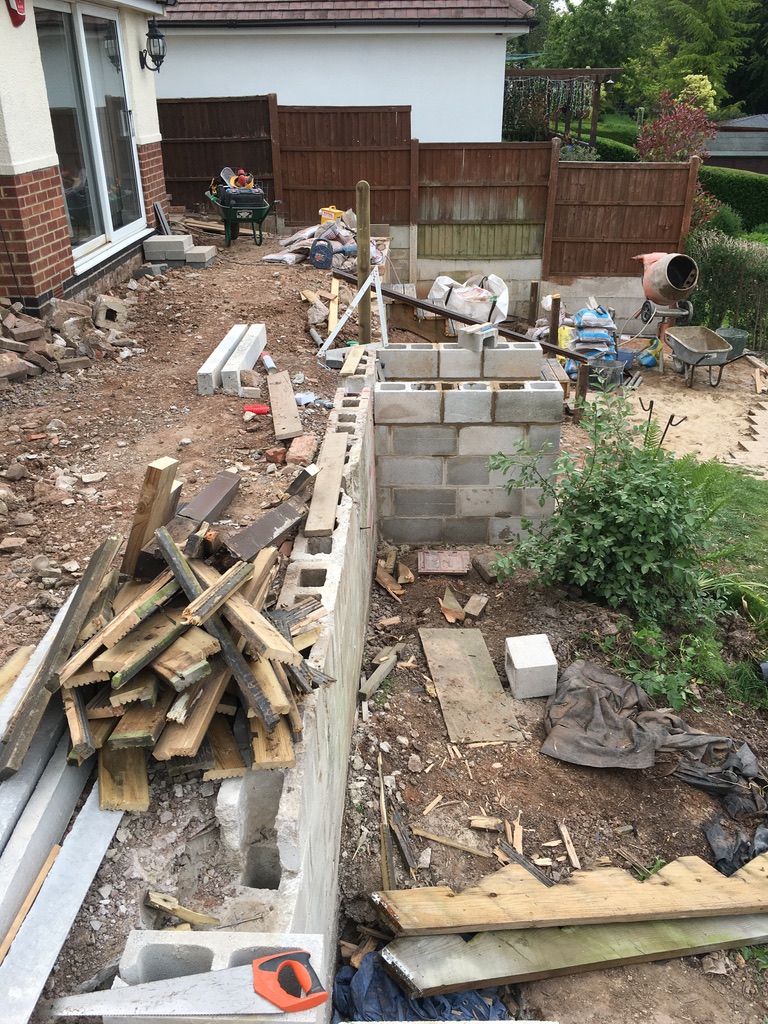
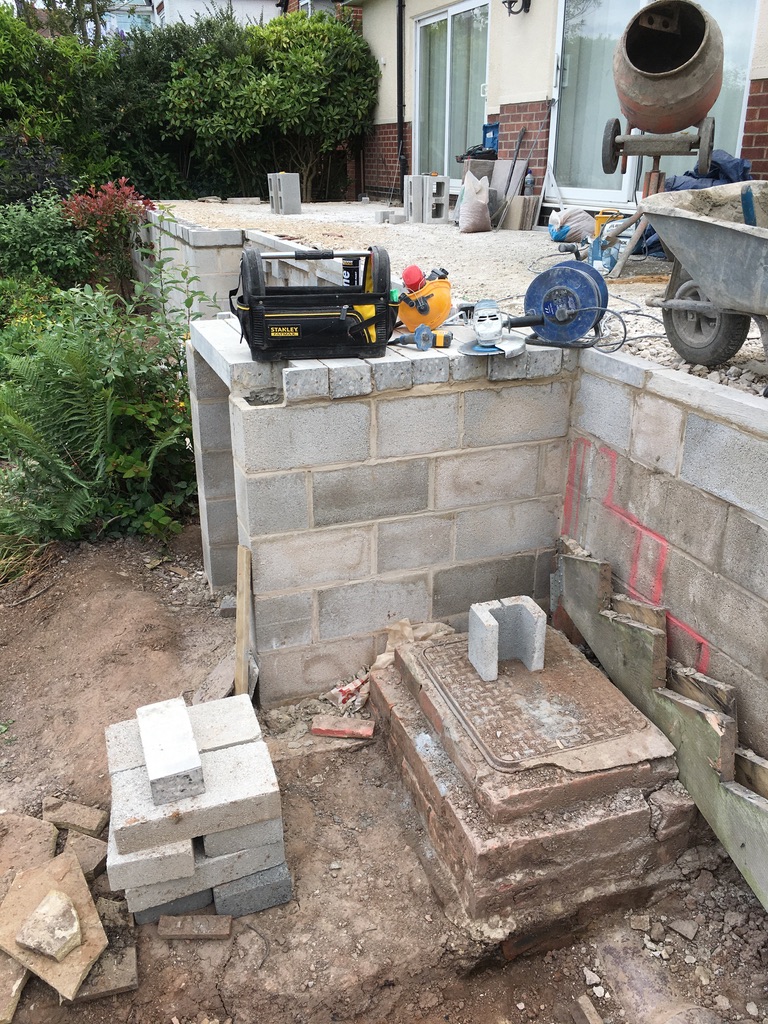
So let’s build a new wall that covers the old wall to form a straight line which is needed along the new patio edge. This is fairly straightforward apart from the previous thought that the drain ‘from the toilet’ was actually a mains rain drain from next door and beyond…
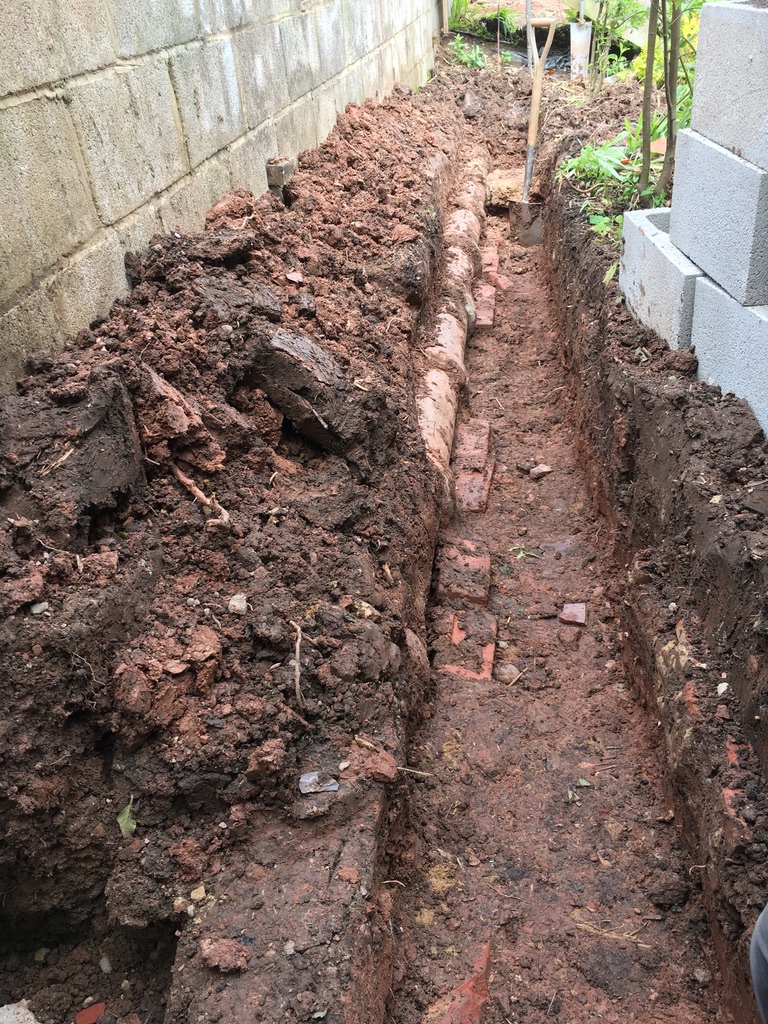
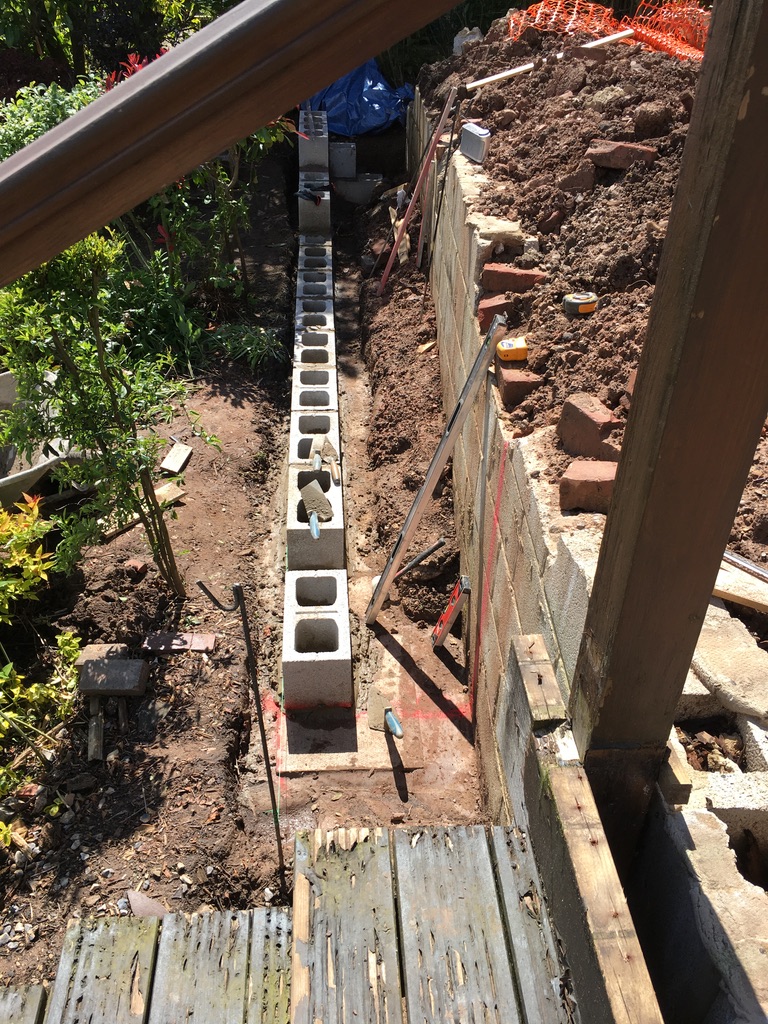
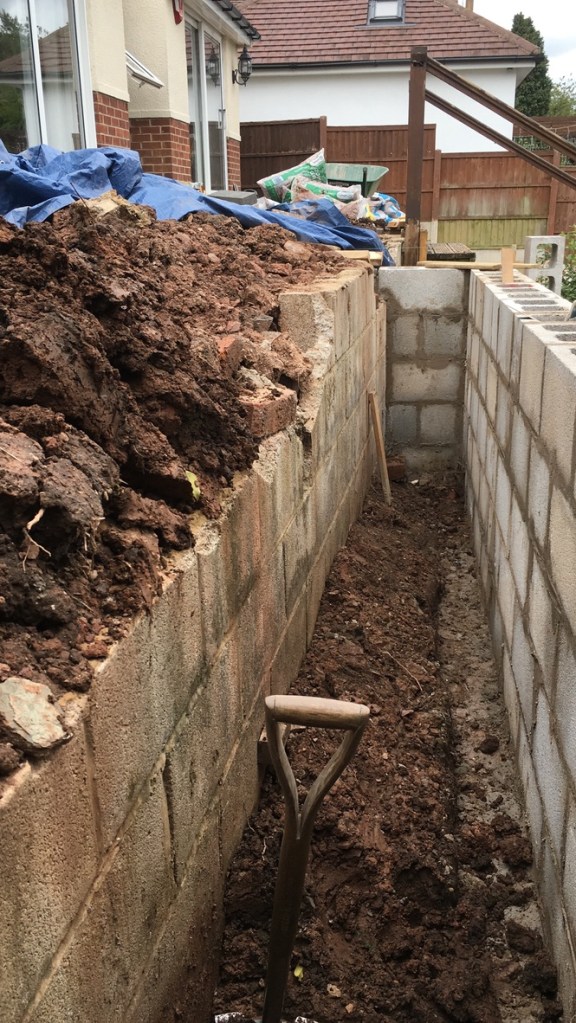
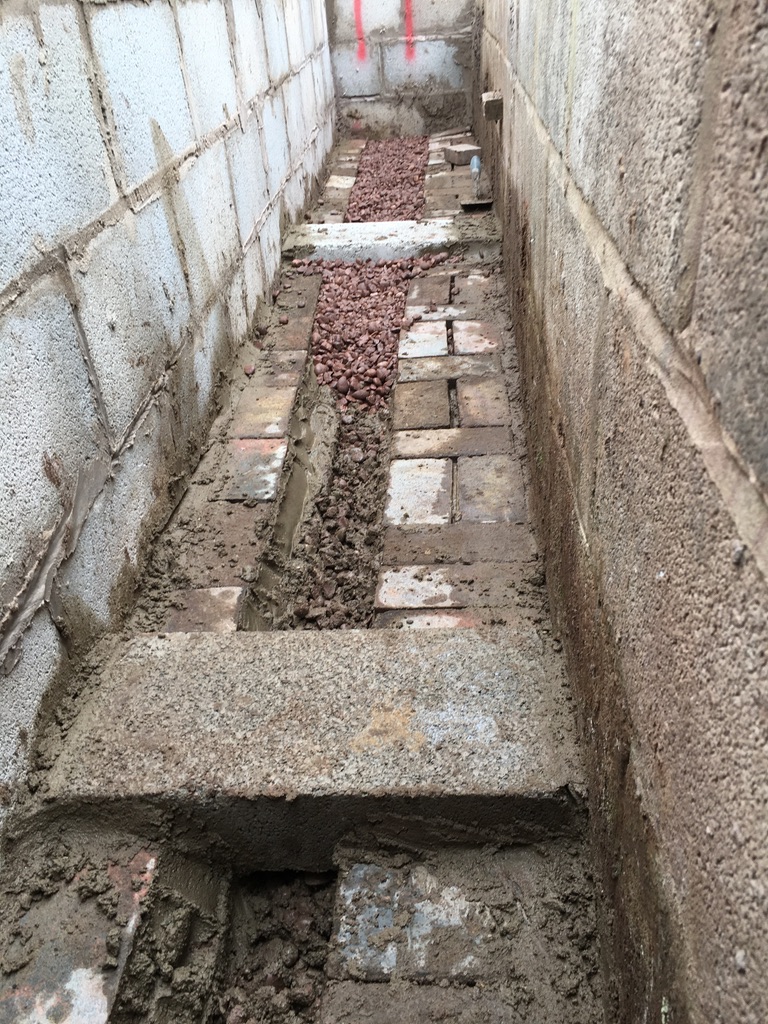
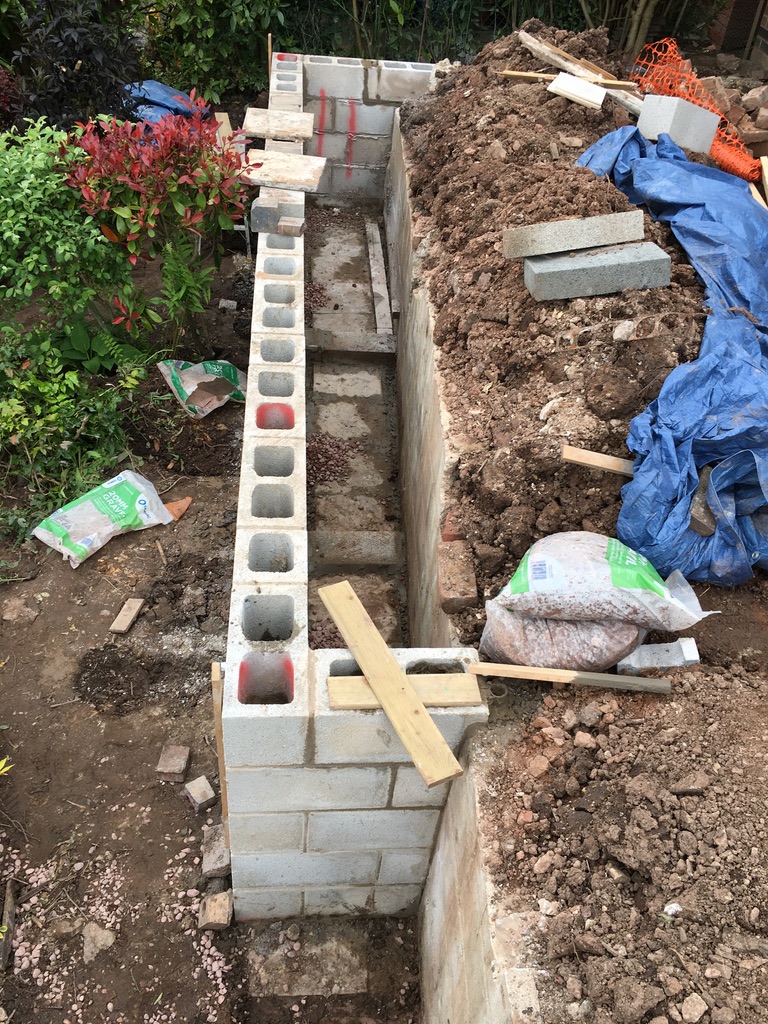
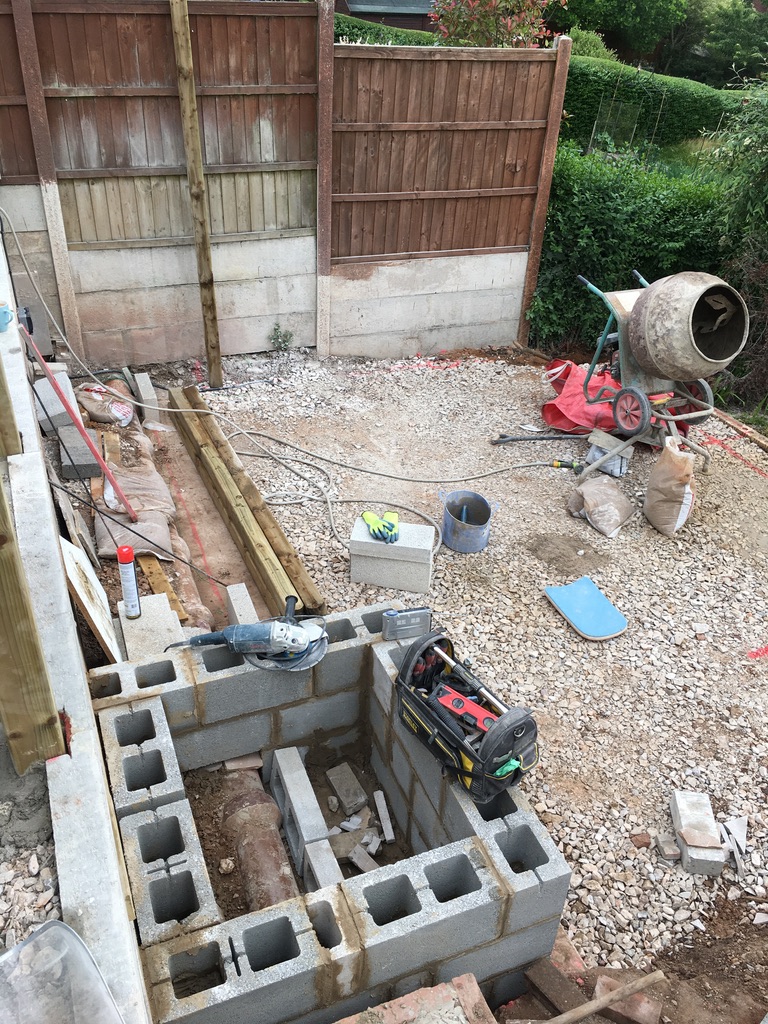
The new wall is almost built and a secure ‘box’ the length of the drain is created to protect the mains pipe. This is additional work that you cannot expect till you start a job. If you notice in the above picture, you can see the old wall is out of line and was originally built to follow the pipe.

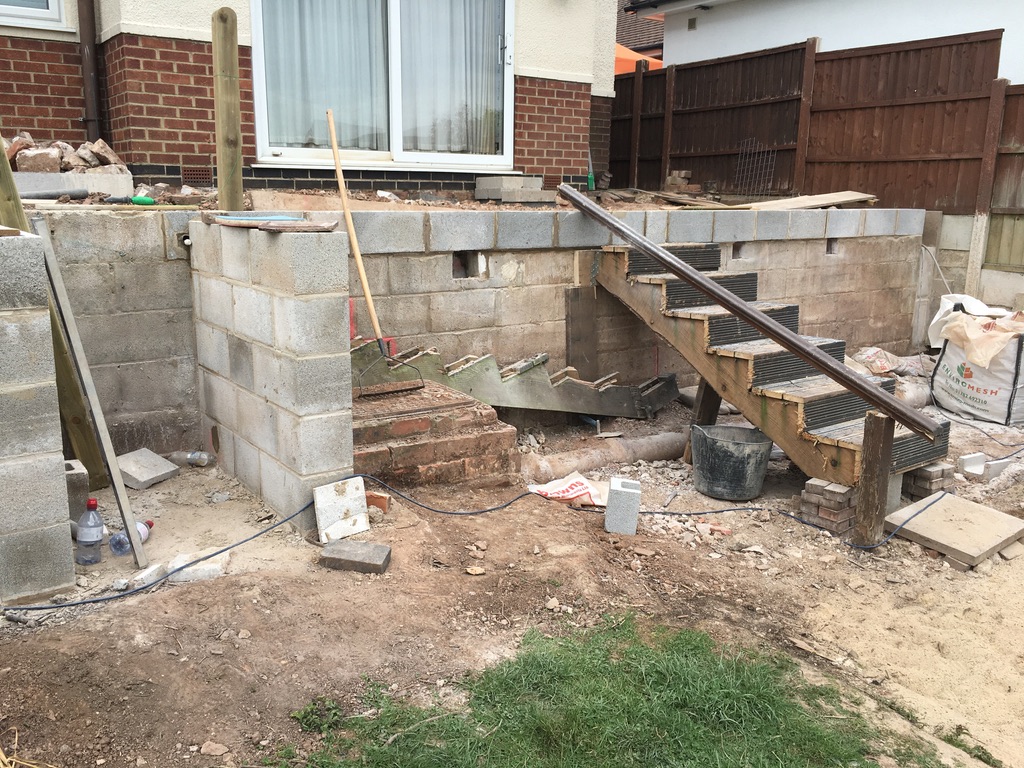
New block work is started for the new steps as can be seen in these two pictures. The old temporary steps are dismantled, moved, and rebuilt to a different area of the wall for use to access the lower area.

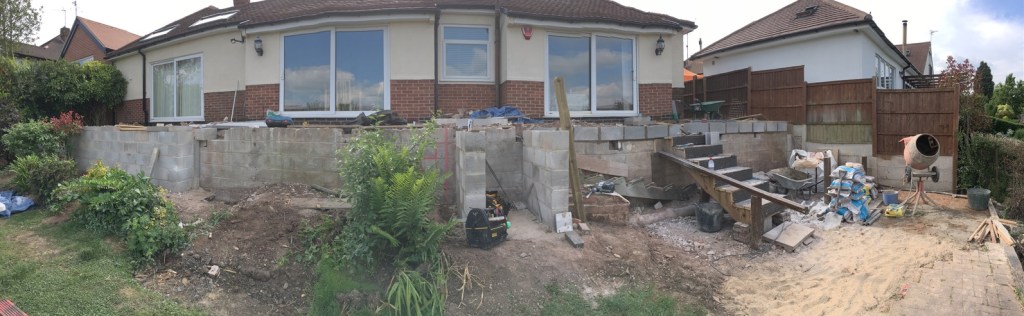

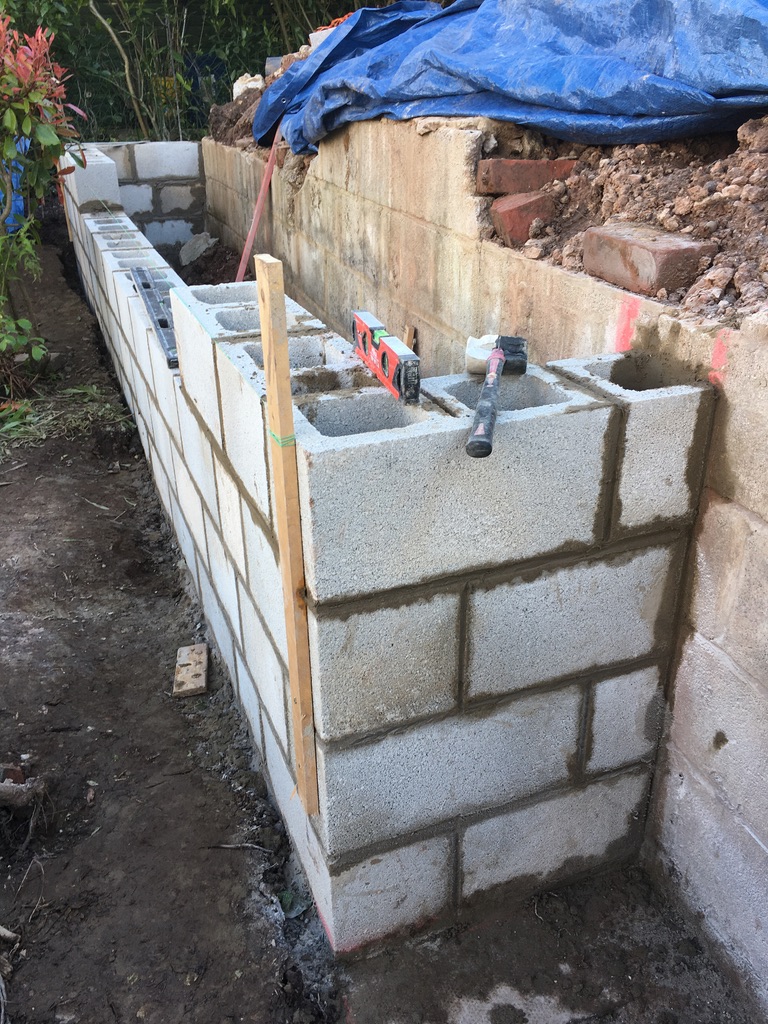
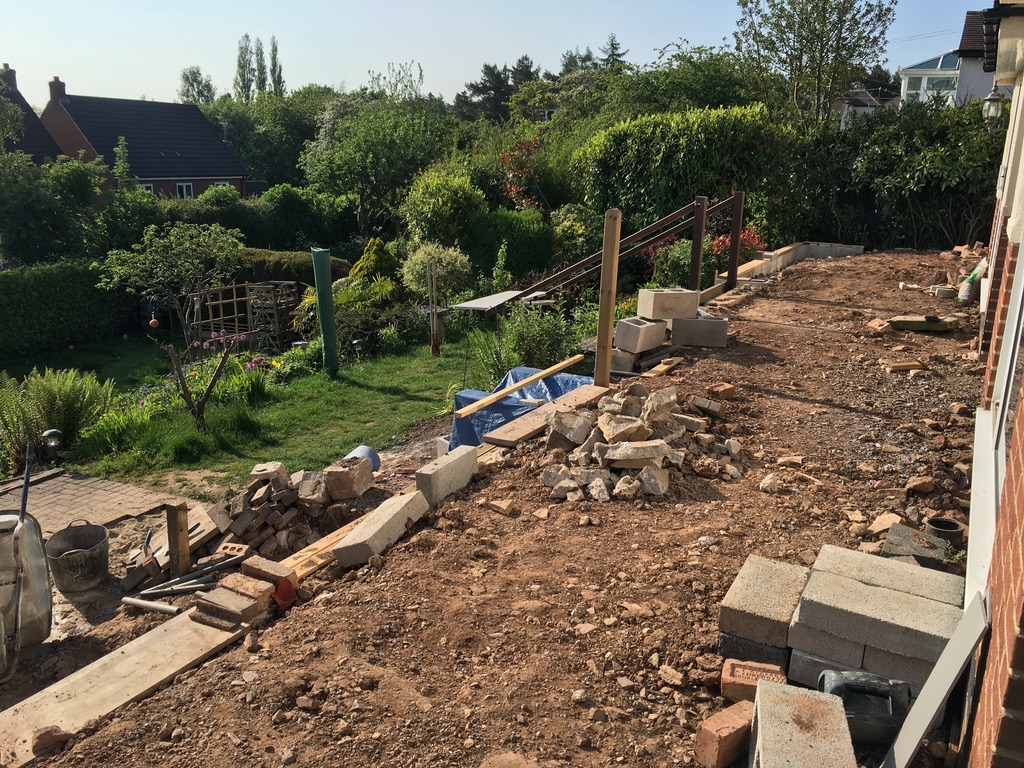
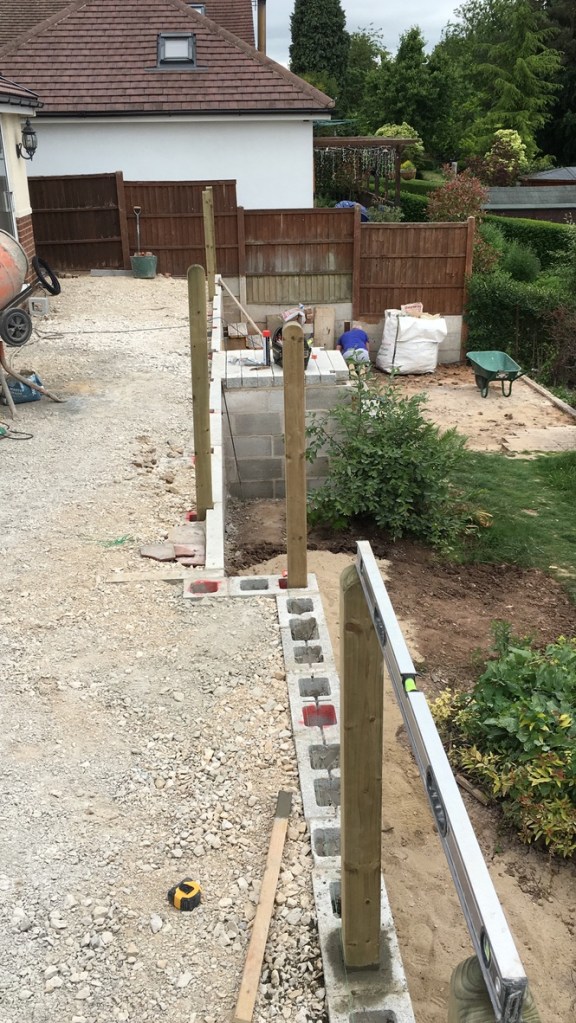
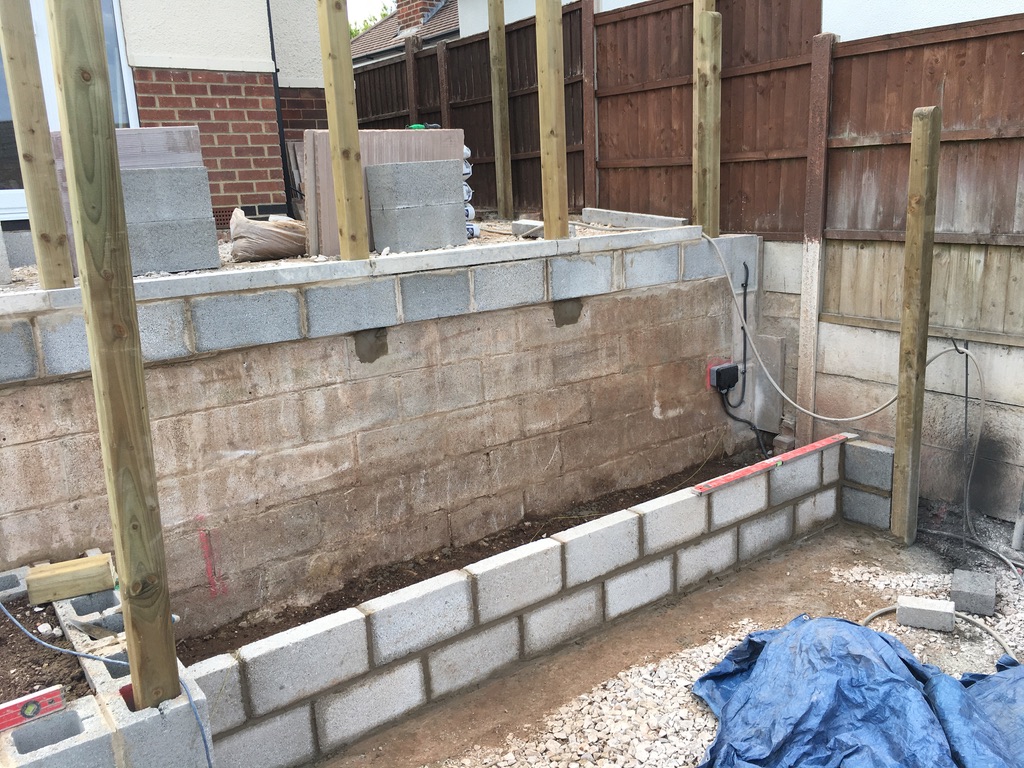
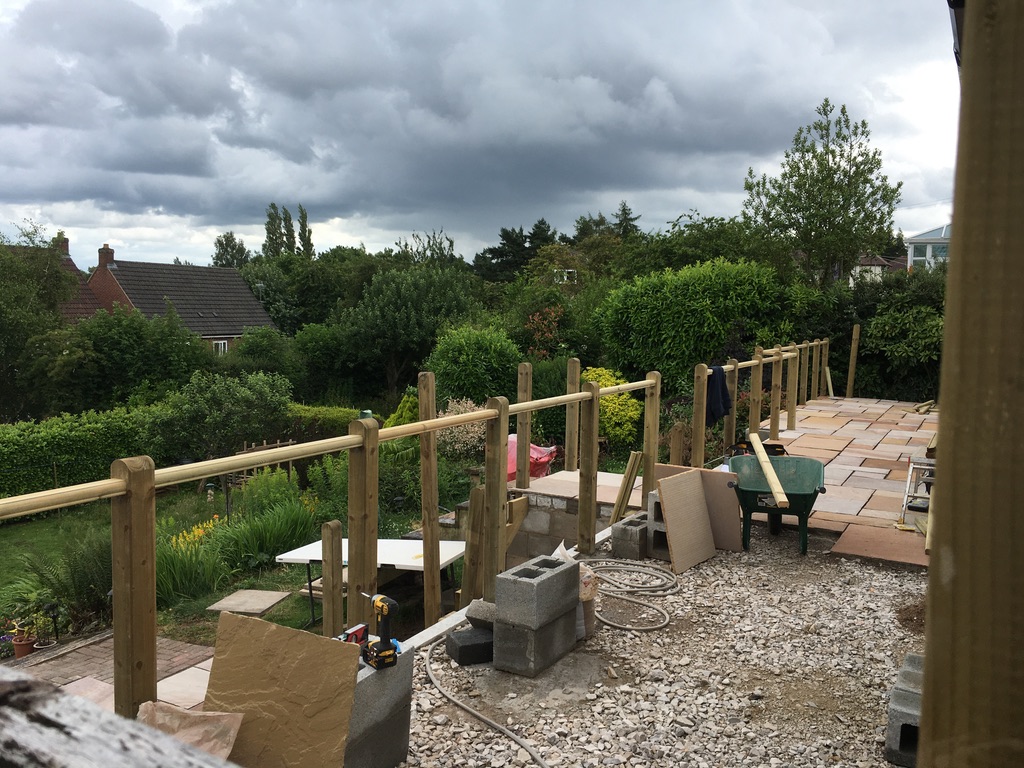
The intention is to put a row of posts along the top of the wall to form a secure fence, now this had to obviously be as straight as an arrow. Now the line of the house is out by 20cm, and the original old wall is simply just a mile out, so very careful judgment had to be made to get it right. A new course of blocks was added to give a straight line to the old wall and to get the height correct to align the doorways of the house for when the slabs are laid. This was honestly the most frustrating part of the job, it may have been easier to take it all down and build a new wall!

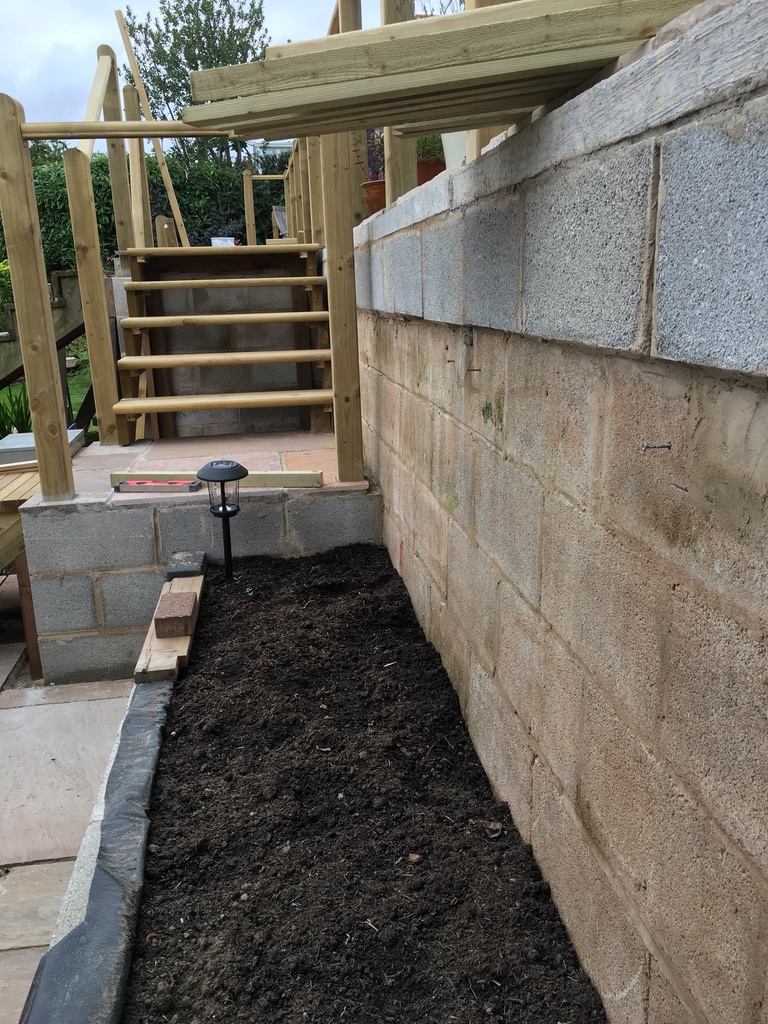
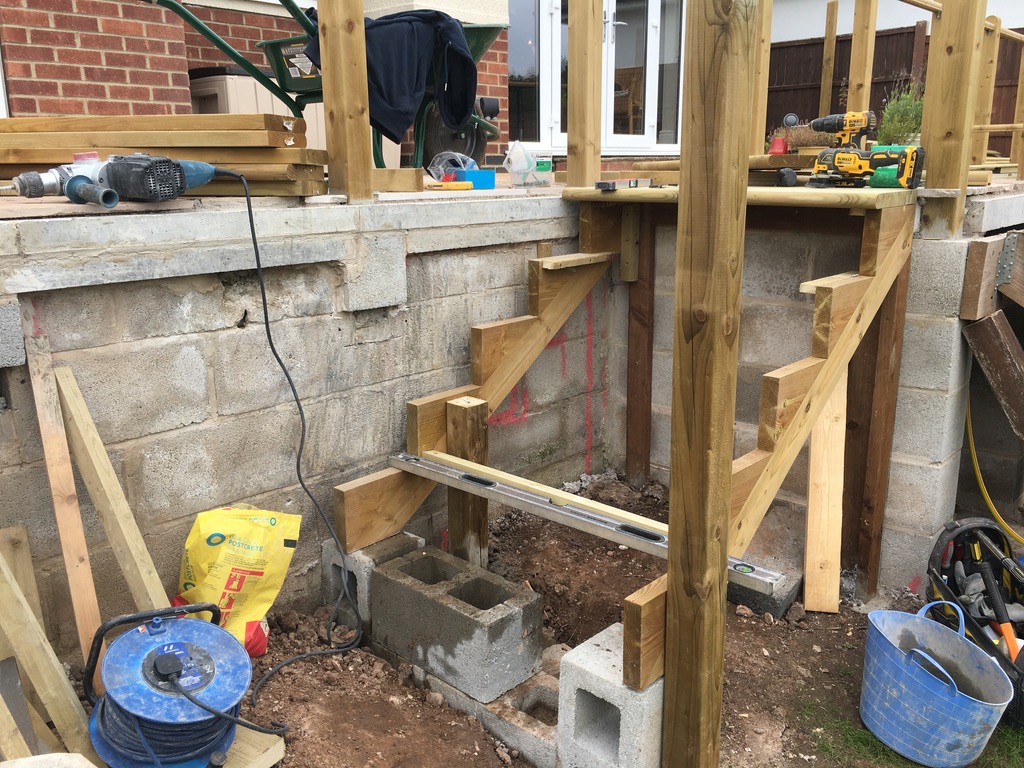
Backfill of the new wall and the start of the positioning where the new posts will go. This got very tricky and frustrating. It had to be perfect or it simply wouldn’t work! Drilling and breaking into the old wall. Emptying soil from the holes to add concrete for strength.

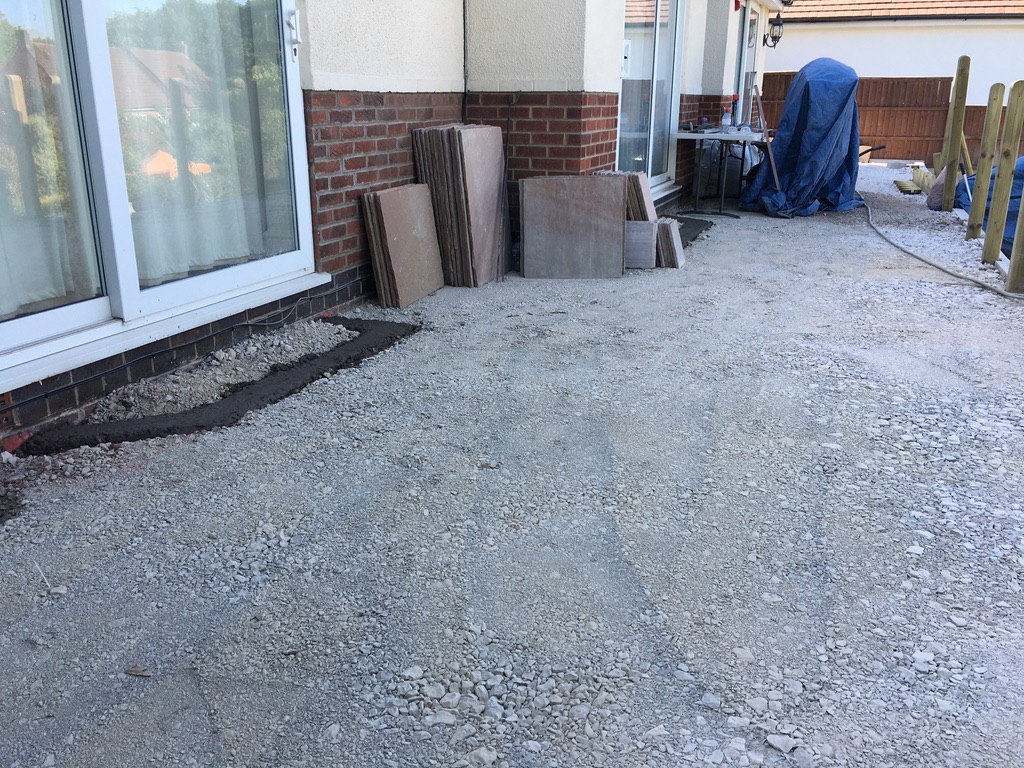

At least, a smooth surface to work with is finally down. Concrete sills are used to create a straight line and exhaustive cutting and drilling of the holes to get the posts accurate. An expensive and time-consuming way, but the best to get the right finish.
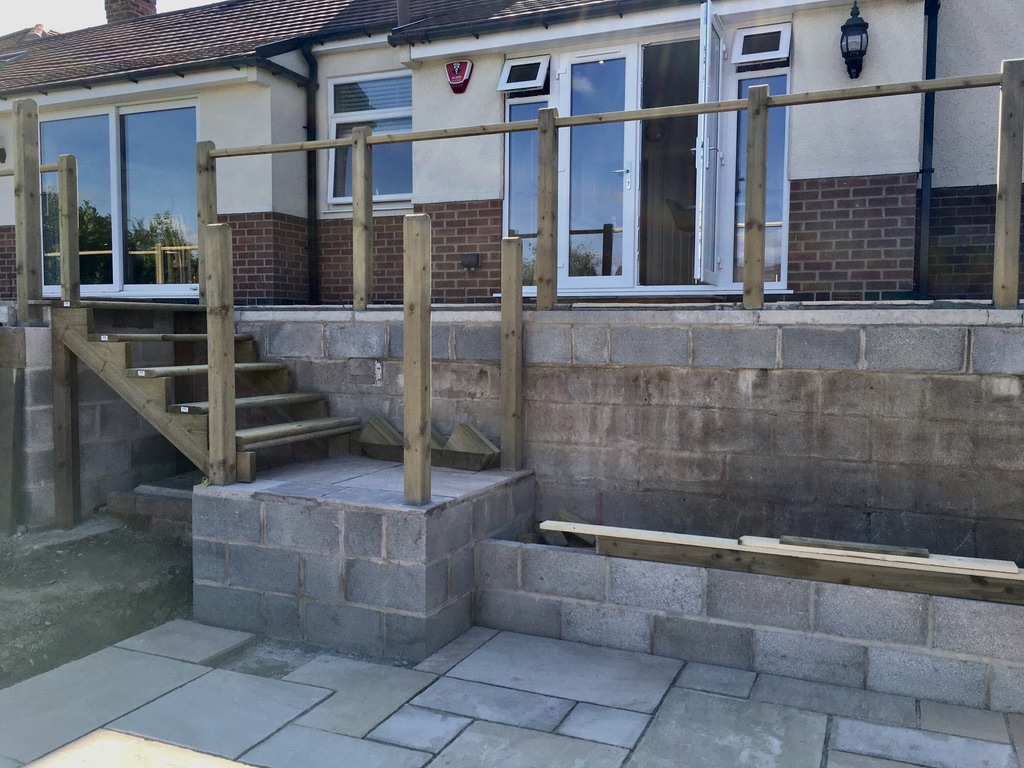
The new step area is built and it is decided to add a storage area inside which now means adding more concrete sills, another addition to the job. The first posts are added to the wall.
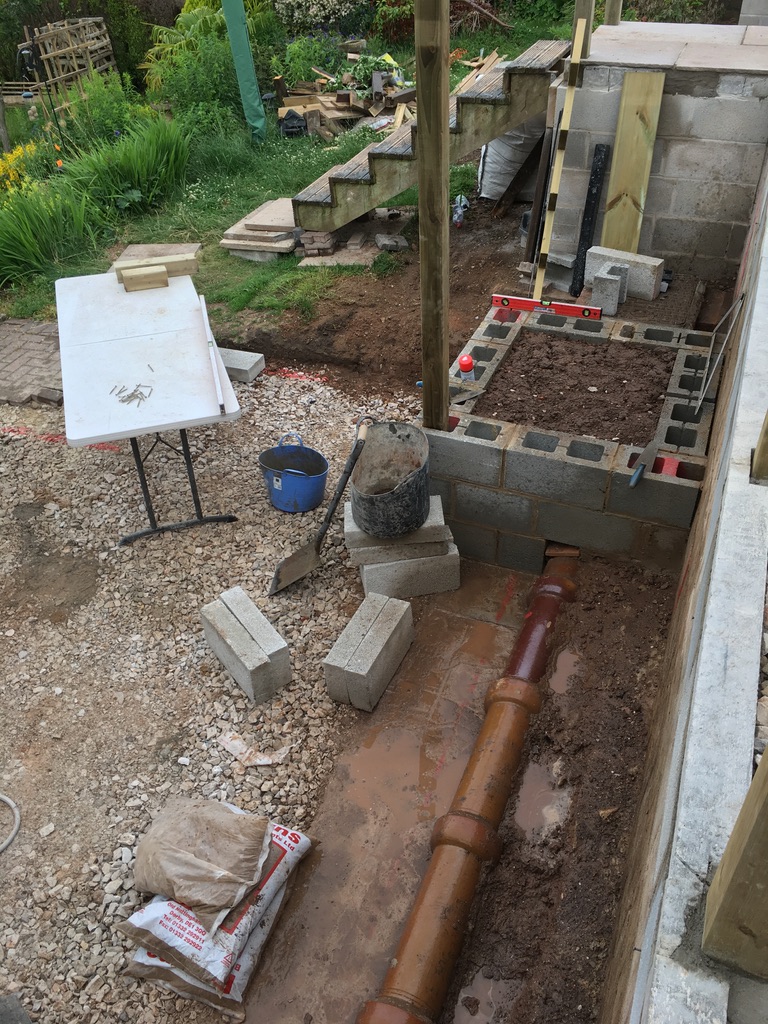

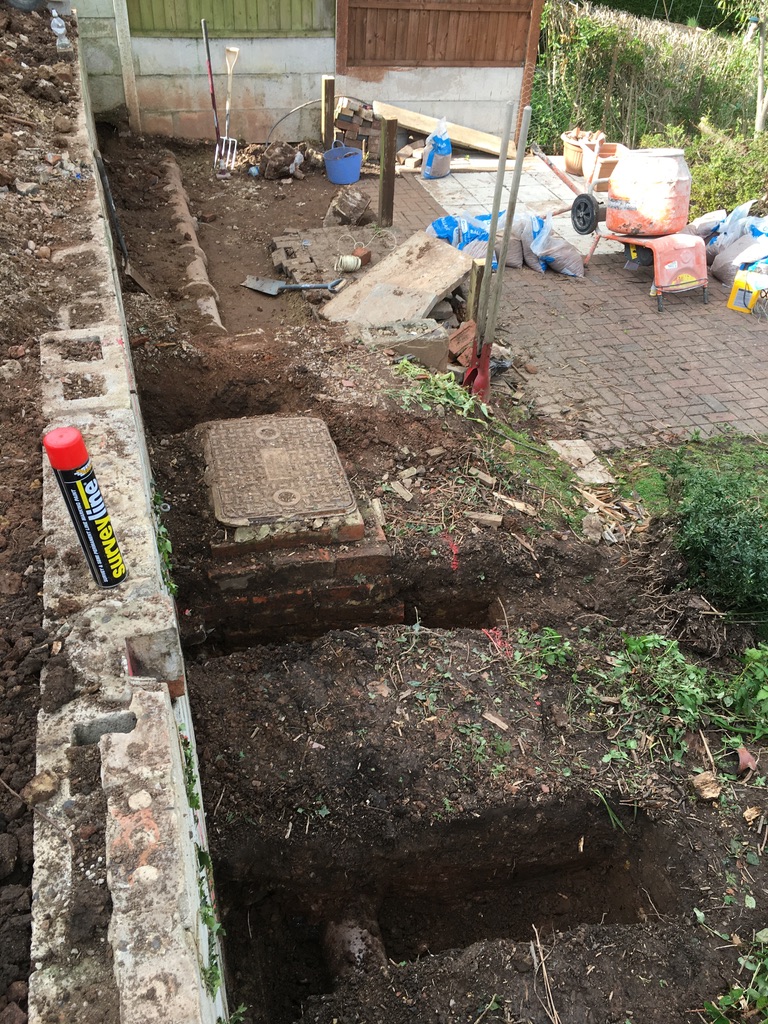
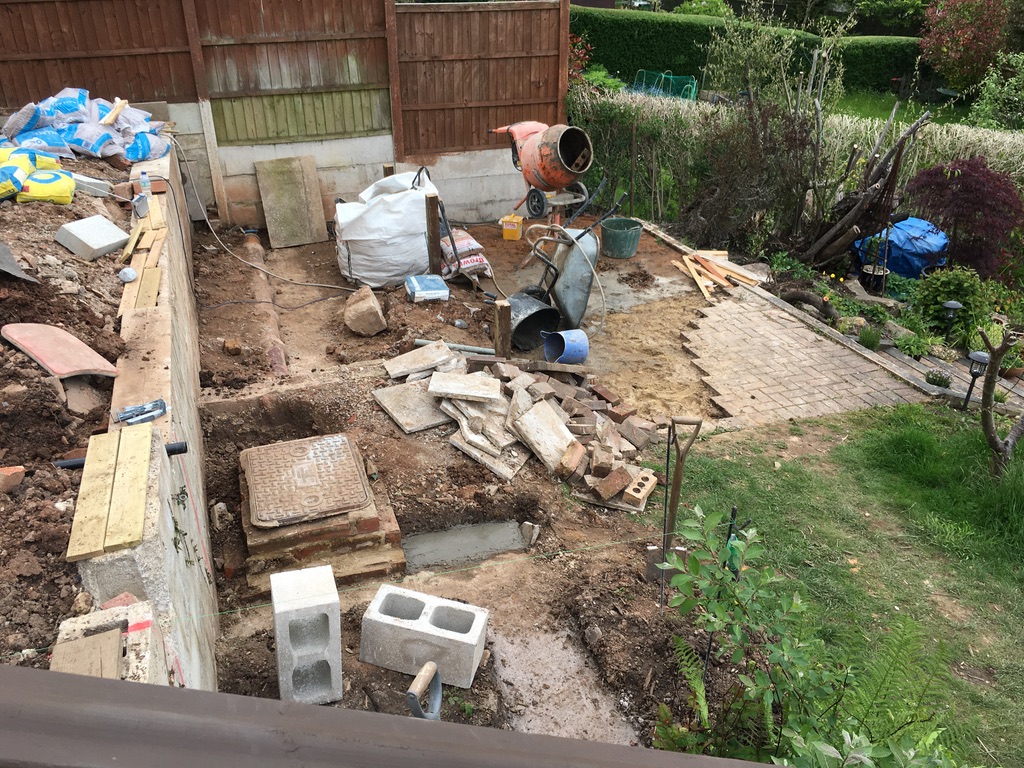
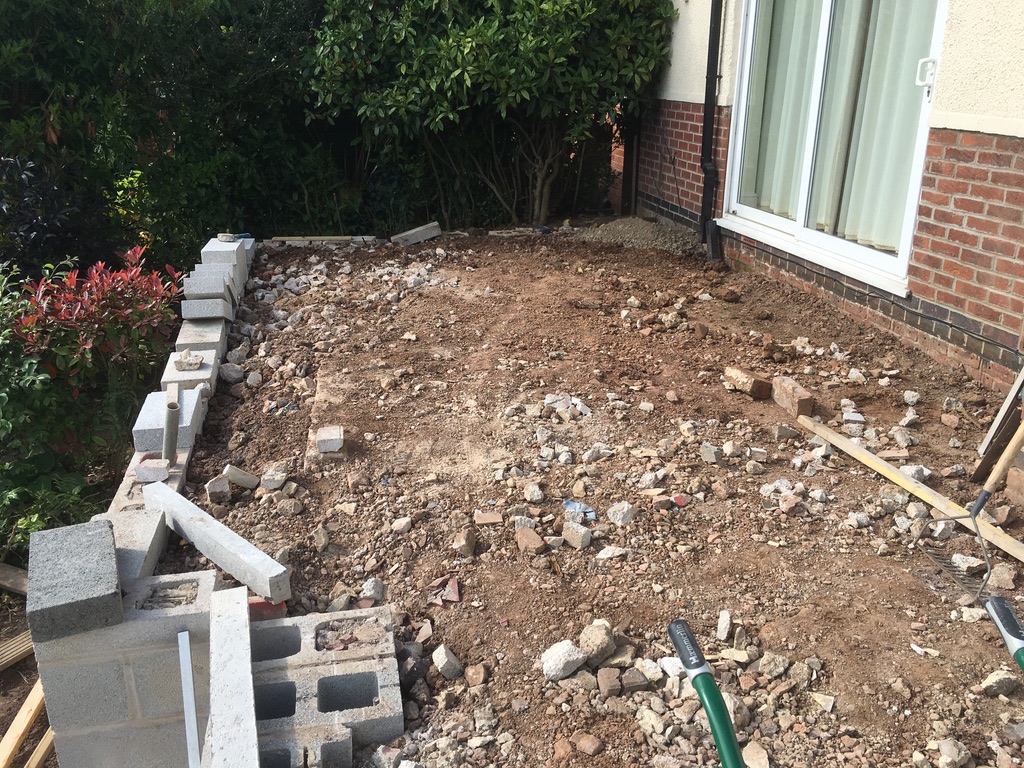
On the lower section of the garden, a wall is added to the job for a planting area and to cover the waste drain. The lower step section is built for the steps. This is on a much lower area so needs more height to work than the other side, and also to cover the main drains cover.


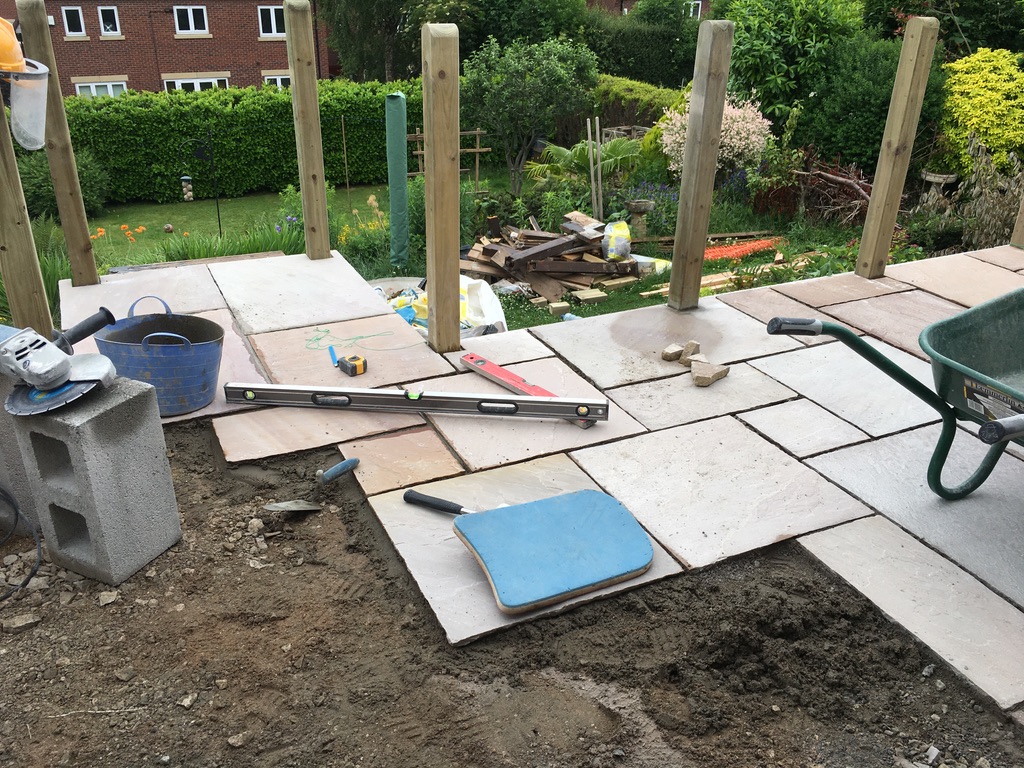
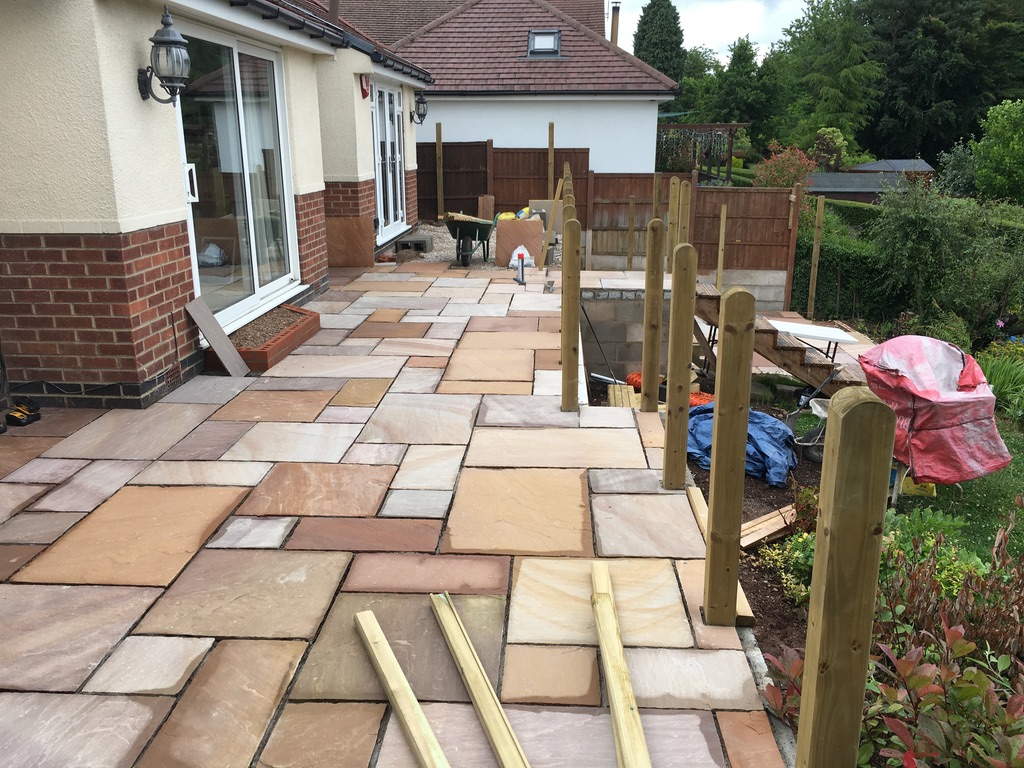
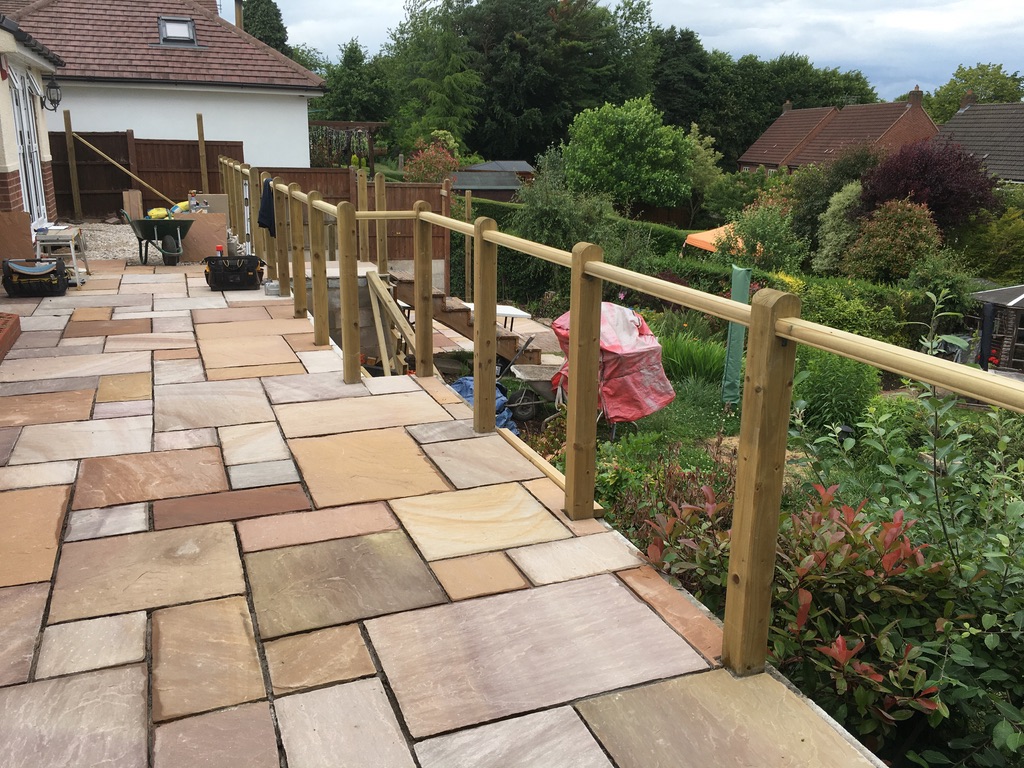
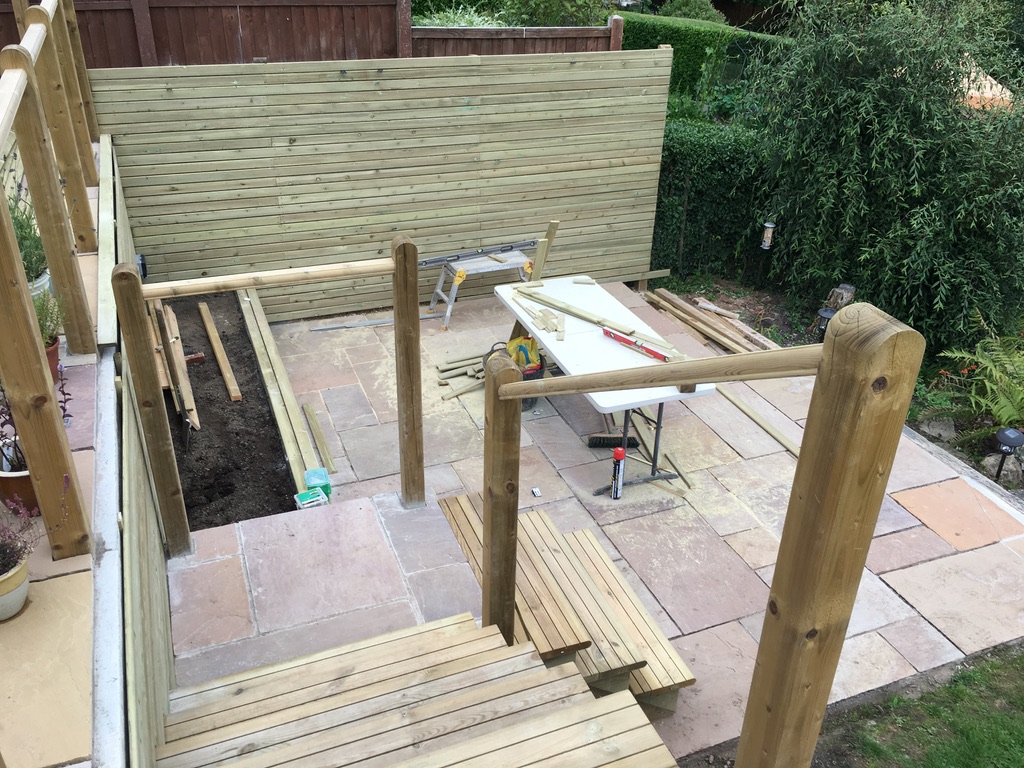
The slabs are now being laid, steps outside the patio doors are added and the support posts are in. The temporary steps are moved again to the new step section for access to the lower area which is ready for paving. Remember, the lower section of the garden is still being used by the owners whilst the garden is being done, so access was always needed.

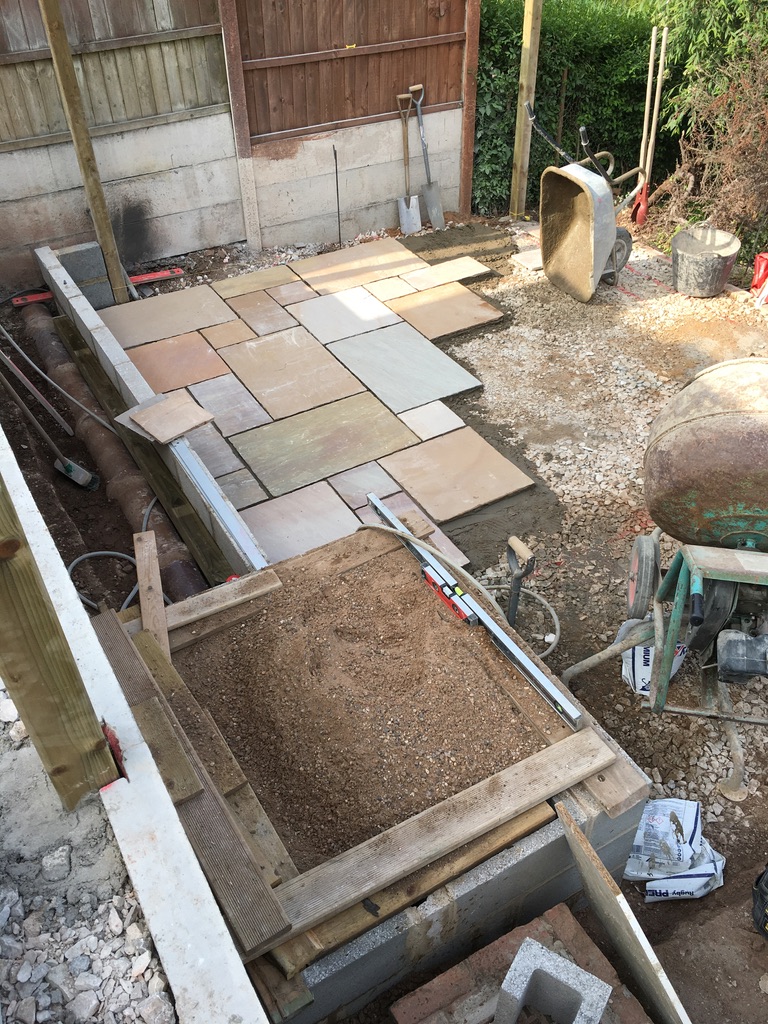
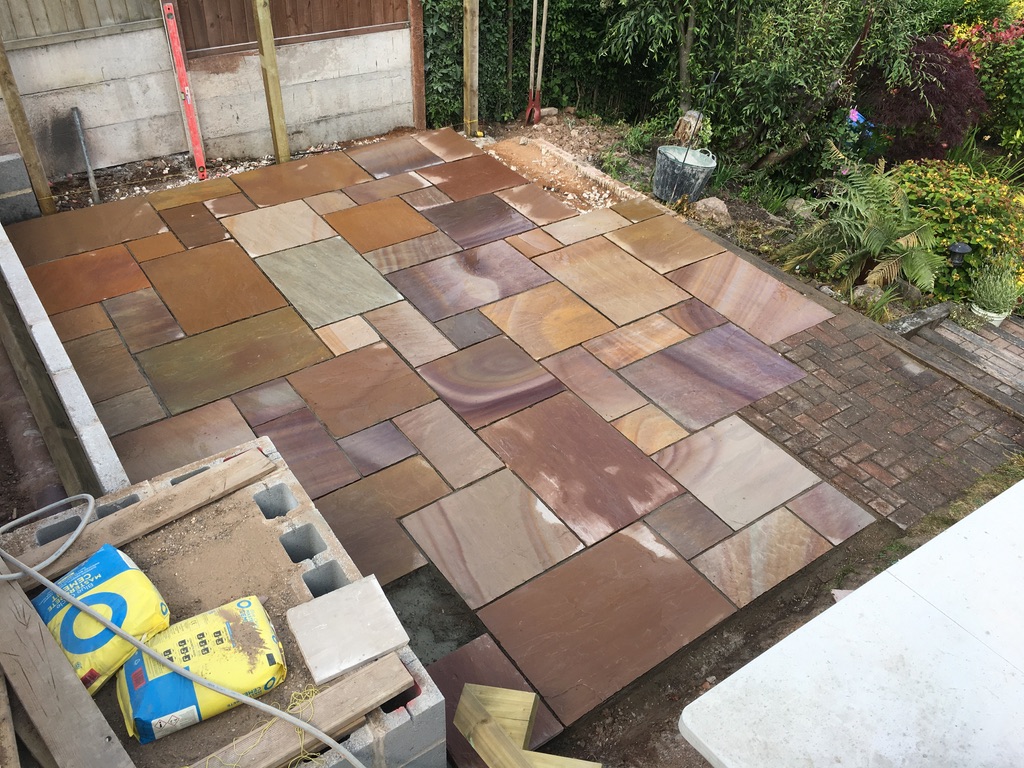
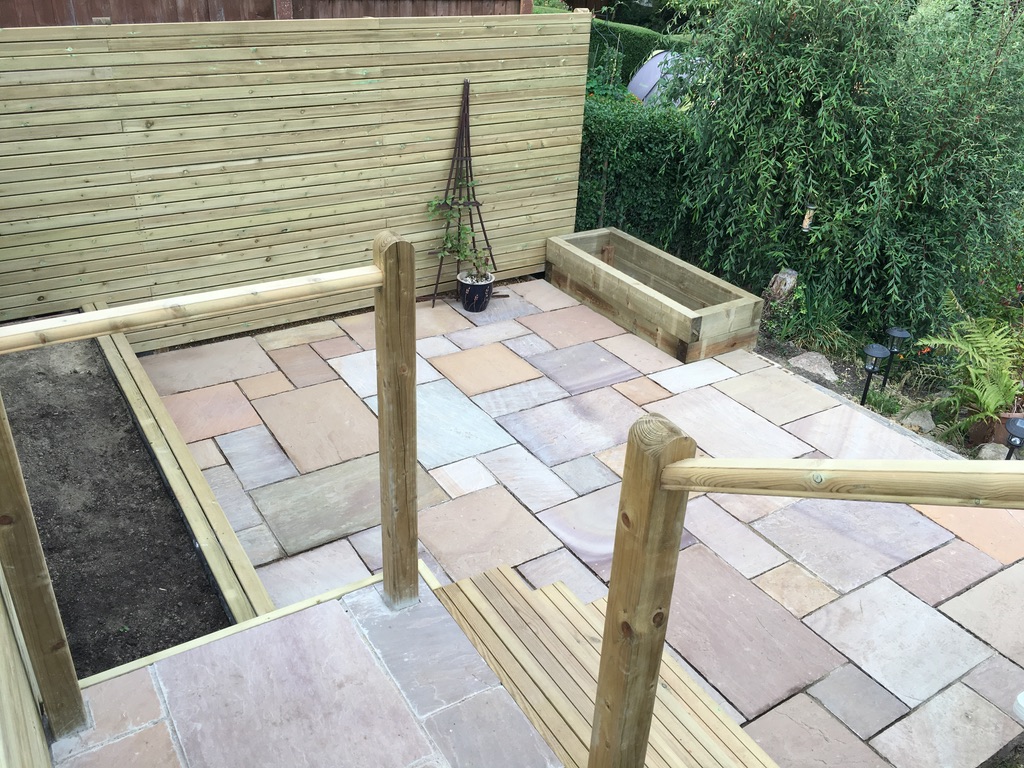
The lower section is now paved with the step section ready. The final fence section at the top is created.

Above you can see how the straight line was created. A load of work to get it done but makes sense for a long-term quality job to take the weight and water ingress.
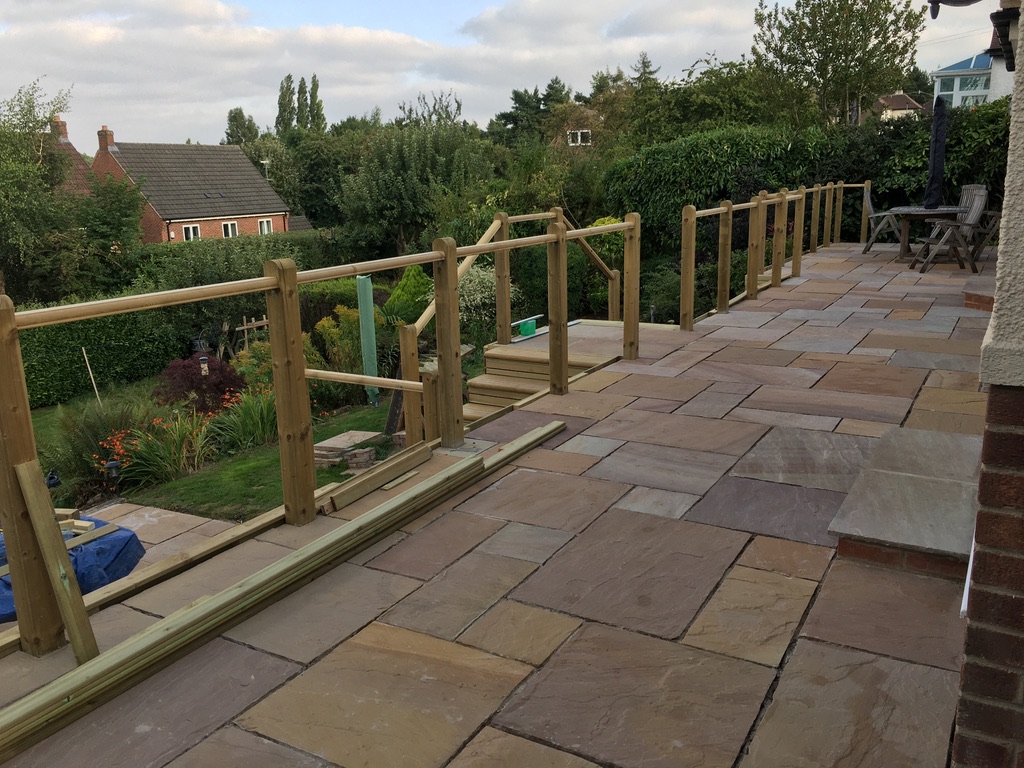

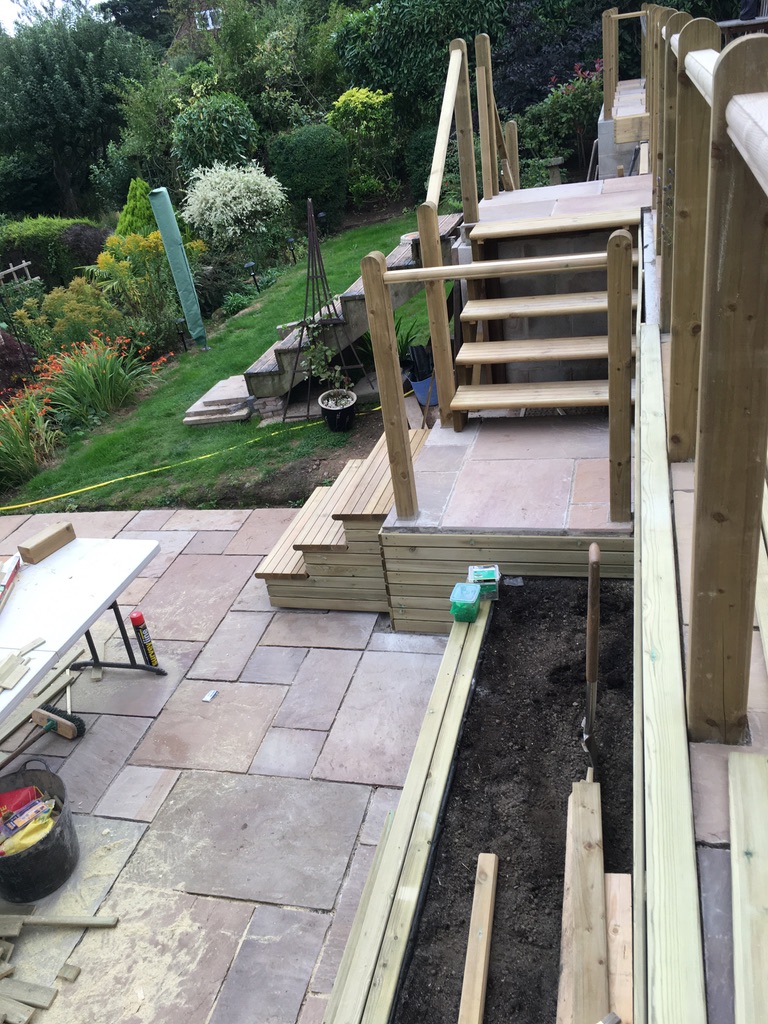
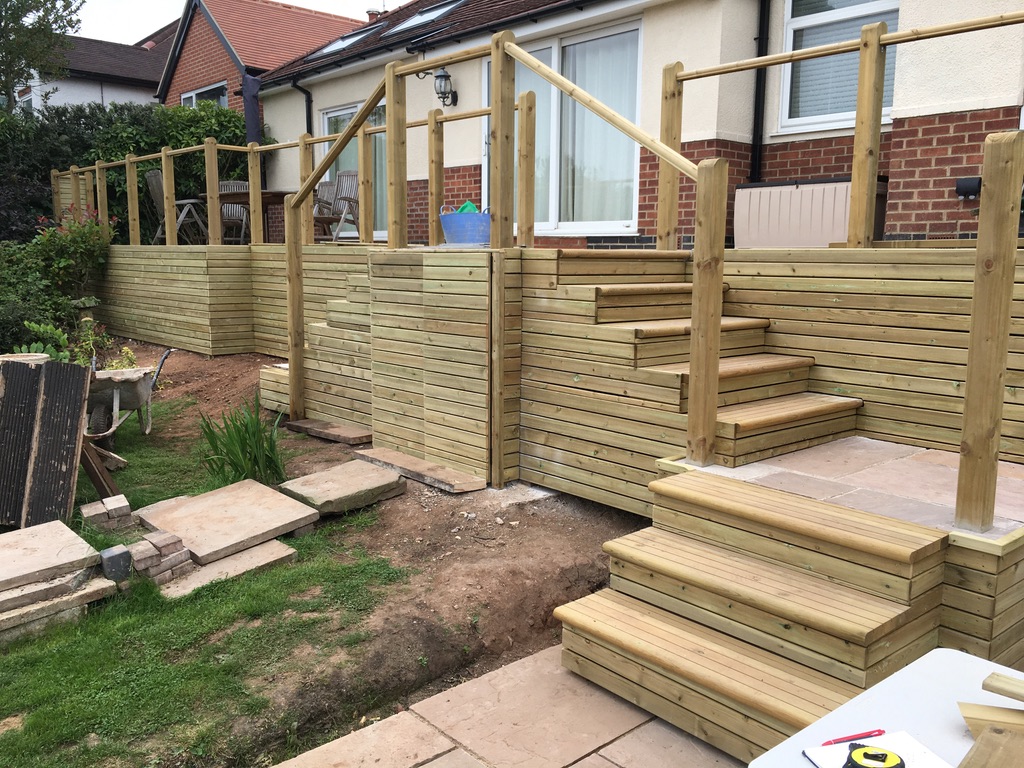
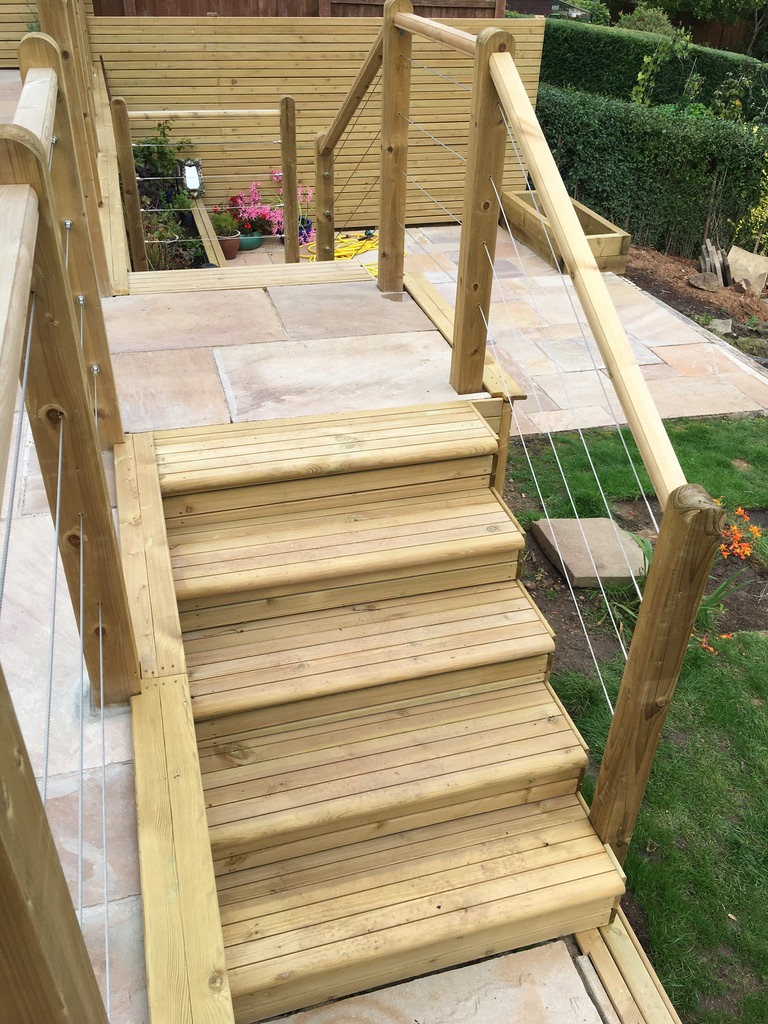
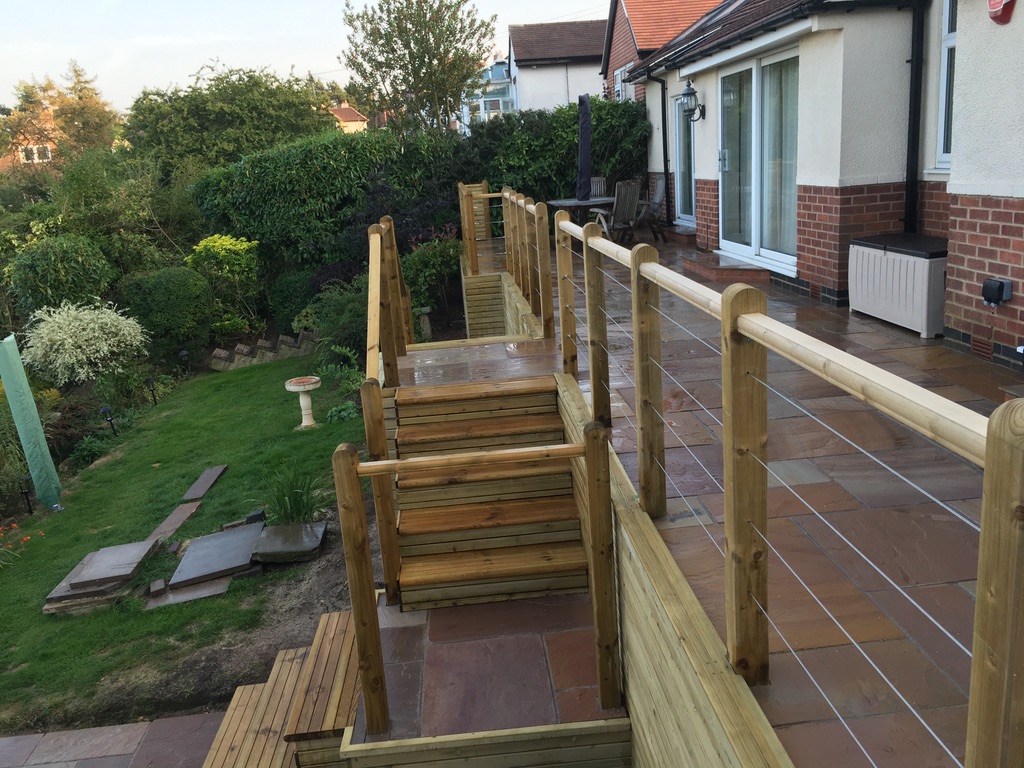
All 24 posts are now in and the handrails are connected. The steps are taking shape.


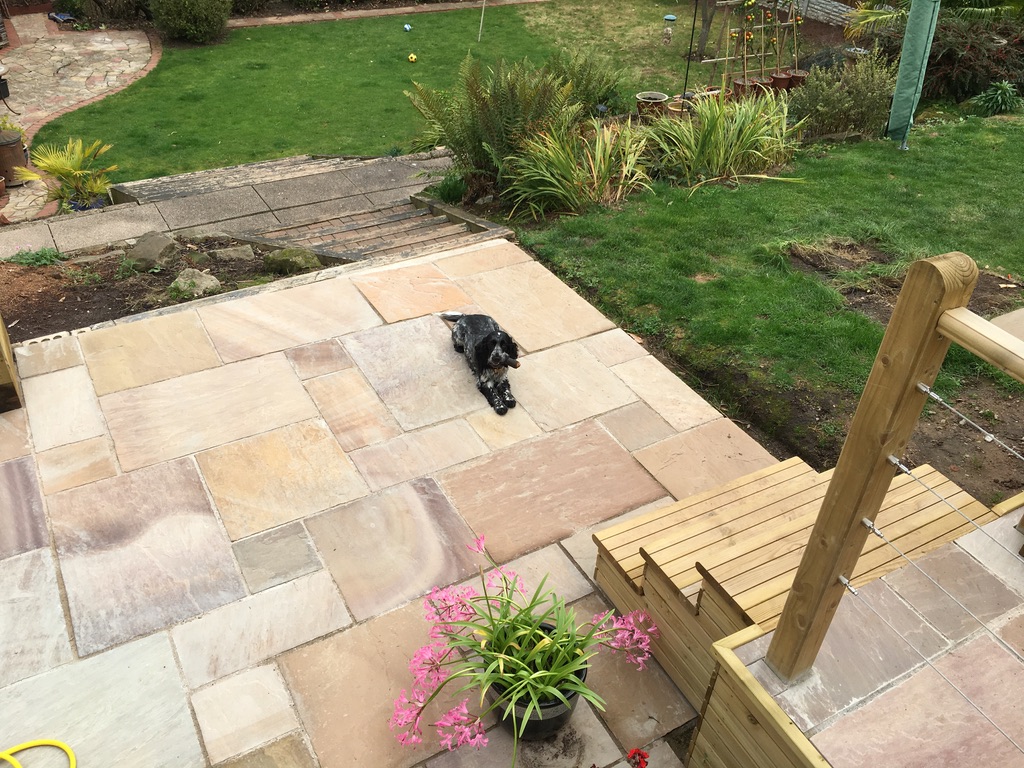
The paving is now complete on the top and bottom. The posts are in and 90% of the handrails are in, only the small sections at the ends and the step area aren’t connected yet.

The lower section steps are now in and the planting area is finished. The temporary steps are still being used to preserve the new ones.
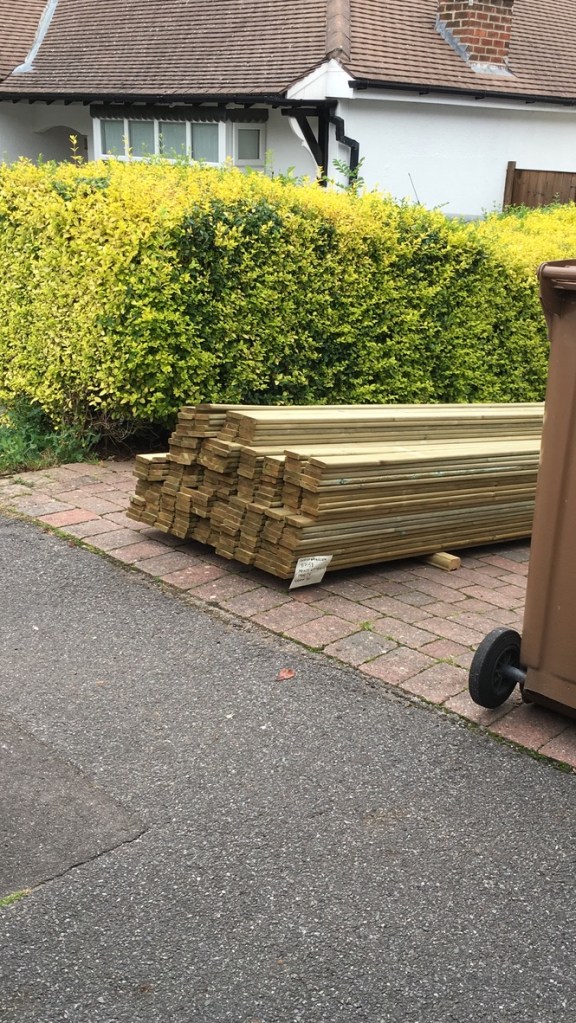
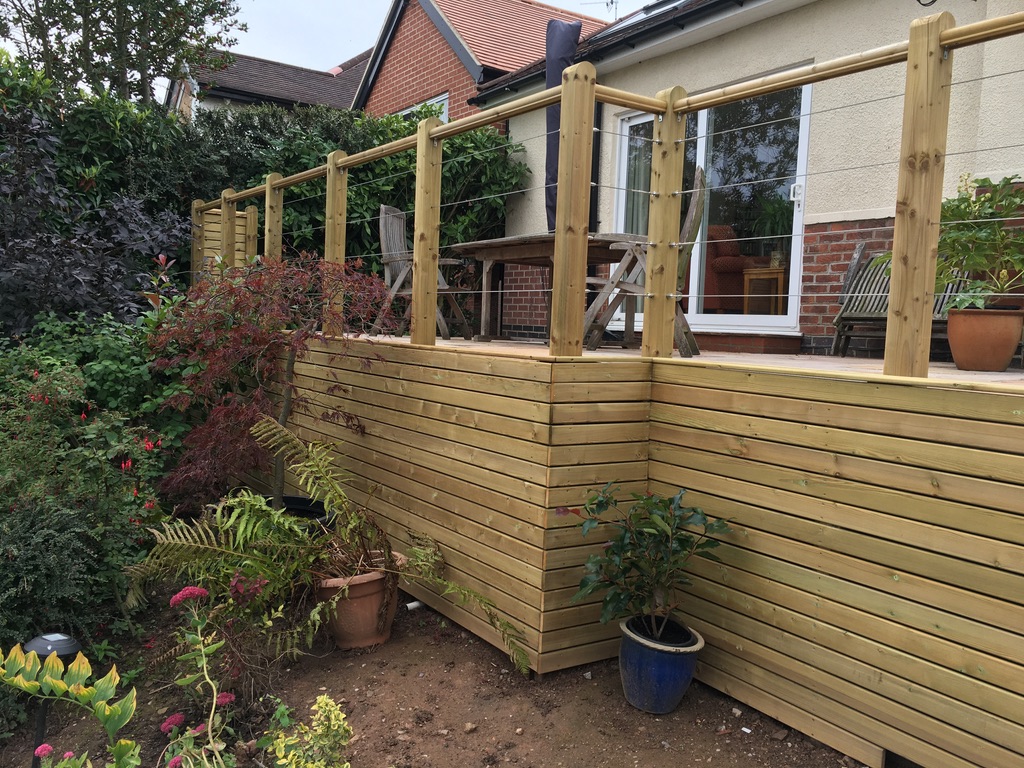
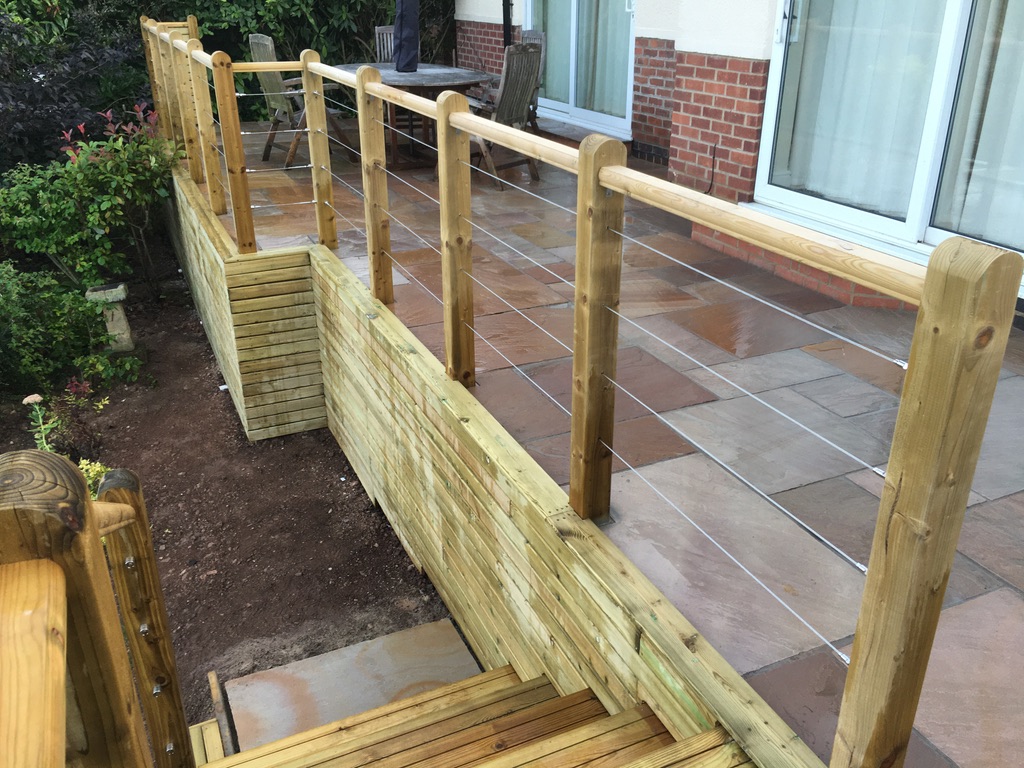
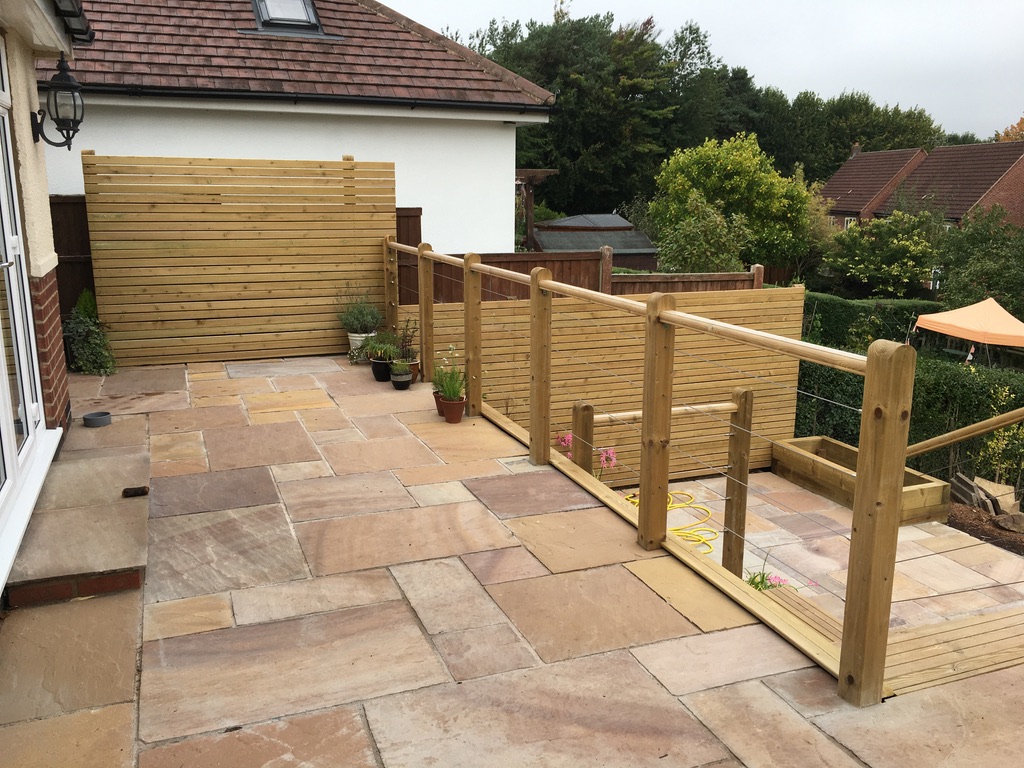
So how will the wall be finished? With high-quality made-to-order wood strips.


A special area for the drain-off water from the upper was created to run down the back of the wall and also to run under a wooden lip on the top section. Aesthetically pleasing to look at with a great intended design, to not increase damage to the wood.

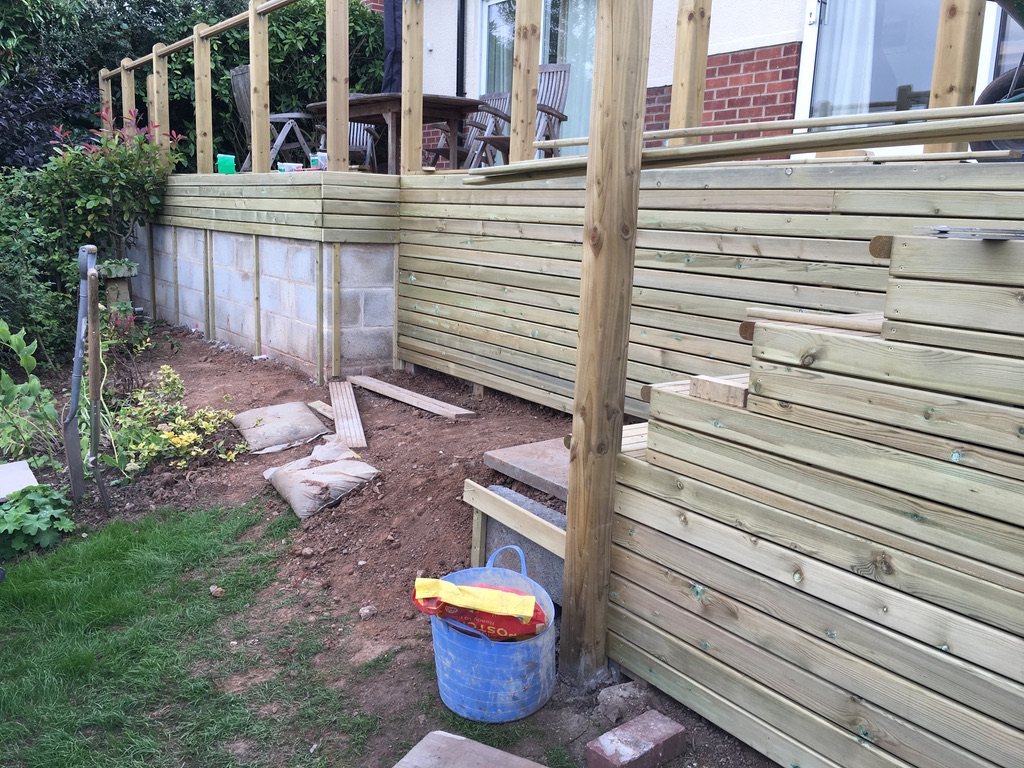
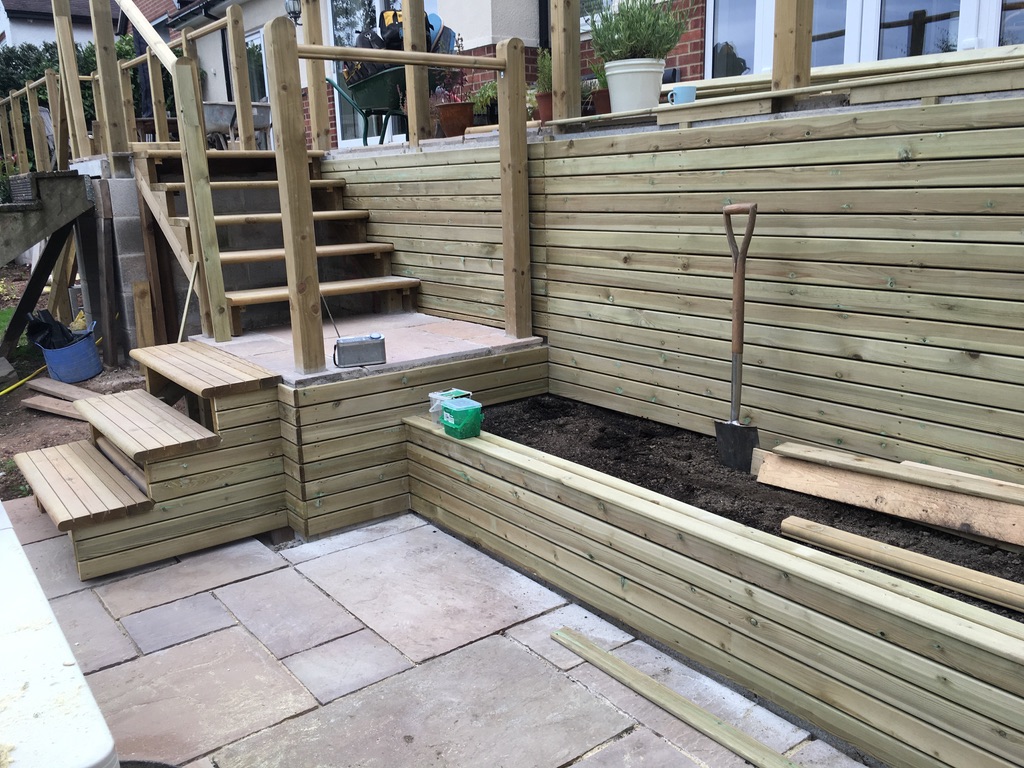
The other side of the garden is having a wooden treatment finish. The second steps are in. And the paneling has started.

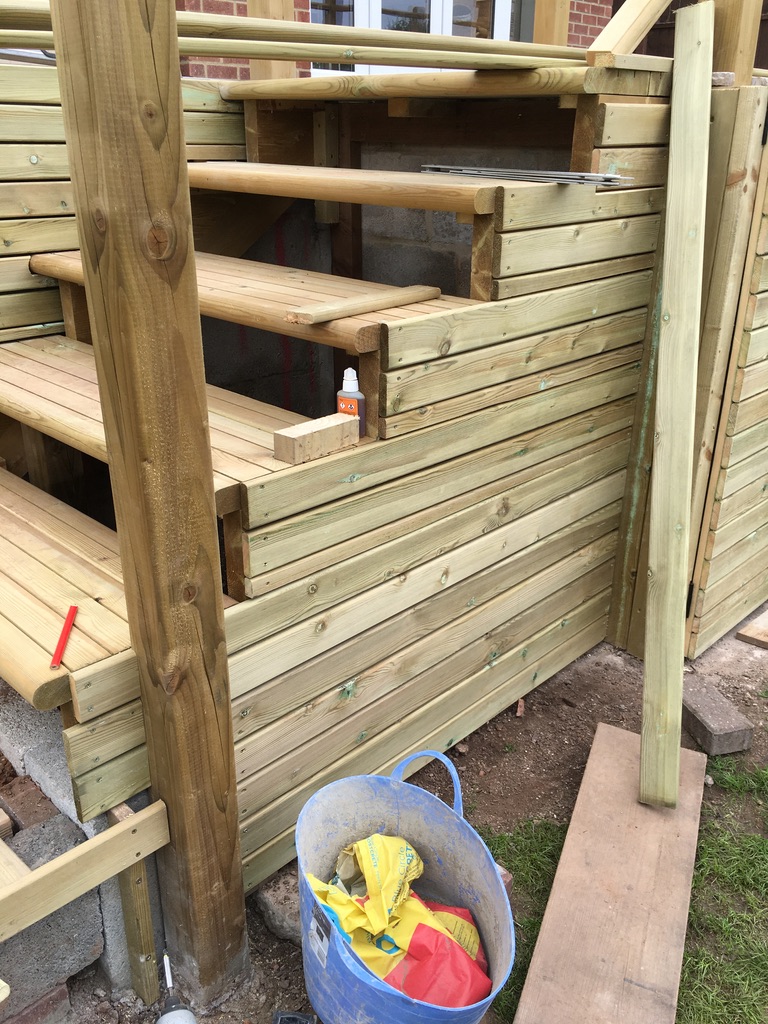

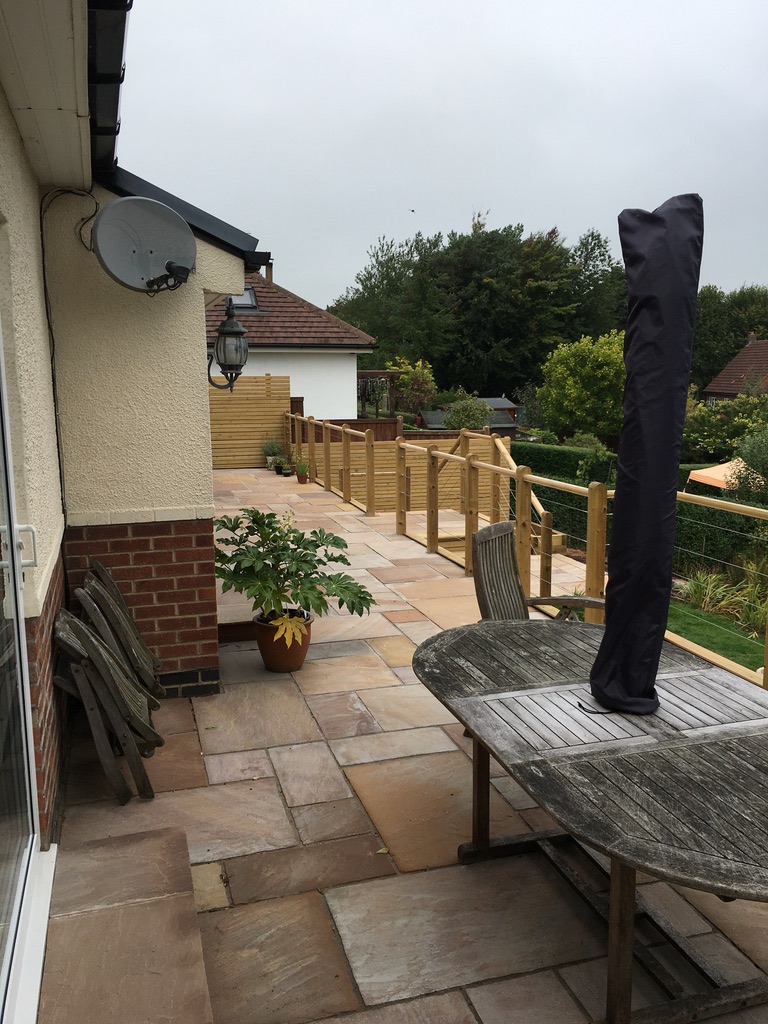
The final section of the job is now on. The under cupboard is now complete together with an outside tap. The old temporary steps are now gone. All the paneling and steps are complete.
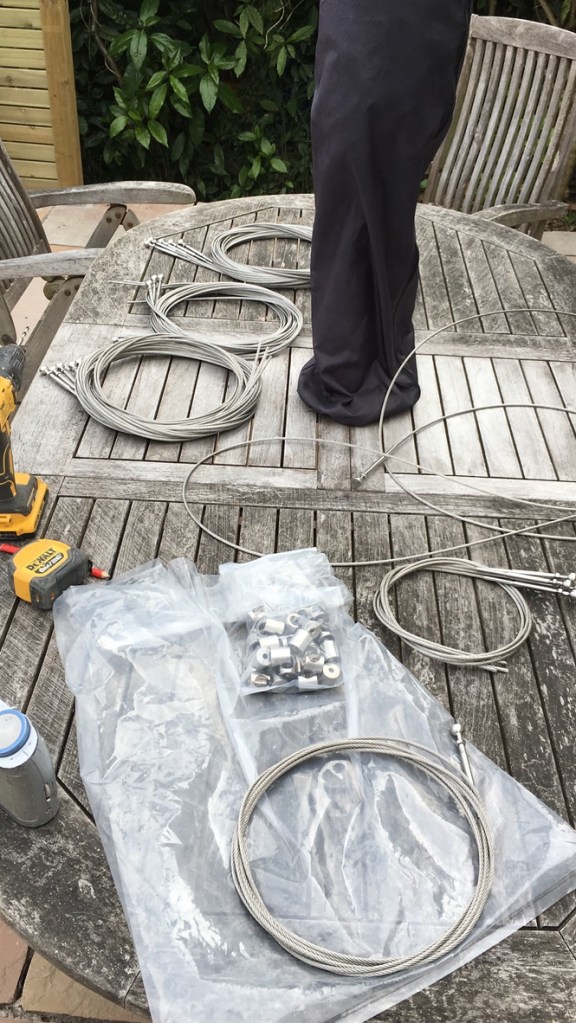
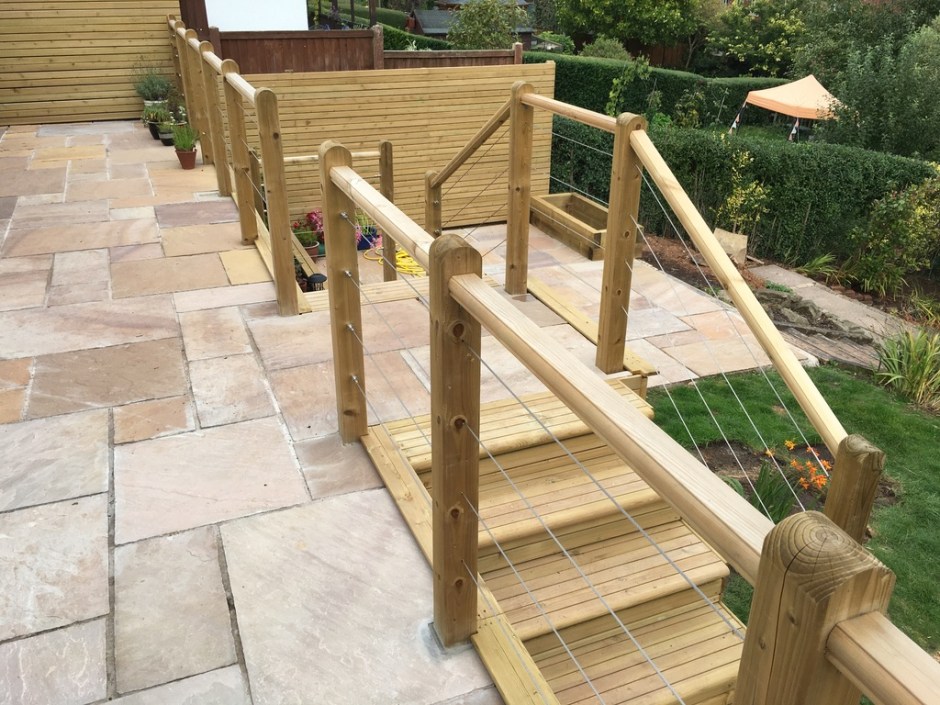
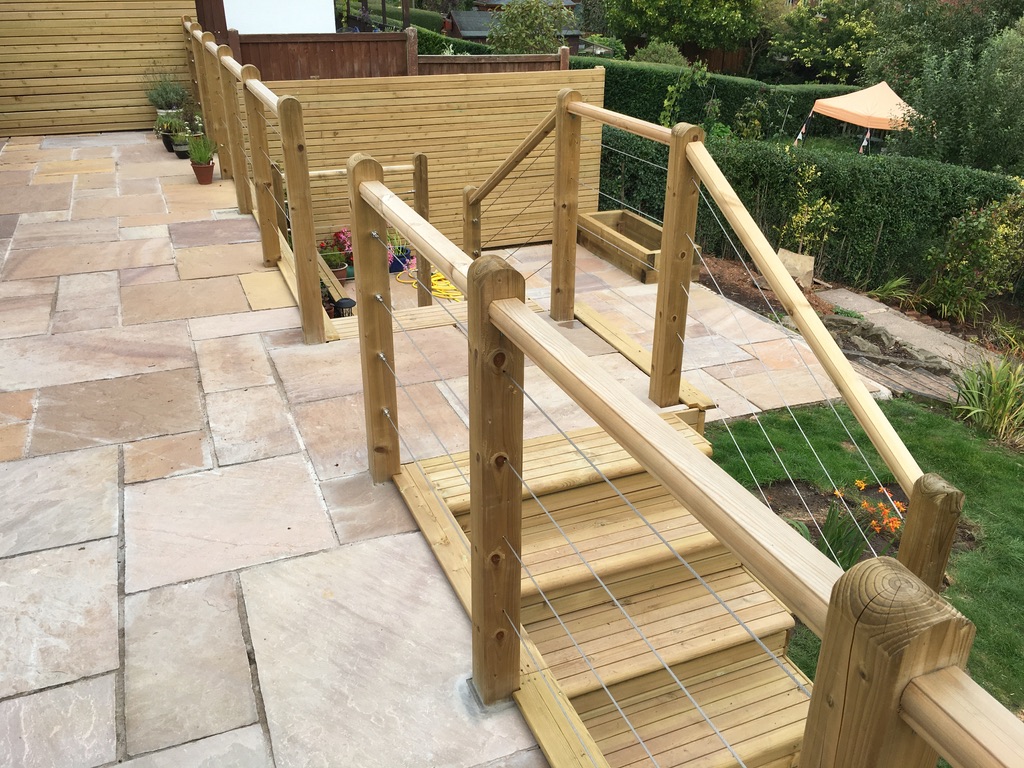
So, here’s the final phase. The wire supports. These are not cheap. On this table is c£900! But this is the best marine-type stainless steel from S3i. No room for errors when fitting this.
Let’s finally finish…
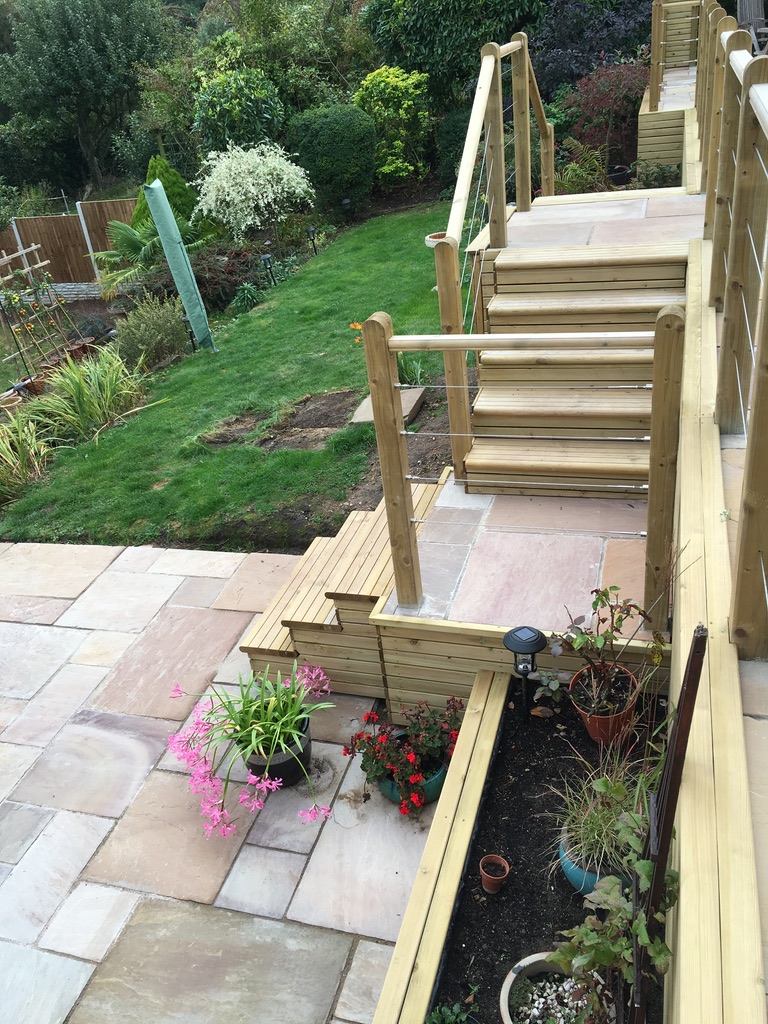


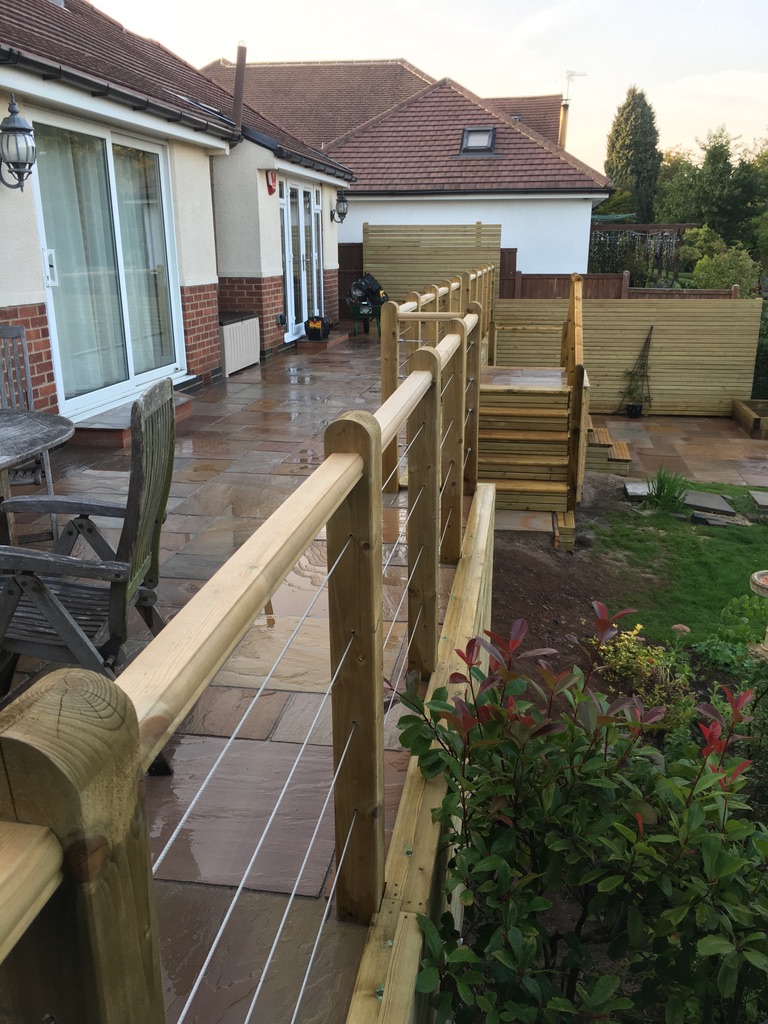
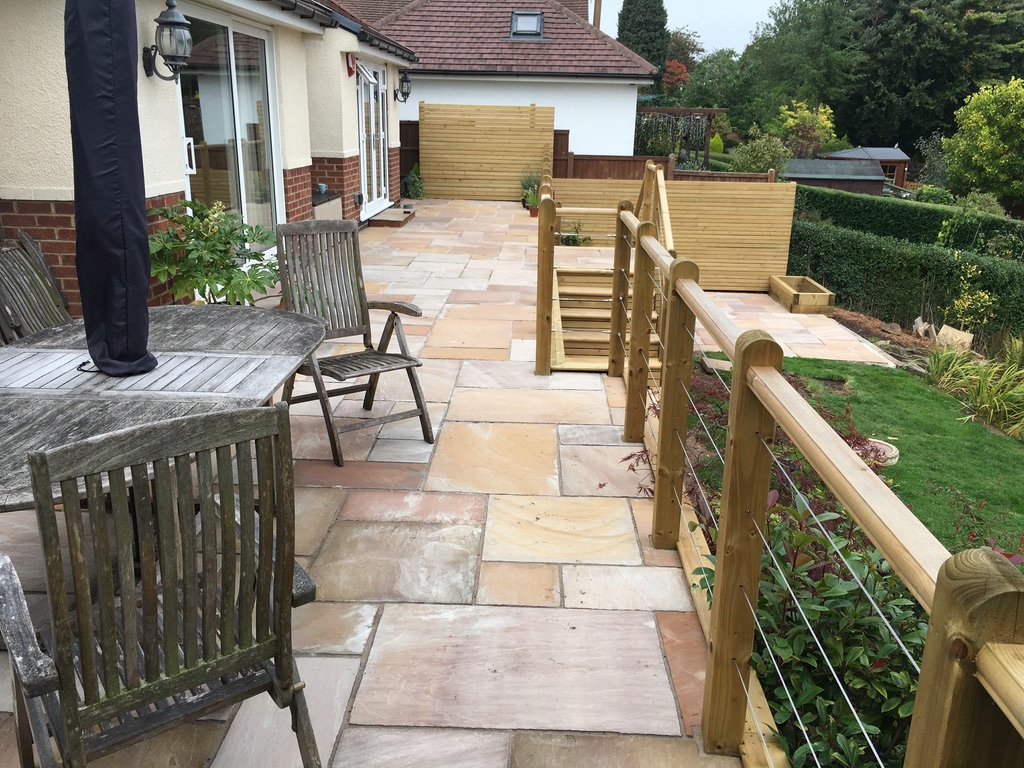


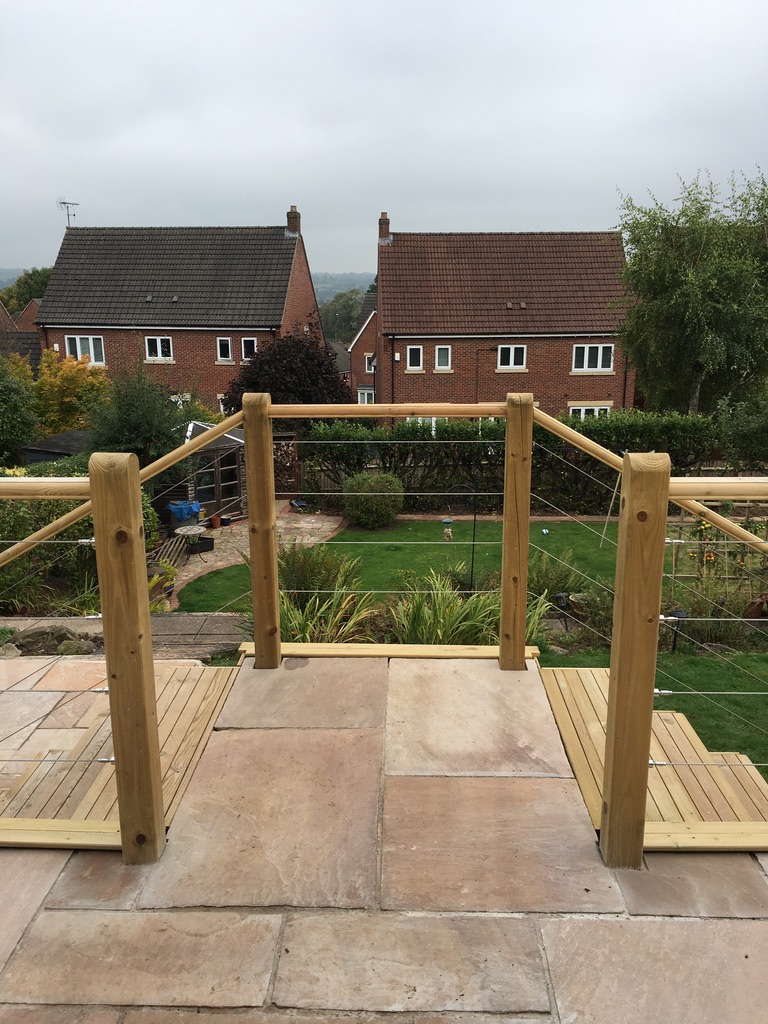
I hope you like the look of this job. Let me know if you want any form of landscaping. With over 21 years of being involved in the trade, any job can be undertaken.
©designandgarden2022
